Table of Contents
- Turning on the controller
- Turn on the system
- Turn on the head tracking (only if necessary)
- Turning on 3D
- Moving your data to the system
- Launching your Application
- Exiting the Application
- Rebooting the System (Only if things go horribly wrong)
- Shutting down the System (things to do before you leave)
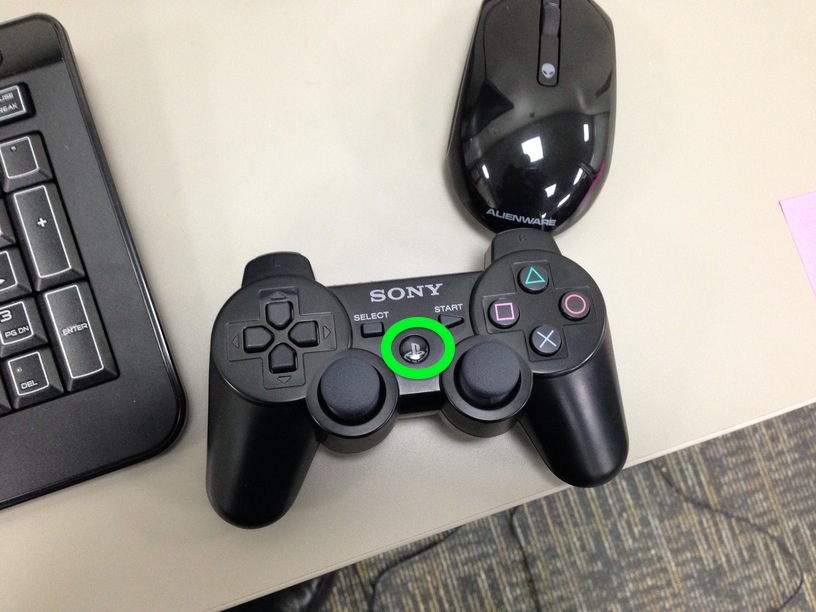
Turning on the controller
1) Go to the machine on the side of the room
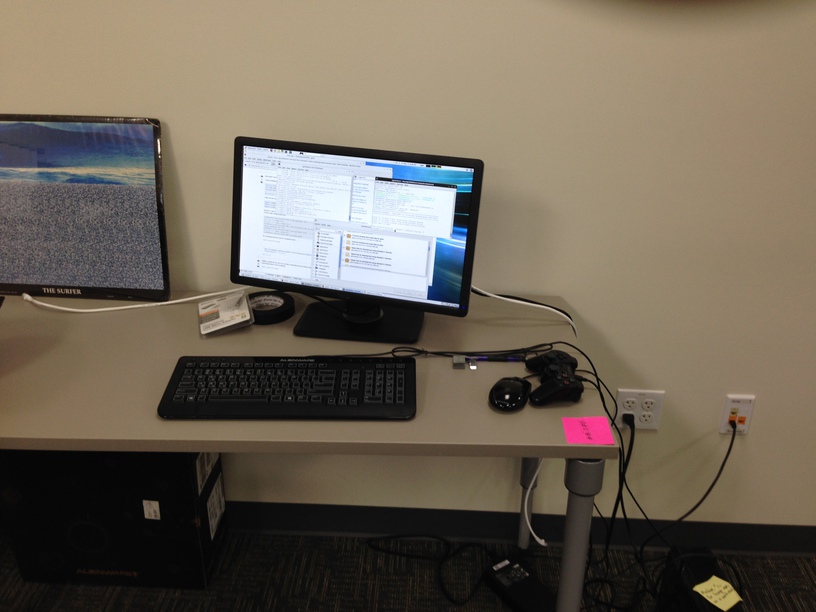
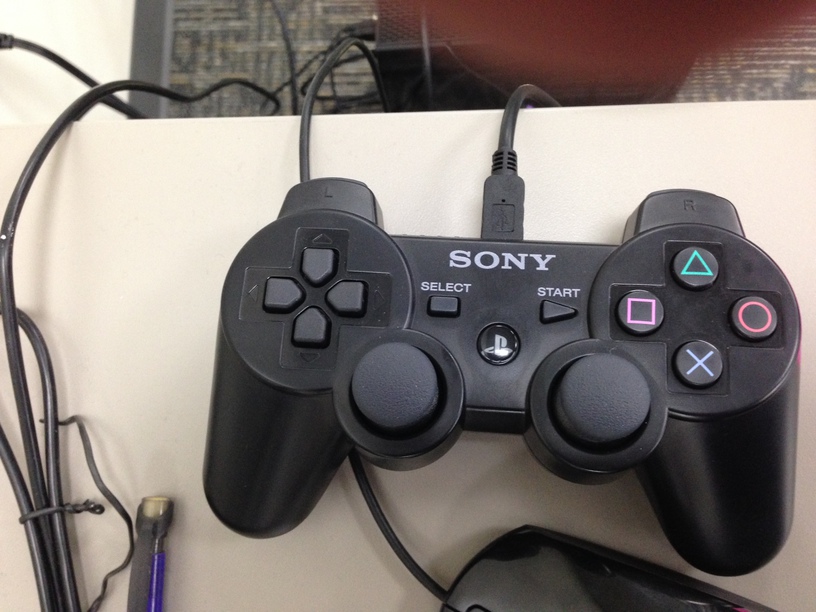
2) Unplug the PS3 Controller
3) click the PS3 icon on the computer
4) You will be prompted for a password. It is on the pink sticky on the desk
5) You will now be prompted to push the PS button. Press and hold it down until the controller shakes. This means it is now ready to go.
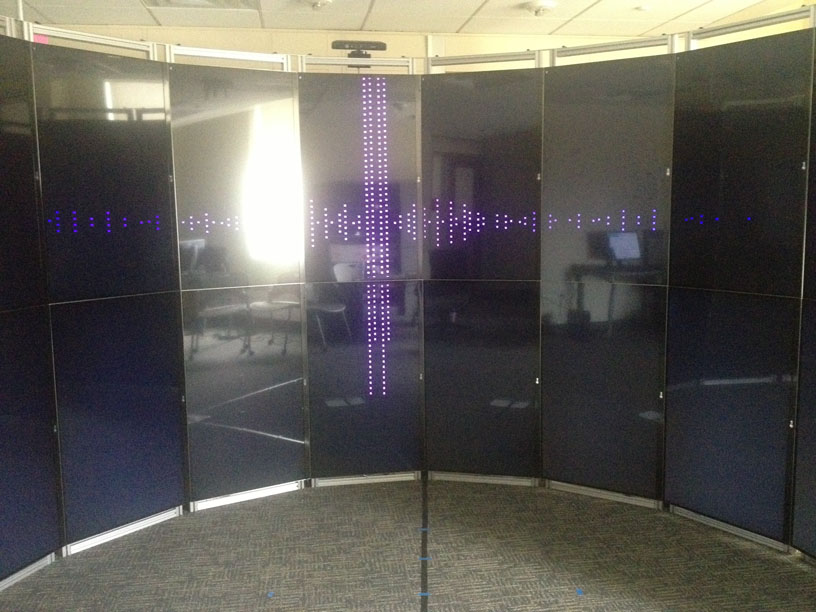
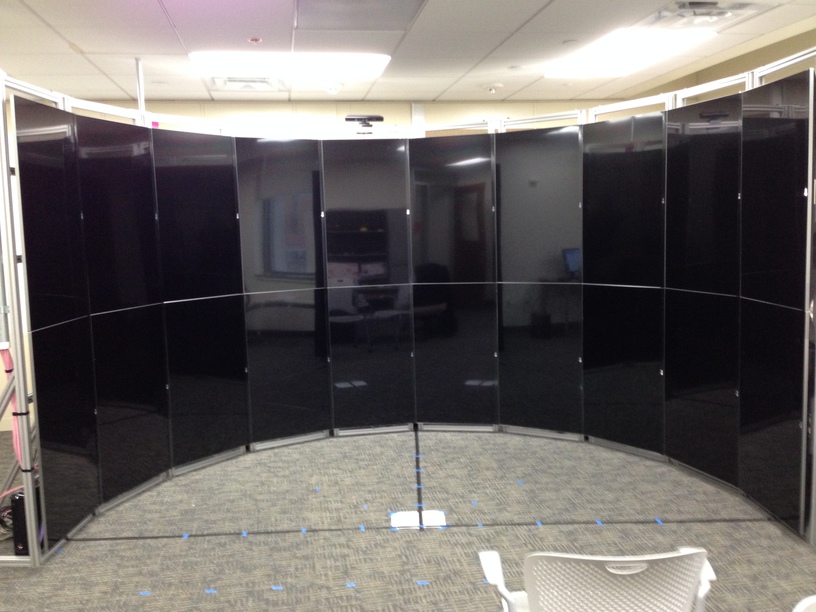
Turn on the system
1) The screens should be blacked out when you come in
2) Go to the machine in the back of the room
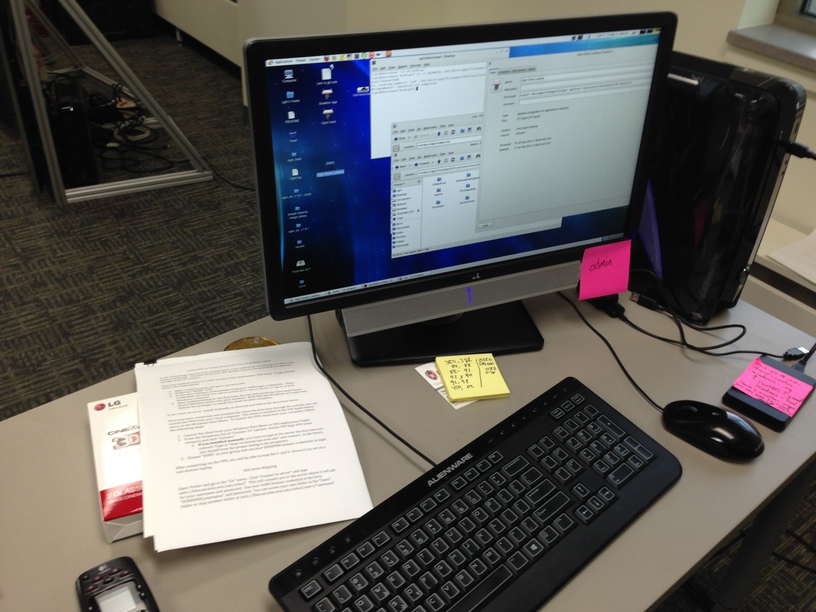
3) Click the green button on the top bar

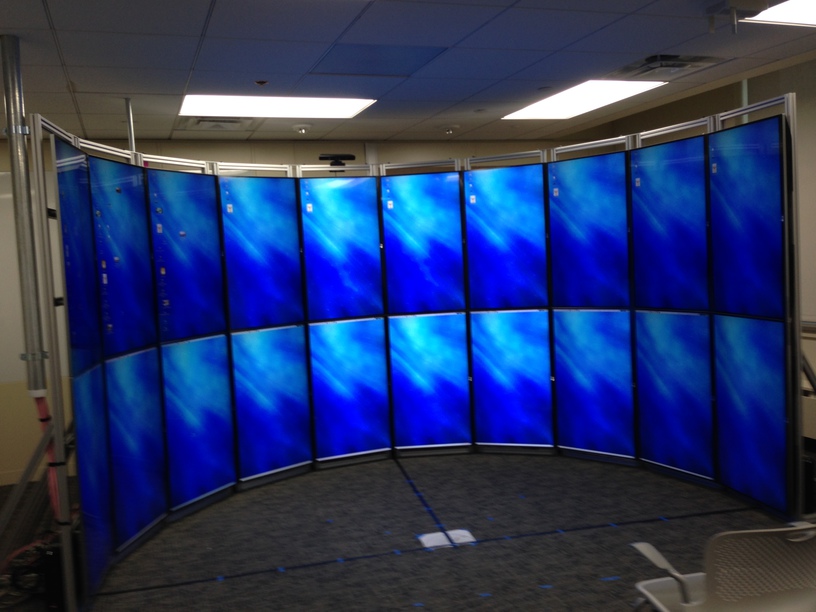
4) Now the screens should be on
Turn on the head tracking (only if necessary)
This should be running automatically. If it isn’t you may need to start the tracking server.
1) The head tracking is run from another machine. To access it click the VNC icon
2) You will be prompted for a password. It is on the pink sticky note
3) I unfortunately don’t have screenshots for these next steps yet. The SkeletonApp should be ready to go. To run it either press F5 or click the green run triangle.
4) When running, change the tracking to “sticky 1 player”
Turning on 3D
1) Click the glasses in the top bar
2) Uses the “aviator” style glasses. These are designed for the system. The other glasses will not work optimally.

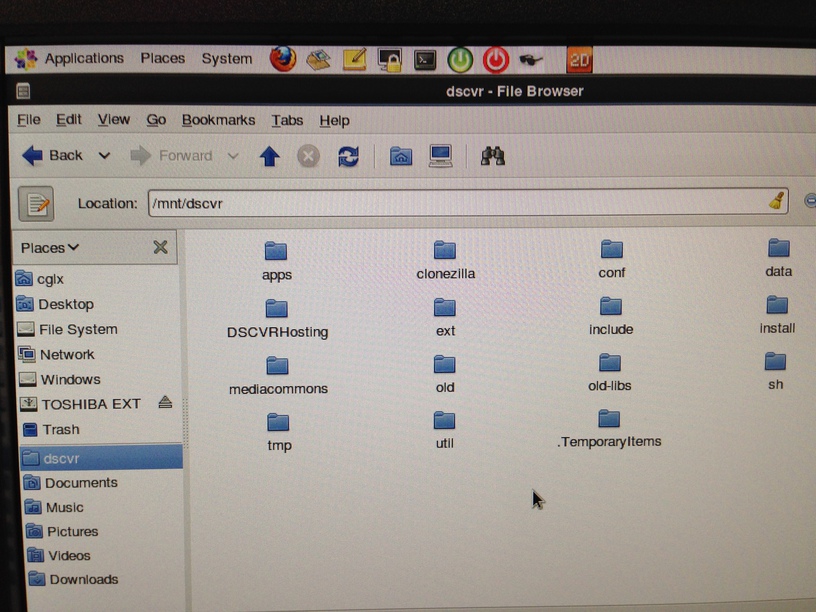
Moving your data to the system
1) All of your code, applications and code need to be put on the “dscvr” mount. This can be found by clicking the link on the side of the window or through the path “/mnt/dscvr/”
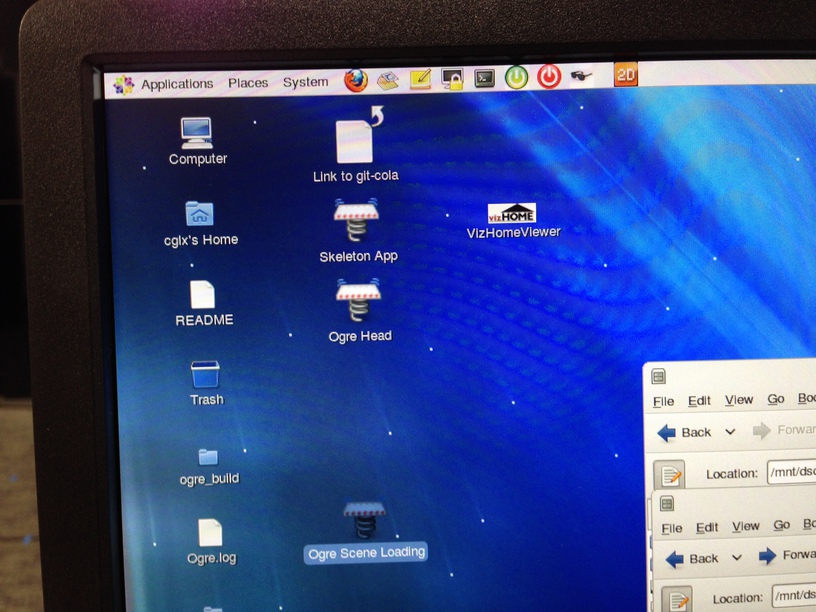
Launching your Application
1) There are a few shortcuts to launch apps. You can look at how these are setup by right clicking on them and choosing properties.
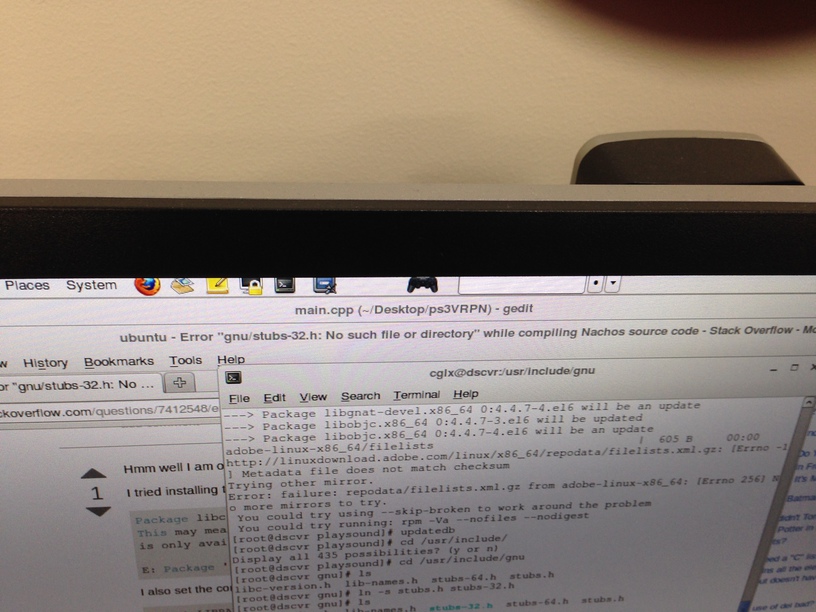
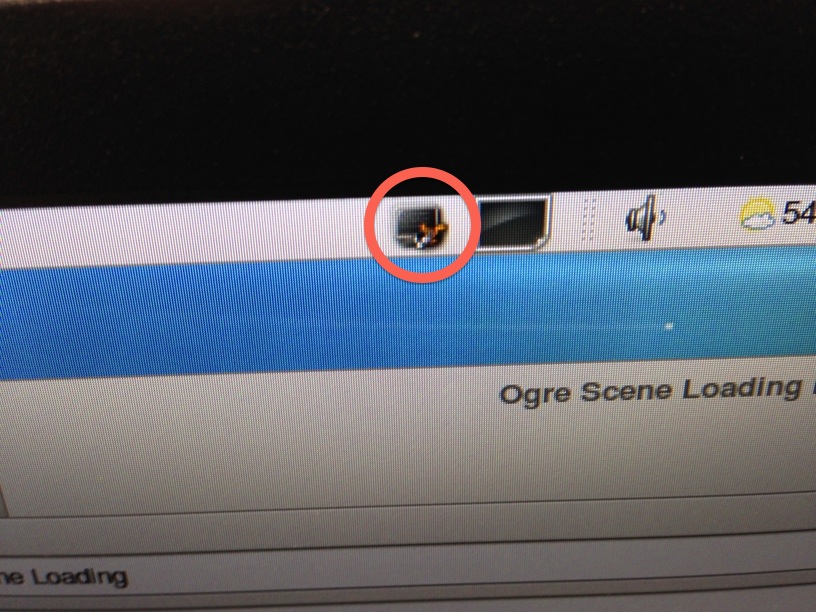
2) If you would like to launch your application from a terminal, open up a window. Either right-click on the desktop or click the icon to the left of the green circle icon
In the terminal type
csastart [path to application] [parameters]
Here is an example
csastart ~/dscvr/apps/SkeletonApp/SkeletonApp ~/dscvr/data/exampleData
Exiting the Application
1) To exit the application, press the escape key

2) If for some reason this doesn’t work, you can force close the application by typing these commands into a terminal window
tentakel killall -9 [application name]killall -9 [application name]
for example
tentakel killall -9 SkeletonApp
killall -9 SkeletonApp
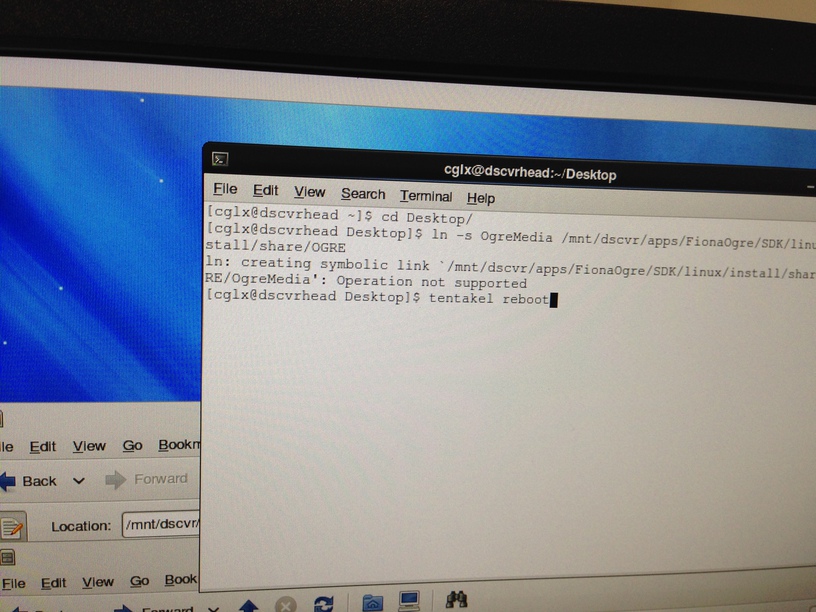
Rebooting the System (Only if things go horribly wrong)
1) You can reboot the system by typing these two commands into a terminal
tentakel reboot
reboot
Shutting down the System (things to do before you leave)
1) Make sure your application is closed (i.e. you see a blue background)
2) Turn off the monitors by clicking the red icon
3) Now the monitors should be turned off
4) Turn off the controller so the batteries don’t drain. Do this by holding the PS button until the red lights turn off
5) Plug the controller back in
6) Turn off the lights and close the door behind you
Add comments for other information that you have found useful for working with the DSCVR system