
1. What did you do?
- Lots! Settle in for an in-depth picture tour of felt creation…
Step 1: Soaking wool roving in vinegar and water
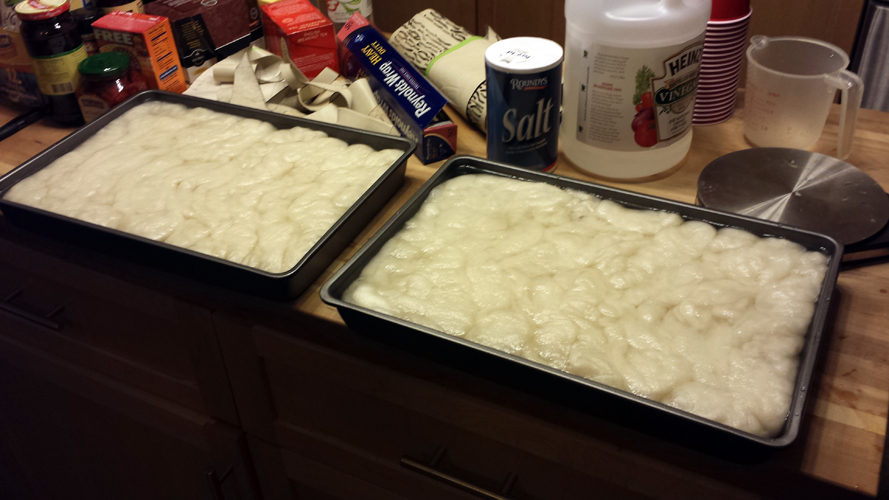
Step 2: Vinegar water is drained and dye is applied to the roving
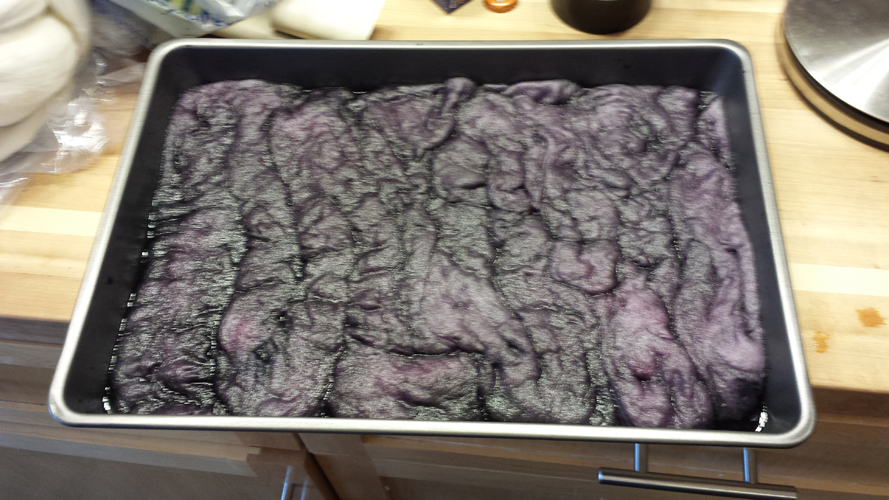
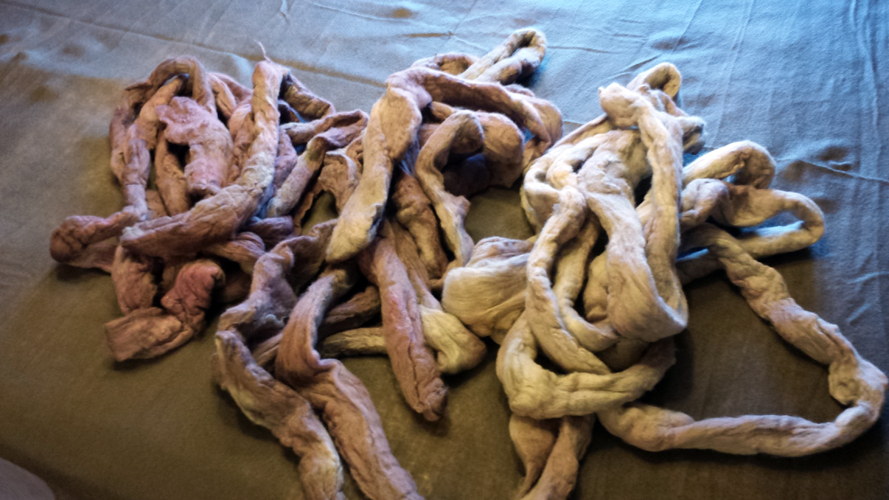
Step 3: Wool is baked in a 350 degree oven for 45 minutes, then thoroughly rinsed and hung to dry. I was able to speed up the drying process using the sweater rack attachment for my dryer. I did 3 “colorways,” using different intensities of dye to get a range of colors.
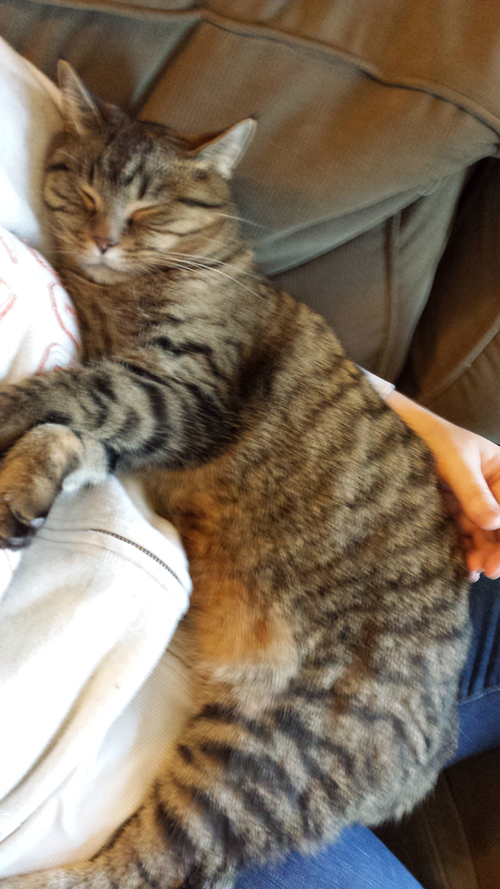
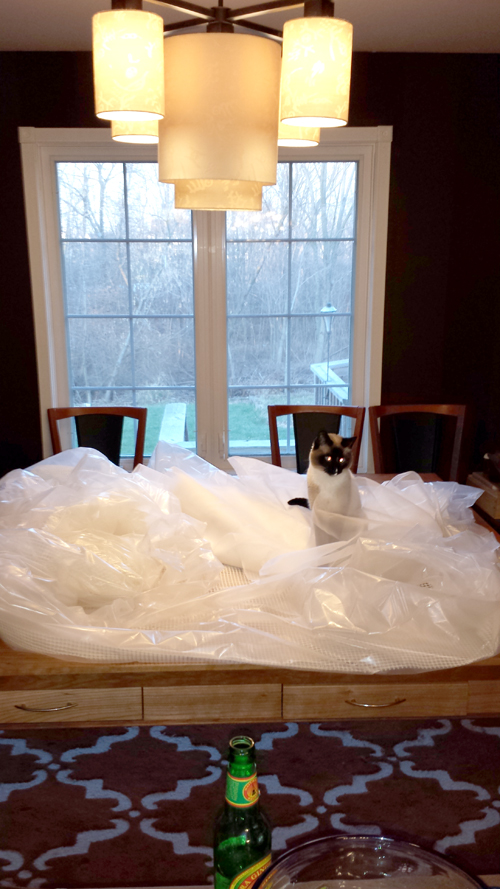
Step 3a: Cuddle with lazy cat while batches of wool are baking.
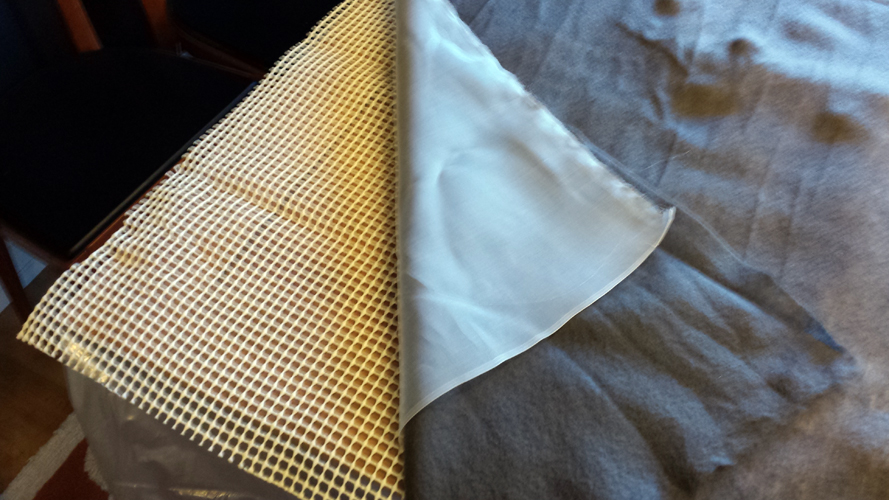
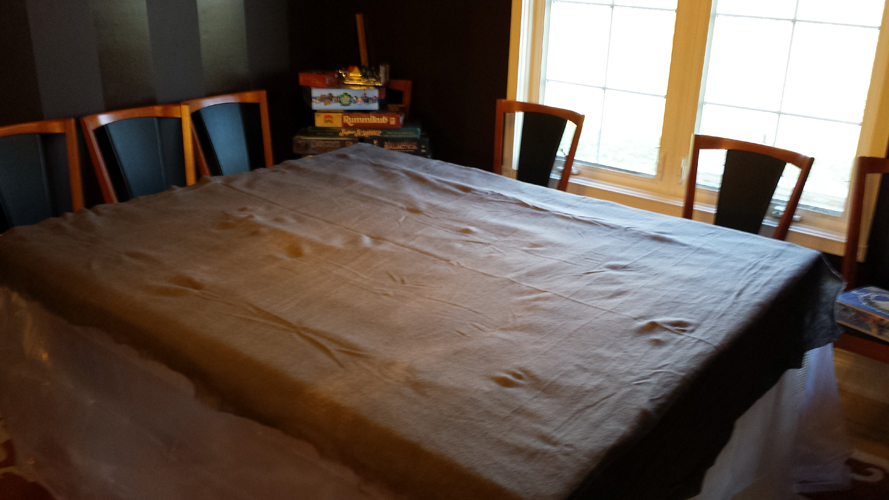
Step 4: I took over our large dining room table to layout my felting supplies. I put a plastic drop cloth over the table, then a 5′ x 8′ rug pad, followed by a layer of silk organza and a layer of grey prefelt fabric. The rug pad helps agitate the fibers when rolling, which causes the multiple fabric layers to bind together.
Step 5: Tufts of roving are pulled of an placed on top of the prefelt, creating cloud-like shapes
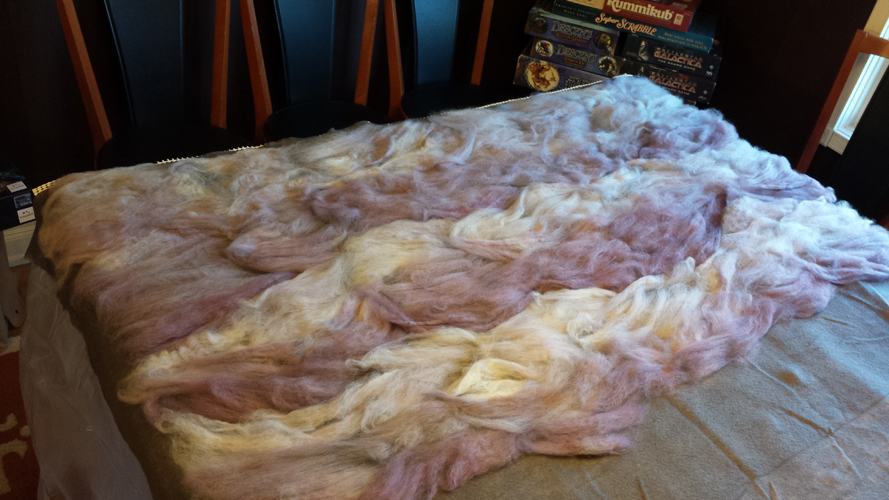
Step 6: 2 hours later…

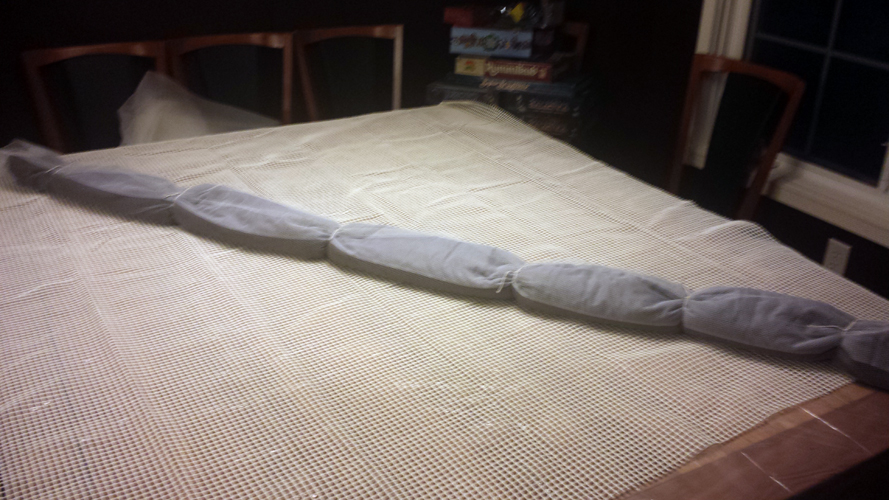
Step 7: A layer of netting is carefully placed over the roving to help keep everything in place. The entire piece is then liberally sprayed with warm soapy water and another piece of netting is rubbed in circles over the surface of the piece to being binding the fibers together.

Step 8: One the fibers have begun to felt, the entire piece (including the rug pad) is wrapped around a heavy cardboard tube and then rolled back and forth on the table for 10 minutes or so. The piece is then unrolled and rerolled in the opposite direction. The rolling continues to encourage the multiple layers to felt together. Once the felting process has started, the piece is removed from the tube and the rug pad, then rolled back up with the layers separated by the netting and tied. The roll is then placed in the washing machine on the gentle cycle.
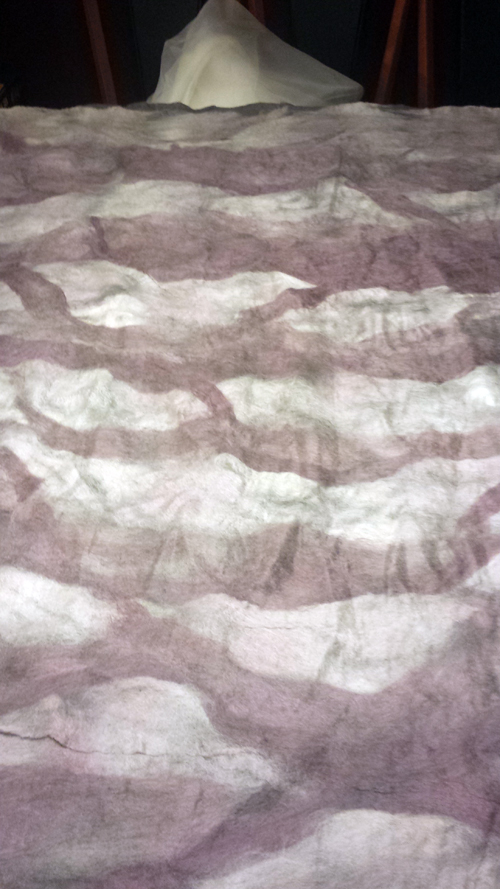
Step 9: The fabric was unrolled, rerolled and run through the wash cycle 3 times to achieve sufficient felting.
Step 10: Find your kitten playing in your felting supplies
2. Problems
- I had one major issue – namely, it turns out I badly miscalculated the amount of roving I needed for each sheet of felt and was only able to complete 2 panels this weekend.
3. Successes
- I made felt! Considering all of the issues I had with the dyeing and felting process, I am extremely pleased with my outcome. It actually looks astonishingly close to my original sketch.
4. Schedule?
- Oi, am I in a tight spot. I had originally planned on making all of the felt and sewing the gown this weekend. Instead, I was only able to complete half of the felting. At this point, I doubt that the addition of the stretch sensor is going to happen in time for the exhibit. I’m hoping to add that feature in the future.
5. Next Week?
- Due to my yarn shop’s hours, I won’t be able to buy additional roving until Tuesday. I’m planning to dye the roving and felt the last 2 panels during the week. I can dedicate next weekend to sewing the gown and soldering the electronics, then sew the in the electronics over the course of the next week. I also plan on finalizing my programming in class this week. Yikes!!