Robe a la Foudre – Final Post!

(Pictures and video will be posted as soon as I get back to Milwaukee, because my stupid phone died.)


Well, that unexepectedly took 12 hours to upload.  Sheesh!

Robe a la Foudre

 1) Describe the operation of your final project. What does it do and how does it work? 

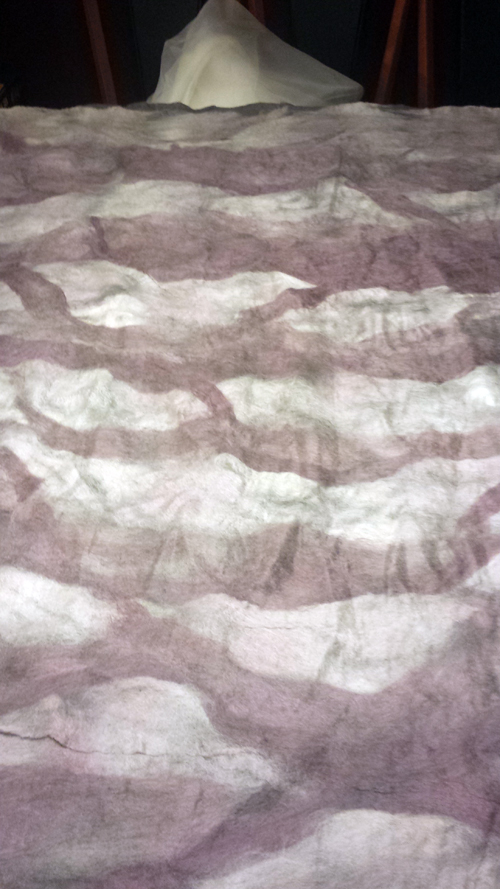
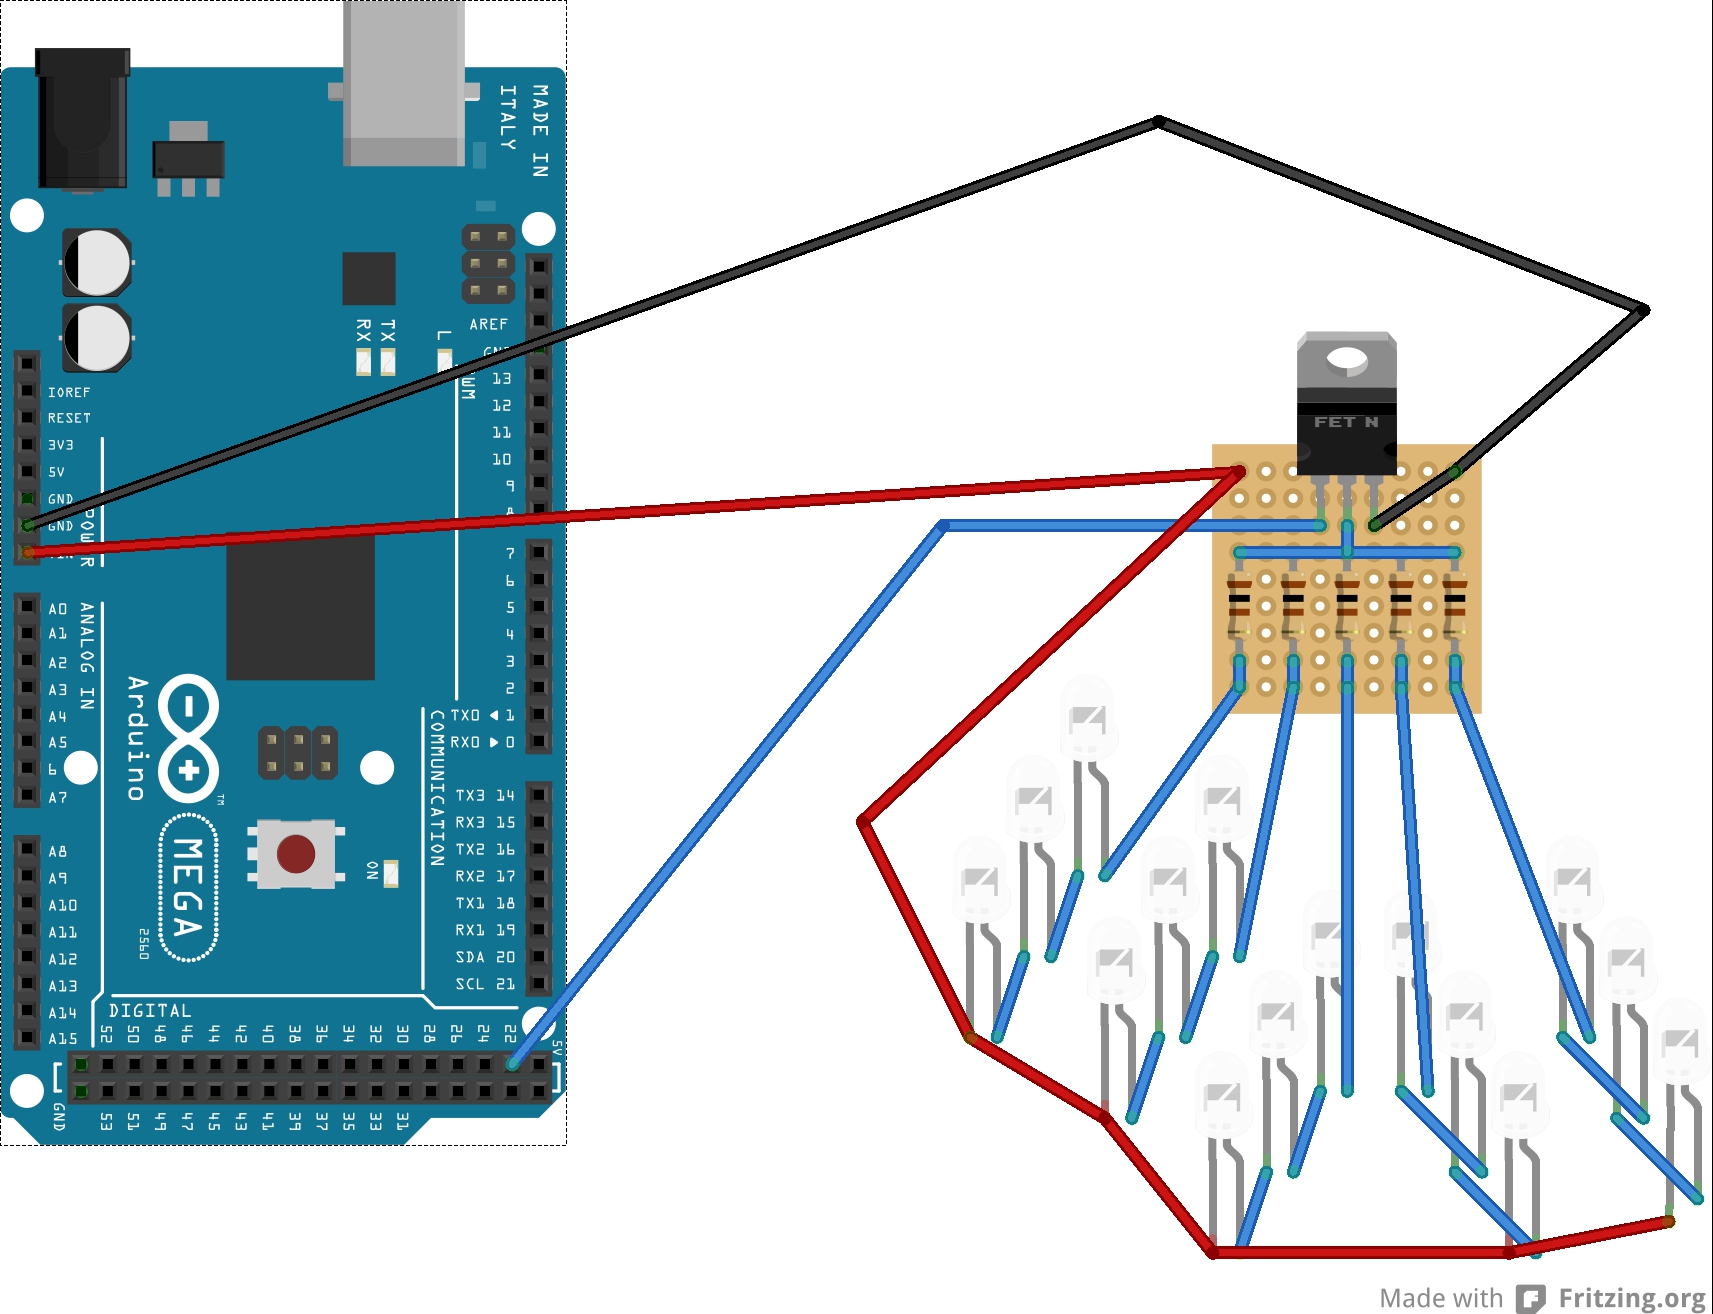
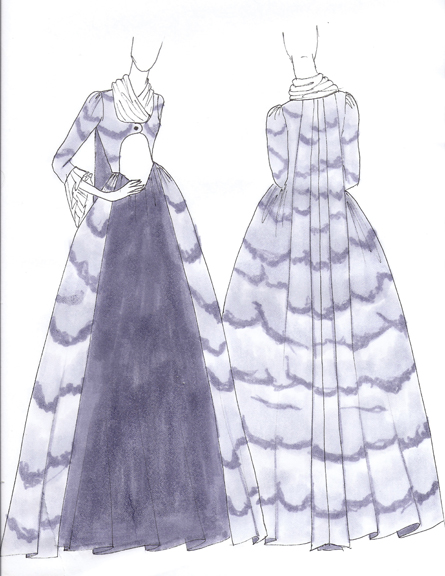
As planned, the dress imitates a lightning storm – successfully!  Each “cloud” consists of 15 extra bright white LEDs, connected to a single pin on the Arduino.  My code is designed to trigger a random number (up to 3 or it blows a circuit, lol) of random pins and then execute the stutter step lightning effect.  The brightness and duration of the lightning flicker is also randomized.  A flex sensor added under the arm shortens the delay between lightning strikes, giving the effect of increased storm activity when the wearer makes a dramatic gesture.

 2) Overall, what are your feelings about your project? Are you happy, content, frustrated, etc.?

Overall, I am extremely happy the the effect.  The piece looks almost exactly as a planned and the lightning effect functions perfectly.  My one disappointment is that due to losing so much time to technical difficulties, I wasn’t able to sew in as many LEDs as I would like.  The gown in it’s current state is much more underwhelming than I intended.  Fortunately, this is easily fixed by sewing in the remaining 300 LEDs.
 3) What were the largest hurdles you encountered in your project and how did you overcome these obstacles?

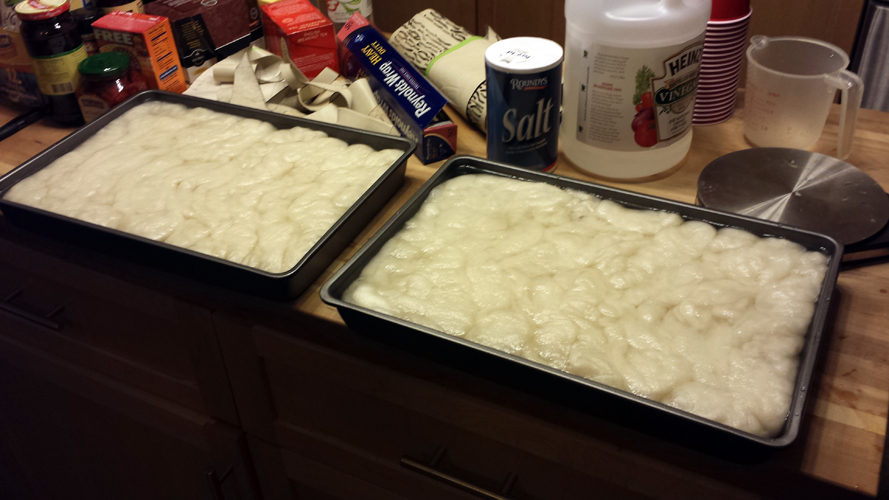
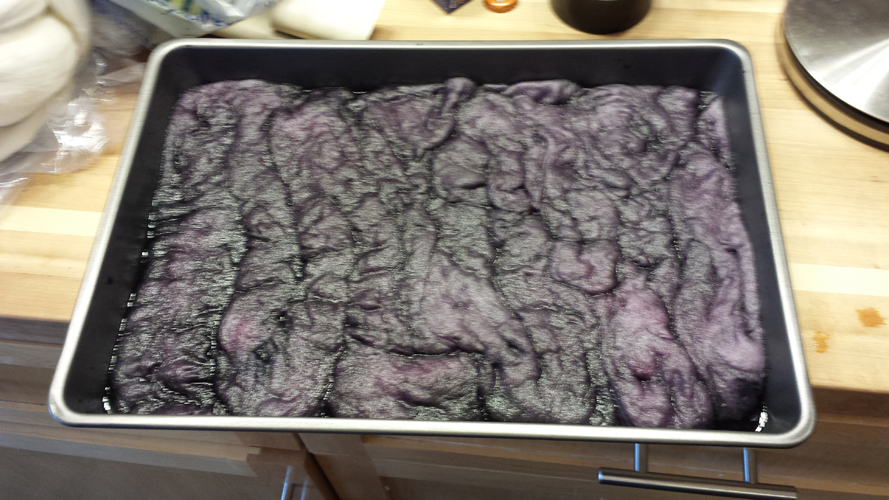
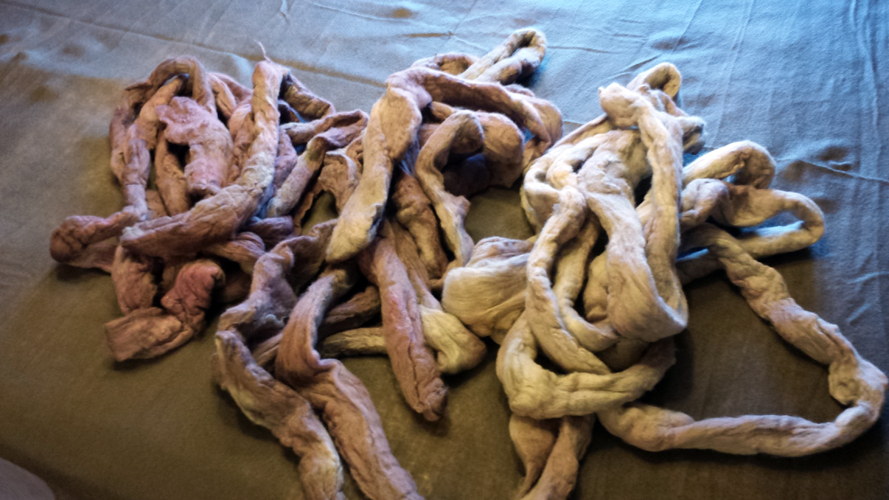
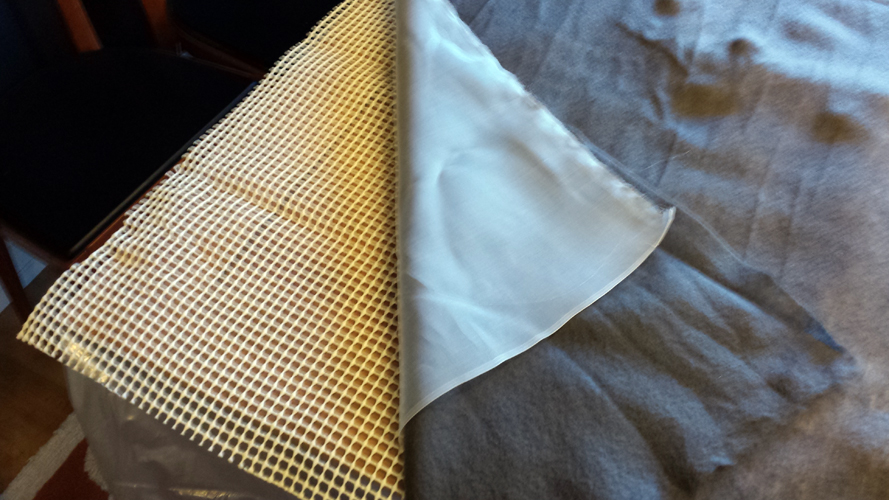
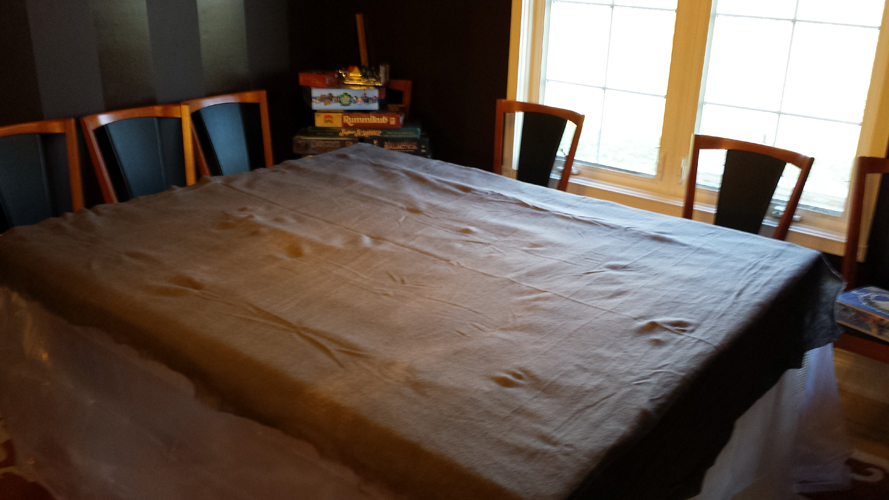
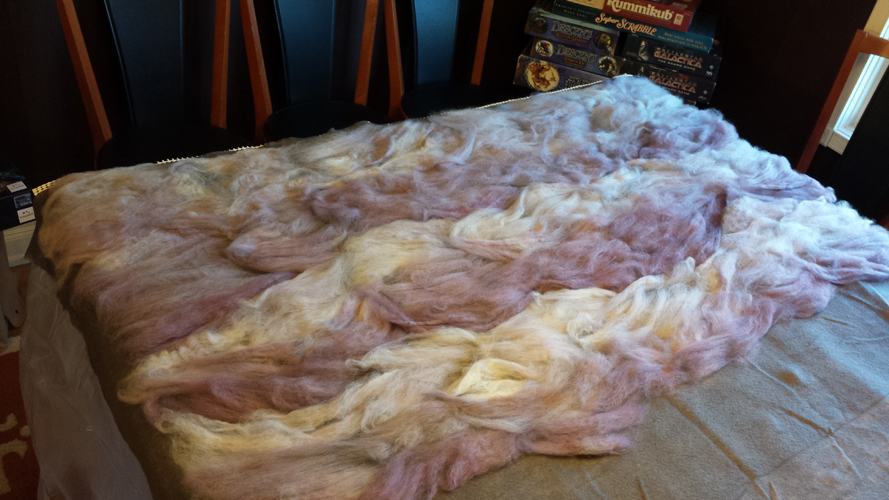
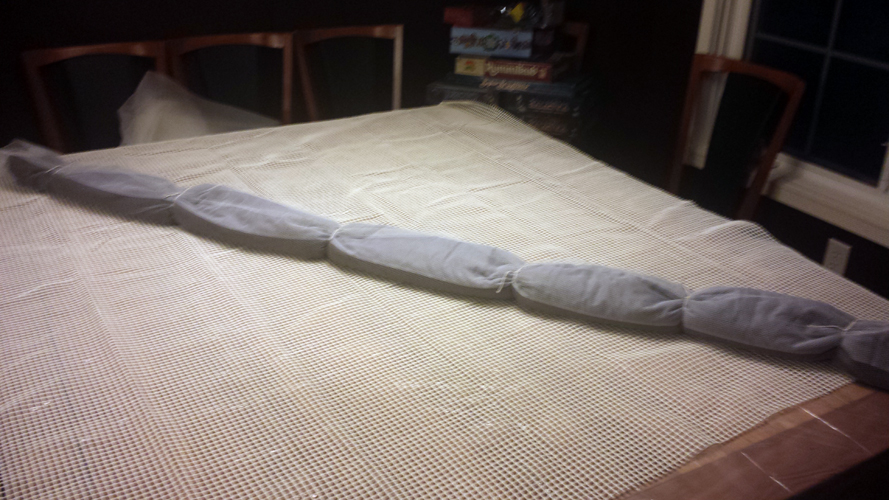
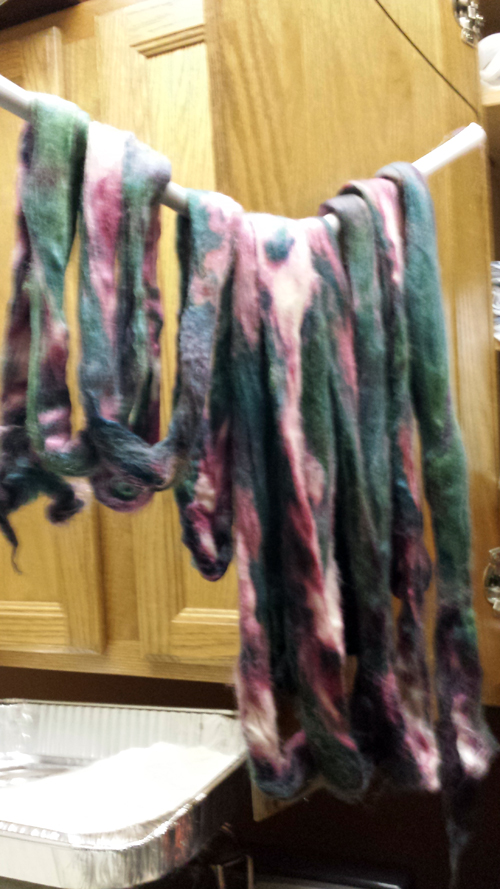
Time, time, time.  Dying wool takes a lot of time.  Making felt takes a LOT of time.  Sewing in LEDs takes a lot of time.  And all of this was compounded by the last minute failure of my protoboard chips.  If I hadn’t lost 7+ hours to trying to troubleshoot that single issue, my final product would have been in a much better state.
 4) How well did your project meet your original project description and goals?

As I said above, I am extremely pleased, especially with the program functions.  It works exactly as I had hoped and the effect is perfect.
 5) If you had more time, what would you do next on your project?

Sew in 300 more LEDs!  I’ll be doing this over Christmas, for sure.

Week 6

What I did:

This is week was not as productive as I had hoped, but I did make some progress:

  • I dyed the rest of my roving
  • I finished felting all of the fabric
  • I started draping the gown
  • I soldered the 26 resistor chips to sew into the gown and the shield to attach to the Arduino
  • I completed the Arduino program, including the sensor

Setbacks and successes:

  • I lumped these two together, since they involve the same process.  I had made great strides on my program (thanks, Nathan!)….until my computer crashed and I lost it all.  Fortunately, Kevin was able to help me cobble my data back together fairly quickly.

What’s next:

  • Sewing, sewing, sewing!  I anticipate having the gown sewn up tonight and then will spend the rest of the week sewing in LEDs.
  • I’ve decided that the flex sensor I have would be best for my needs.  I plan on sewing it into the underarm of the gown in order to respond to the raising of the wearer’s arm.  I need to take some data off the sensor and apply it to my program.

Week 5

1. What did you do?

  • Lots!  Settle in for an in-depth picture tour of felt creation…

Step 1: Soaking wool roving in vinegar and water

Step 2: Vinegar water is drained and dye is applied to the roving

Step 3:  Wool is baked in a 350 degree oven for 45 minutes, then thoroughly rinsed and hung to dry.  I was able to speed up the drying process using the sweater rack attachment for my dryer.  I did 3 “colorways,” using different intensities of dye to get a range of colors.

Step 3a:  Cuddle with lazy cat while batches of wool are baking.

Step 4:  I took over our large dining room table to layout my felting supplies.  I put a plastic drop cloth over the table, then a 5′ x 8′ rug pad, followed by a layer of silk organza and a layer of grey prefelt fabric.  The rug pad helps agitate the fibers when rolling, which causes the multiple fabric layers to bind together.

Step 5: Tufts of roving are pulled of an placed on top of the prefelt, creating cloud-like shapes

Step 6: 2 hours later…

Step 7: A layer of netting is carefully placed over the roving to help keep everything in place.  The entire piece is then liberally sprayed with warm soapy water and another piece of netting is rubbed in circles over the surface of the piece to being binding the fibers together.

Step 8: One the fibers have begun to felt, the entire piece (including the rug pad) is wrapped around a heavy cardboard tube and then rolled back and forth on the table for 10 minutes or so.  The piece is then unrolled and rerolled in the opposite direction.  The rolling continues to encourage the multiple layers to felt together.  Once the felting process has started, the piece is removed from the tube and the rug pad, then rolled back up with the layers separated by the netting and tied.  The roll is then placed in the washing machine on the gentle cycle.

Step 9: The fabric was unrolled, rerolled and run through the wash cycle 3 times to achieve sufficient felting.

Step 10: Find your kitten playing in your felting supplies


2. Problems

  • I had one major issue – namely, it turns out I badly miscalculated the amount of roving I needed for each sheet of felt and was only able to complete 2 panels this weekend.

3. Successes

  • I made felt!  Considering all of the issues I had with the dyeing and felting process, I am extremely pleased with my outcome.  It actually looks astonishingly close to my original sketch.

4. Schedule?

  • Oi, am I in a tight spot.  I had originally planned on making all of the felt and sewing the gown this weekend.  Instead, I was only able to complete half of the felting.  At this point, I doubt that the addition of the stretch sensor is going to happen in time for the exhibit.  I’m hoping to add that feature in the future.

5. Next Week?

  • Due to my yarn shop’s hours, I won’t be able to buy additional roving until Tuesday.  I’m planning to dye the roving and felt the last 2 panels during the week.  I can dedicate next weekend to sewing the gown and soldering the electronics, then sew the in the electronics over the course of the next week.  I also plan on finalizing my programming in class this week.  Yikes!!

Week 4

1. What did you do?

  • Purchased my roving and all of my felting supplies
  • Began dye tests
  • Worked on refining the lightning program
  • Received my small boards and MOSFETs

2. Problems

  • The roving is turning out to be more of an issue than anticipated.  I started with a huge ball of roving:

  • Than I applied my dyes, using a color scheme of grey and a dark grey/purple to create the storm cloud effect.  This was the outcome:

  🙁

  • Obviously, some additional work is needed.

3. Successes

  • I tested my wiring plan and I am able to power each 15 led “cloud” off of a single pin.
  • I refined the lightning program to give a more realistic stutter effect.
  • The programming was so successful, that I’ve decided to add a knit stretch sensor to control the storm intensity via gesture.

4. Schedule?

  • Still doing reasonably well.

5. Next Week?

  • I have major goals to be completed by the end of Thanksgiving:
  1. Dye all roving
  2. Felt yardage
  3. Drape and sew gown
  4. Create stretch sensor

It’s going to be a busy week!

Week 3

Lightning Test

1. What did you do?

  • Received my LEDs
  • Received my prefelts and wool dyes
  • Tested my LEDs for brightness
  • Calculated my LED array
  • Ordered my remaining electronics
  • Planned my wiring scheme

2. Problems

  • Nothing major this week *fingers crossed*

3.  Successes

  • I’ve planned how I can successfully power all of my LEDs and have a solid idea of how to wire and assemble everything.

4. Schedule?

  • I’m a little behind, but I think I can still meet some immediate goals

5. Next Week?

  • The goal for the weekend is to finish draping the dress, do some dye tests on my roving and then do the actual dying of the roving.  This will put me in a position to felt next Friday/weekend.
  • The most important task for this next week to complete draping/patterning the dress.
  • If the supplies arrive, I would also like to purchase my wool roving and dye it in preparation for felting.

Week 2

1. What did you do?

  • Calculated yardage estimate for dress
  • Researched large-scale felting techniques
  • Calculated approximate felt shrinkage
  • Ordered pre-felts
  • Ordered wool dye

2. Problems

  • My LEDs still have not arrived, even though they have been listed as “shipped”.  I’m waiting to hear back from the company on where they are

3.Successes

  • I found a few time and effort saving techniques for felting that I think will aid me on creating my yardage successfully.

4. Schedule?

  • I feel like I’m still alright on my schedule.  I have all of my materials on the way and a good plan on how to proceed.

5. Next Week?

  • The most important task for this next week to complete draping/patterning the dress.
  • If the supplies arrive, I would also like to purchase my wool roving and dye it in preparation for felting.


Week 1 Catch-up Post

Week 1 was spent researching LEDs and testing randomized lighting code.  I think I have a good start on the coding end.  I ordered 400 of the below LED’s:

http://www.ledssuperbright.com/5mm-led-c-6/100-5mm-flat-white-led-20000-mcd-p-193

Next steps – once I have the LED’s I want to check their actual brightness to determine how many LED’s I’ll be stringing per “cloud” so that I can make some determinations on power needs.  I also need to finalize a plan as far as how I’m going to connect all of these LED’s to an Arduino (multiplexing, shift registers, different board type, etc.).


Robe a la Foudre

Statement of Purpose:

The intended outcome for this project is to create an 18th century-style gown that is designed to look like a lightning storm.  Lighting and electronics will be incorporated in a more subtle and comprehensive manner in order to surprise the viewer with the full function of the piece.  I would also like to incorporate a performance aspect, where the intensity of the “storm” is influenced by the gestures and movement of the wearer.

Project Materials:

  • Wool felt
  • Ultra bright white LEDs
  • Arduino
  • Conductive thread or ribbon
  • Accelerometers
  • Lithium ion batteries

Project Steps:

Garment

  • Pattern gown
  • Dye wool roving
  • Make felted panels
  • Assemble gown
  • Insert electronics

Electronics

  • Write “lightning” simulator program
  • Plan wiring/lighting schematics
  • Determine power needs
  • Assemble lighting arrays

Concepts to Master:

  • Wool dyeing
  • Wet felting
  • Randomization programming
  • Use of accelerometer data
  • Programming and powering large quantities of LEDs via Arduino
  • Efficient and effective wiring schemes

Proposed Calendar:

Week 1

  • Begin patterning gown
  • Order wool & dye
  • Begin work on “lightning” program

Week 2

  • Finish patterning gown
  • Continue work on “lightning” program

Week 3

  • Dye wool
  • Continue work on “lightning” program
  • Order electronic components

Week 4

  • Begin felting
  • Start working with accelerometers

Week 5

  • Finish felting
  • Complete Arduino programming

Weeks 6-8

  • Sew gown
  • Assemble and test electronics
  • Insert electronics into gown