Posting Reminder

Remember posts are going to be due Sunday this week, but they need to be extra good.  That means you should make sure you have more than one image and an extensive  description of your progress this week.

Also remember to TAG YOUR POSTS with your project name.

week 4

What did you do:

1. Received what should be the last of my supplies. LEDs, motion sensors, arduino board.

2. Continued working on my scarf.

3. Wrote up the code for what I would like the scarf to do.

Problems:

1. Would have liked my scarf to be finished thus far.

Successes:

1. Wrote the first draft of my code, thinking it went okay, ready to test it this week.

Next week:

1. Sew LED’s and Motion sensors onto scarf. 

Week 4

1. What did you do?

  • Purchased my roving and all of my felting supplies
  • Began dye tests
  • Worked on refining the lightning program
  • Received my small boards and MOSFETs

2. Problems

  • The roving is turning out to be more of an issue than anticipated.  I started with a huge ball of roving:

  • Than I applied my dyes, using a color scheme of grey and a dark grey/purple to create the storm cloud effect.  This was the outcome:

  🙁

  • Obviously, some additional work is needed.

3. Successes

  • I tested my wiring plan and I am able to power each 15 led “cloud” off of a single pin.
  • I refined the lightning program to give a more realistic stutter effect.
  • The programming was so successful, that I’ve decided to add a knit stretch sensor to control the storm intensity via gesture.

4. Schedule?

  • Still doing reasonably well.

5. Next Week?

  • I have major goals to be completed by the end of Thanksgiving:
  1. Dye all roving
  2. Felt yardage
  3. Drape and sew gown
  4. Create stretch sensor

It’s going to be a busy week!

Moneo: Day 24

Week’s Accomplishments:

Tested Soldering the Copper Taffeta to the wire thread. Seemed to work very well. The solder sucked into the weave and the fabric did not melt under the brief exposure to the iron.
Very nice conductivity.
Best news of the week: The RF transmitters arrived. Finally. All ten from the second shipment are here, each in its own static bag.
Close up shot of the board.
Size comparison
These will be used to attach ribbon cable to the transmitters. The socket is a bit too large. I may end up soldering it to the underside of the assembly.

Problems:

Time wasted waiting for transmitters. Also, intial tests with taffeta as RF shielding were less than successful.

Successes:

The Taffeta soldered much better than I expected. If I can get it to act as an RF shield, I’ll be set.

Schedule:

Delayed. The shipping time on the transmitters has been a set back. Will need to work quickly to get them integrated.

Next week:

Acclerometer and wireless protocol development.

Week 4 – Update

What did you do this week?

I finishing cutting my pattern for a 3rd (and hopefullly last) time:

The pulse sensor seems to be working properly. I determined that I am able to get the best read from the sensor when it is placed on the inside of my wrist.  I think this will work nicely with the design of my jacket. I will put a velcro strap on the inside of the cuff to secure the sensor to the skin.

Describe the problems you encountered.

No major problems this week.

Describe the successes you had.

I was excited to get the pulse sensor working.

Are you on schedule?

I am on schedule.  Originally I had planned to finish the construction of the jacket first, but it made more sense to get the sensors up and running to determine how they will be best incorporated into the construction.

What do you plan to do next week?

Before Thanksgiving break I would like to make sure the proximity sensor works and start sewing the jacket together.


Week 4

What I did this week:

This week I worked on patterning my garment.  (see images above) it is finished except for the inserts.

Successes this week

I finished patterning which was a huge success.  I also figured out how much fabric I need so I can go purchase fabric over thanksgiving break.

Failures this week

largest failure was not getting my electronics in time to work on today in class.  But both my brothers are computer science majors so over break I will be able to pick their brains on how to do something if I have questions.

Schedule:

I have gotten rid of the original schedule.  Now, I plan to start programing when my electronics arrive and will hopefully be able to finish programing over thanksgiving break and get my fabric so I can start sewing on my real fabric when I get back from break.


“THIS FISH HAS BEEN CAUGHT. EAGLE IS FLYING HOME. I REPEAT, EAGLE FLYS HOME”

  • What did you do this week?
This week I showed up late to class to obtain LEDs from a Fedex location.  Once I got to class, I put another layer of silicone caulk over a dried layer of caulk and I also tested super glue on the dried caulk.  I also made a little waterproof test caulk with a little litmus strip that will show if/when wet:
I checked on my slow-to-ship magnets and they’re making their way here…
  • Describe the problems you encountered
I needlessly cut a USB cord in half so that was a problem.
  • Describe the successes you had
I had a lot of successes this week.
I had a really great one-on-one talk with Kevin.
I obtained very cheaply some wire lead things from Alper and Nathan that really helped my circuit out and simplified it.
I started talking readings off my accelerometer which was very encouraging.
  • Are you on schedule?
I’m on a whole new schedule and I feel great.
  • What do you plan to do next week?

Tuesday is going to be great.  I plan on testing both the dried silicone tests.  I also plan integrating my 6 LEDs in my test circuit.  Hopefully I can work through more accelerometer programming as well.

Week 4 Update – GLOVES

What did you do this week?

This week, we tested the bluetooth and confirmed that data can be transferred over the connection.

We received some flex sensors from SparkFun and plan to incorporate them into our gloves to model the final implementation.

We also discovered how to power the Lilypad (using a spliced USB cable plugged into the wall, thanks Zack!) and placed the bluetooth dongle on the serial pins of the lilypad

Describe the problems you encountered

We solved our longstanding issue with the arduino not talking to the bluetooth dongle; it was a combination of the baudrate not matching up (we ended up using the default 115200 of the bluetooth module), and switching the Rx/Tx pins.

We were having trouble trying to power the bluetooth dongle with the supplied 3.7v lilypad battery.

Describe the successes you had

We used a spliced USB cable (plugged into the wall + voltage regulator) to supply the Lilypad with 5v when the bluetooth dongle takes the Serial port.  We could probably use a AAA-sized 5V battery in the final design.

We also had success transmitting data from a bluetooth-enabled phone to the bluetooth module and having the Arduino respond to the data.  We will use this success to move onto sending textual data and displaying it on the screen next!

Are you on schedule?

Heck yes!  We’re past our initial hurdle of communication and we hope that integration of sensors will go much more smoothly.

What do you plan to do next week?

For next week, we plan to integrate the flex sensors and build a test program for the android phone to transmit custom data (e.g. text messages) to the lilypad/screen.  Additional, thanks to the generous donation of copper taffeta from Nathan, we’re planning on using it as a conductive material to ‘sandwich’ wires to each side of the QTC material.  If successful, this’ll be a very resilient sensor for pressure that we can put on the fingertips or along the sides of the gloves for user interaction.

Week 3 Update

What did you do this week? [Include image(s)]

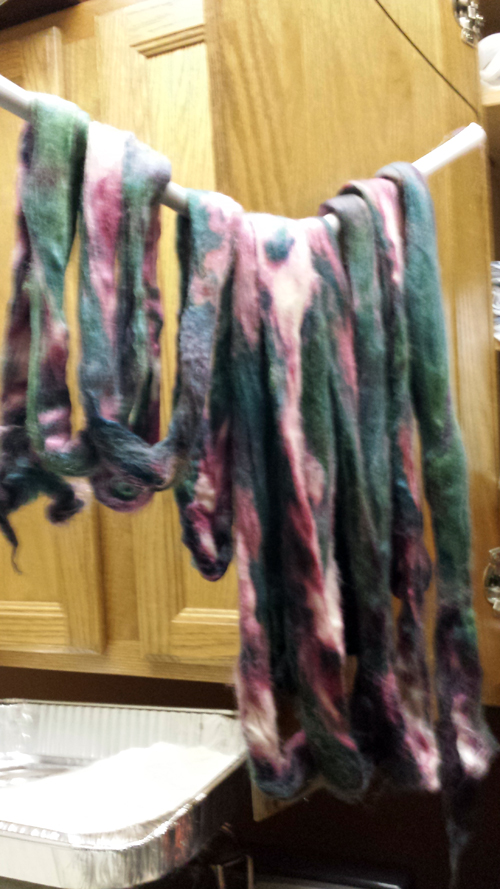
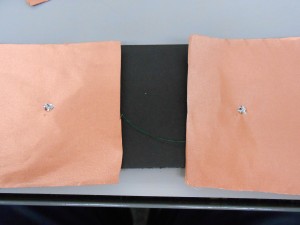
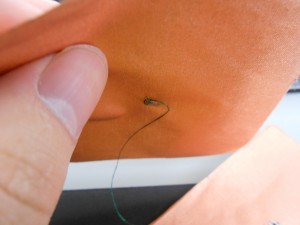
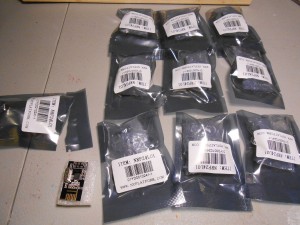
This week, we explored some more avenues for interaction.  After playing with the tiny 4mm x 4mm QTC, we were having real trouble trying to keep the wires interfaced to the material, we’re going to hedge our bets and also get some flex sensors for sensing the position of the fingers.

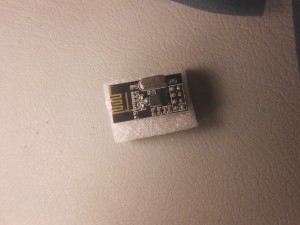
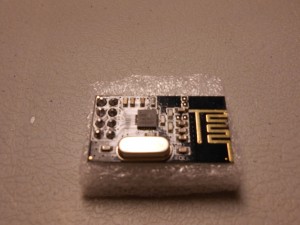
We also continued our tribulations with the bluetooth dongle.  This week, we got success connecting to and configuring the bluetooth module remotely, but were still unable to communicate with the device locally (from the arduino).  Below is a picture of the screen displaying the data that the Arduino has (nothing!), and the bluetooth connection with a bluetooth-enabled laptop.

Showing the configuration options after interfacing with the bluetooth module remotely.  The text appears normal, meaning the baud rates match up.

Describe the problems you encountered

For some yet unknown reason, the arudino iteself doesn’t seem to be able to communicate with the chip, making serial communication between the arduino and an external device impossible (for now!).  We also had difficulty embedding the QTC in a material to keep the wires in contact with the material without shorting.

Describe the successes you had

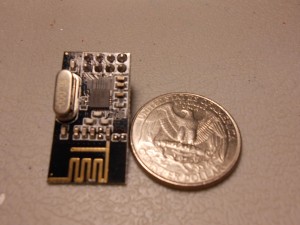
We got all the parts and were able to half-connect to the bluetooth dongle!

Are you on schedule?

We’re a little behind due to the hiccups with the bluetooth dongle, but barring that, the rest of the project seems to be going smoothly.

What do you plan to do next week?

For next week, we’ll chase down our bluetooth woes, place the flex sensors in the gloves, and try out the sensing positions of the fingers and the potential inputs that the arduino would get.