
After a couple of weeks off due to a family medical crisis, I have a good bit of progress to report! First, I finalized garment sketches and put all of my fabrics together to make sure I like how everything is working as a collection. Here’s my current design board:
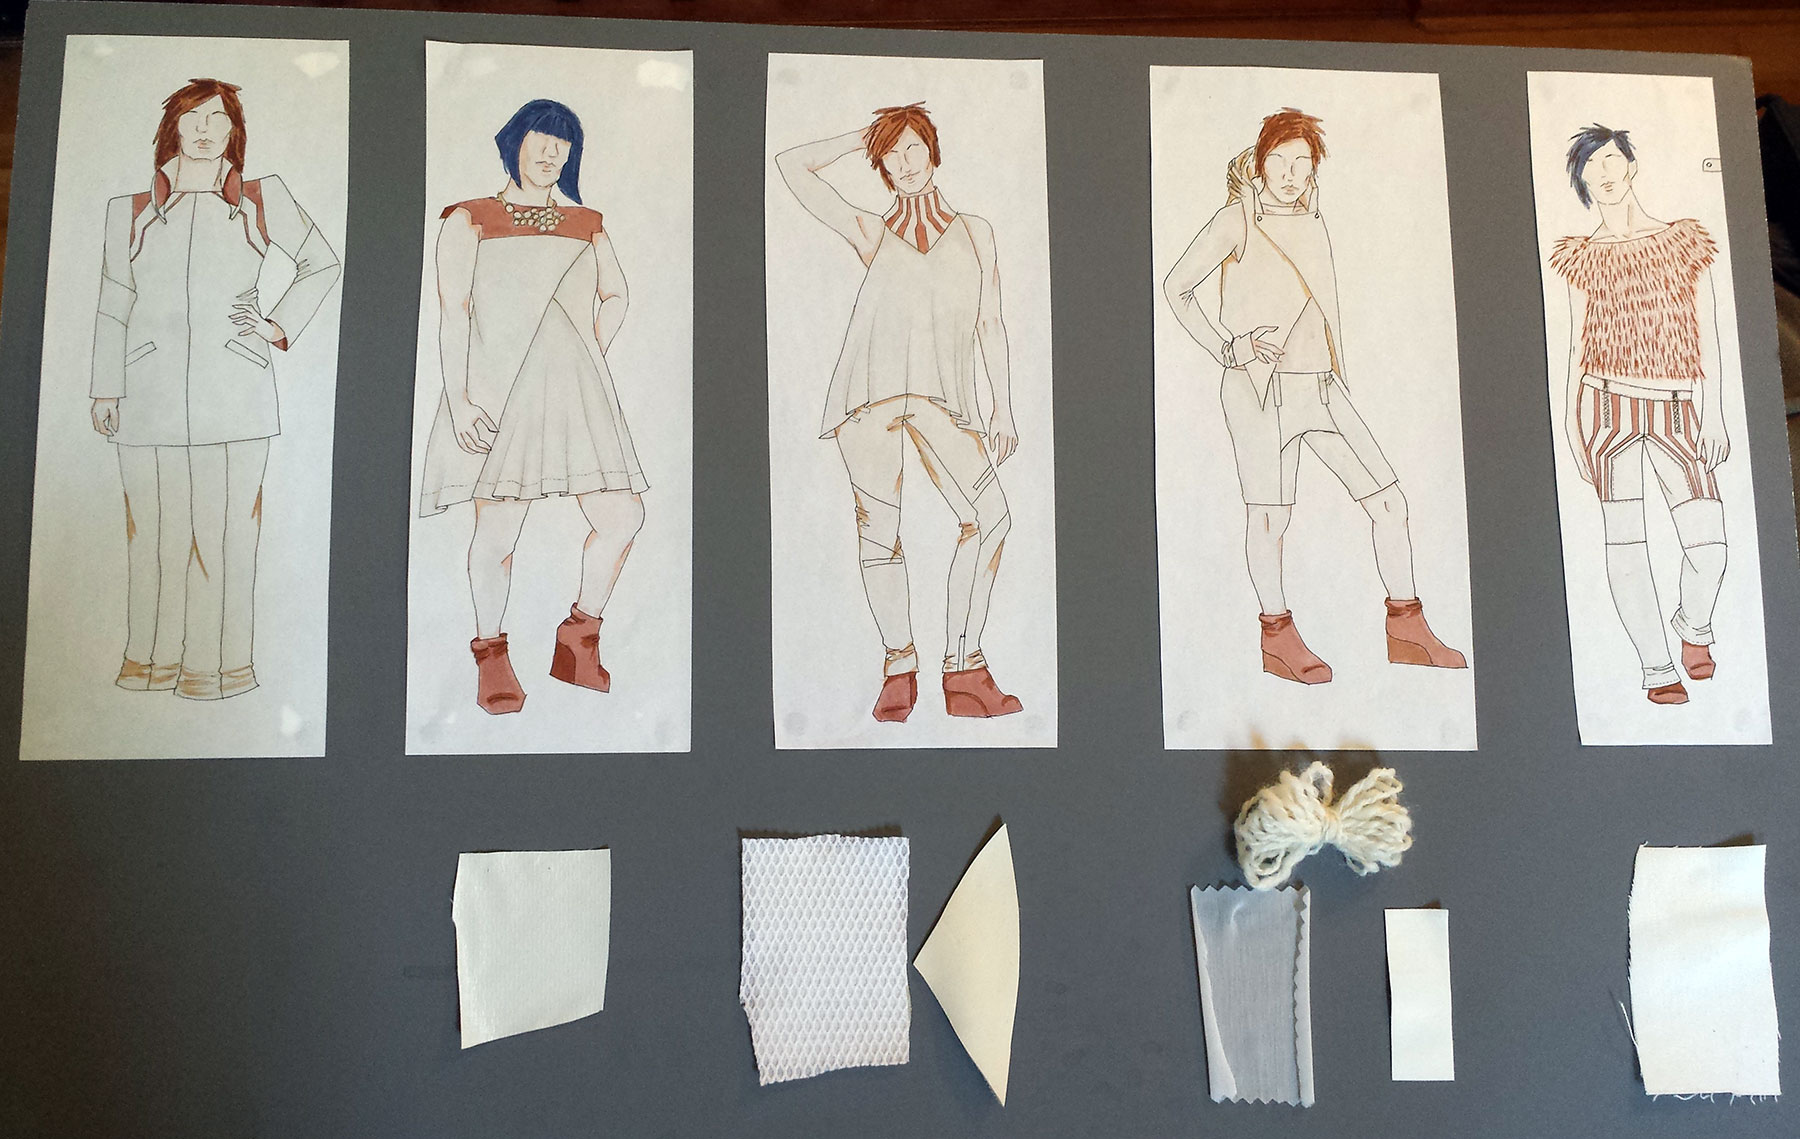 I thin it will be easiest to review where I’m at on each garment individually.
1) Speaker coat:
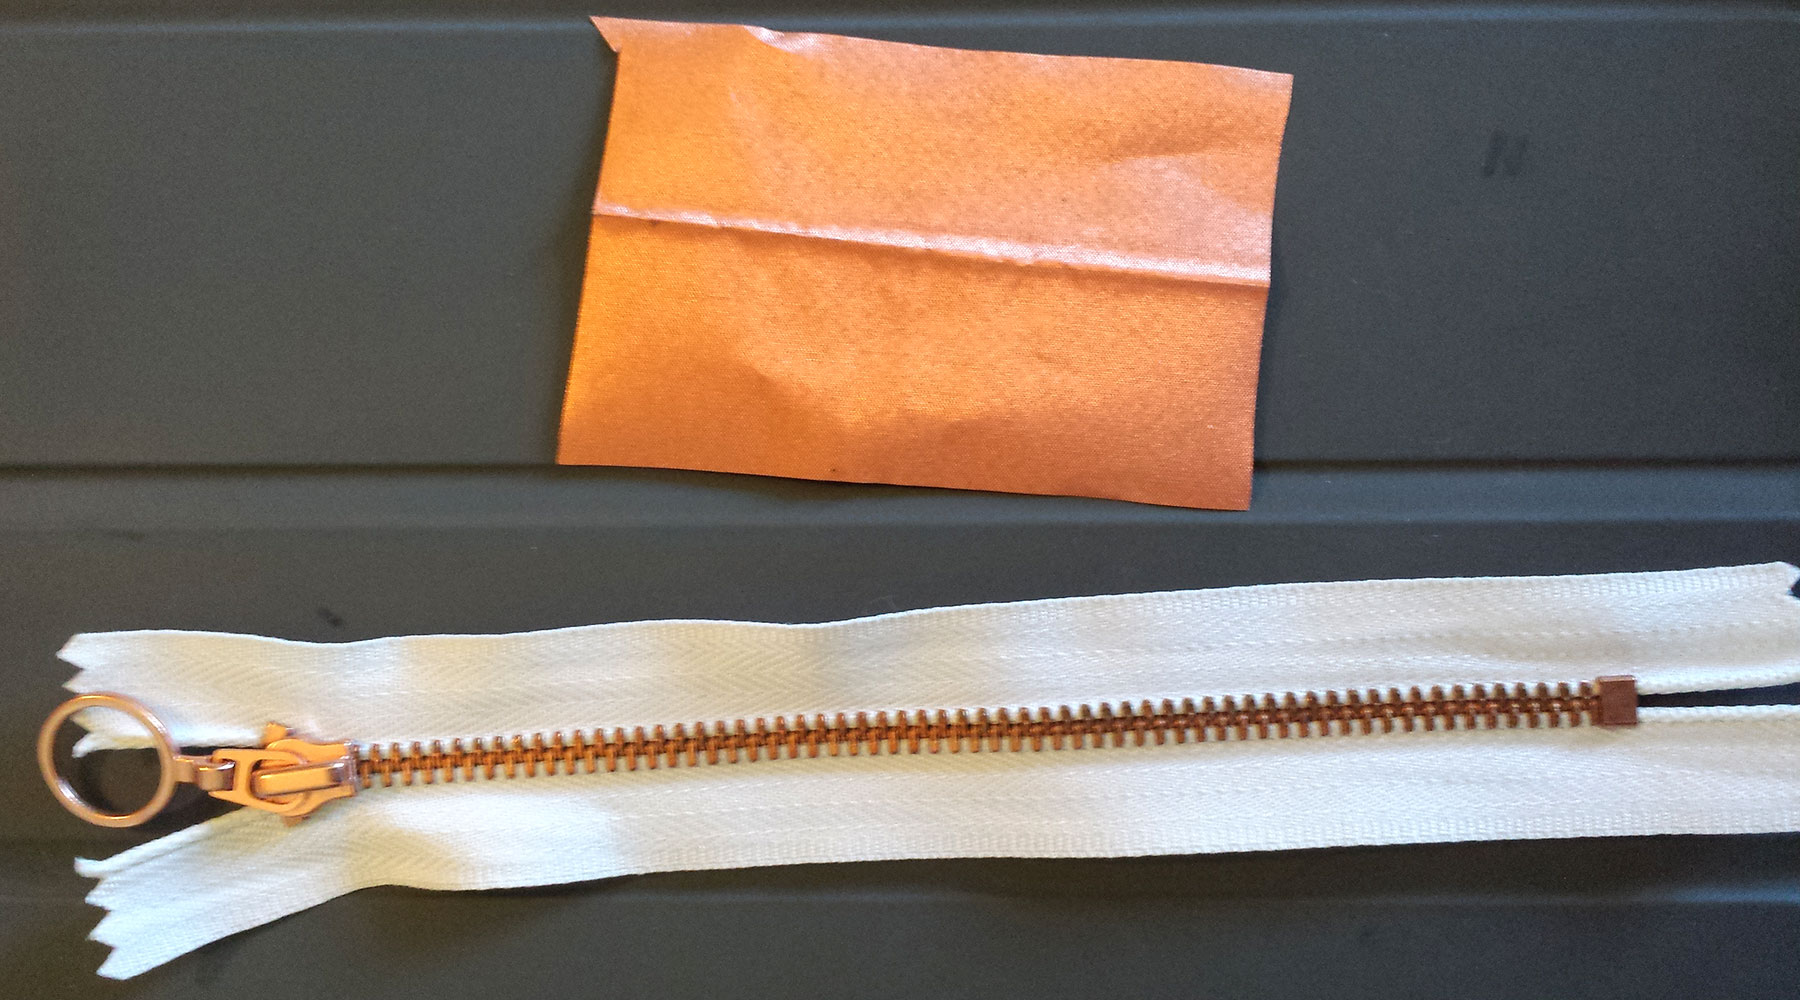
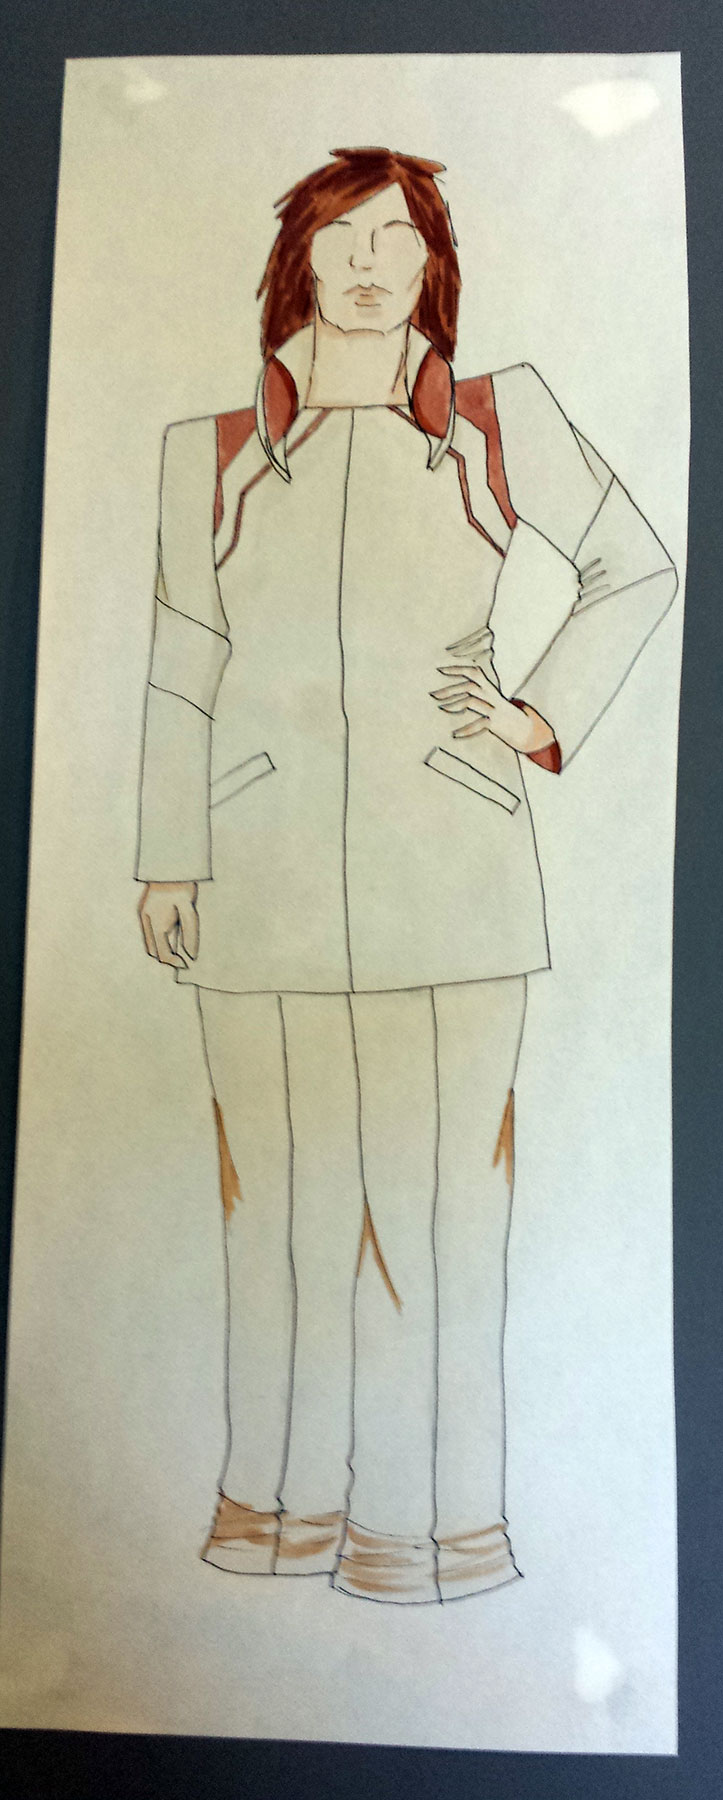 The main feature of this piece is a pair of speakers embedded in the collar, made from copper conductive thread and powered by the LillypadMP3. I’m still waiting on fabric samples, so I haven’t finalized the materials yet. I did assemble a very successful test speaker:
I was very pleased that this worked right out of the gate! The LillypadMP3 is the perfect platform for this application. In this test the speaker is far too quiet, due to several factors. Going forward, I will be adding interfacing to reinforce the fabric and get better vibration quality. I have stronger magnets on order that should help up the volume. Also, the final design of the collar will create a chamber to help amplify the sound.
2) Inflatable dress:
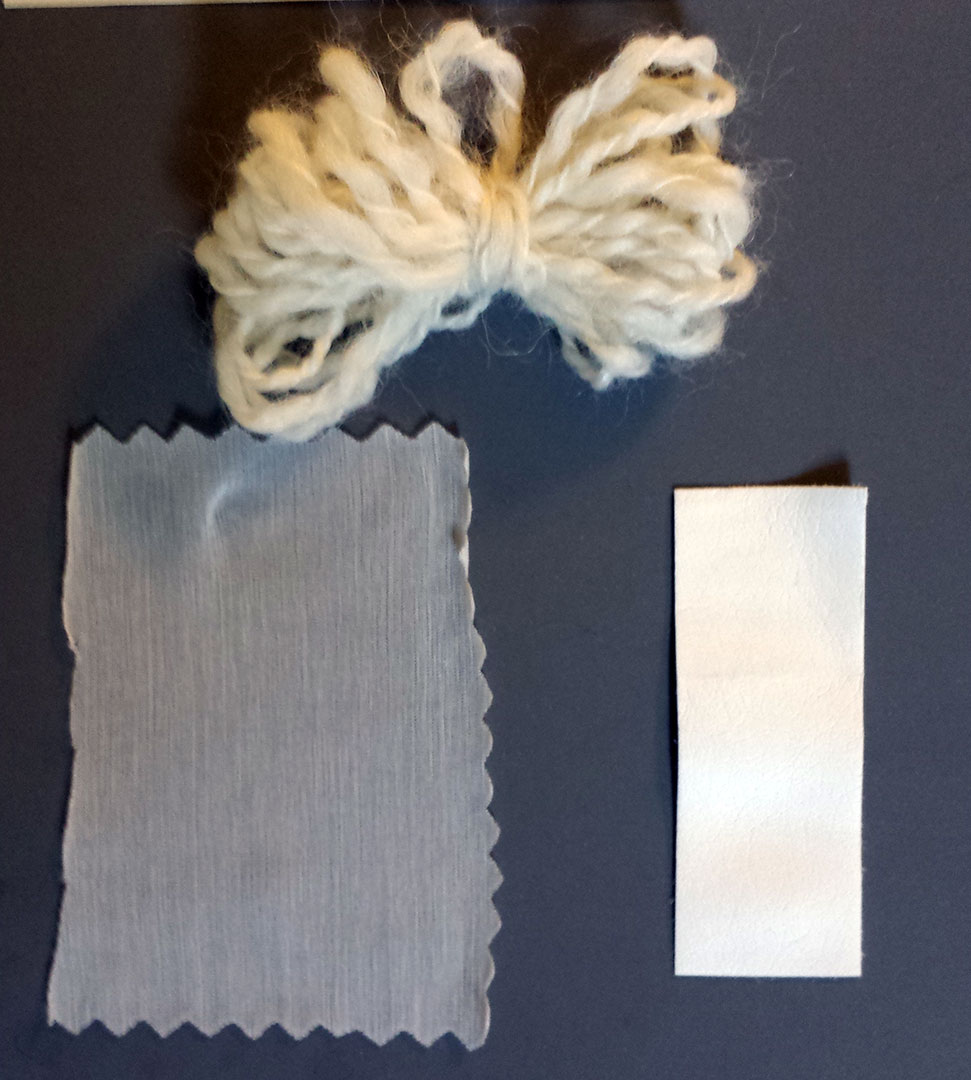
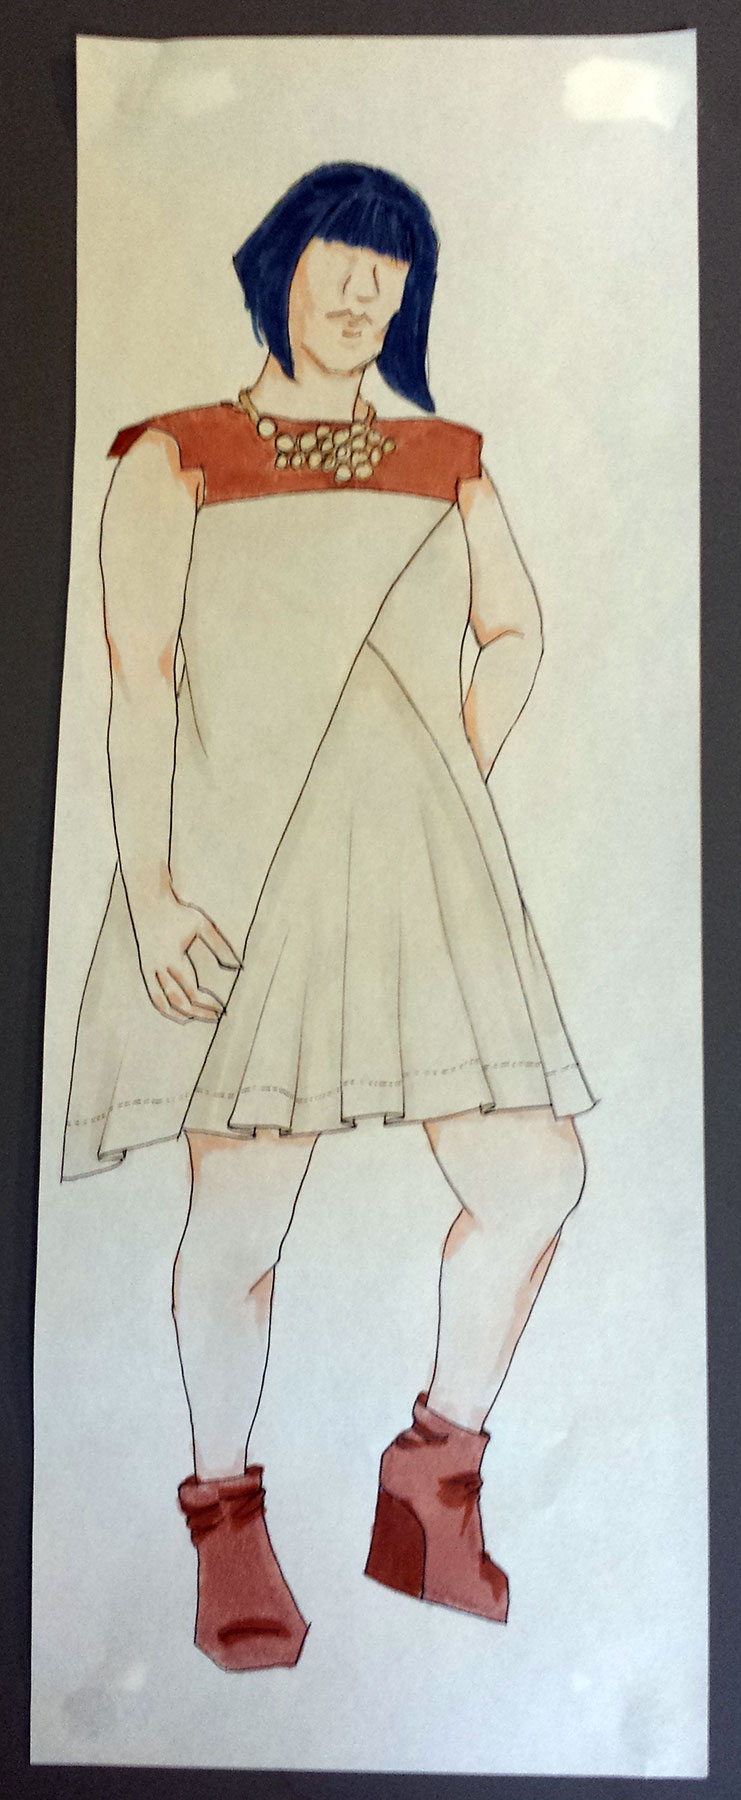 The intention of this dress is to have the hem inflate when triggered, causing it to create a barrier around the wearer. The dress will be made of a vinyl-coated nylon ripstop.
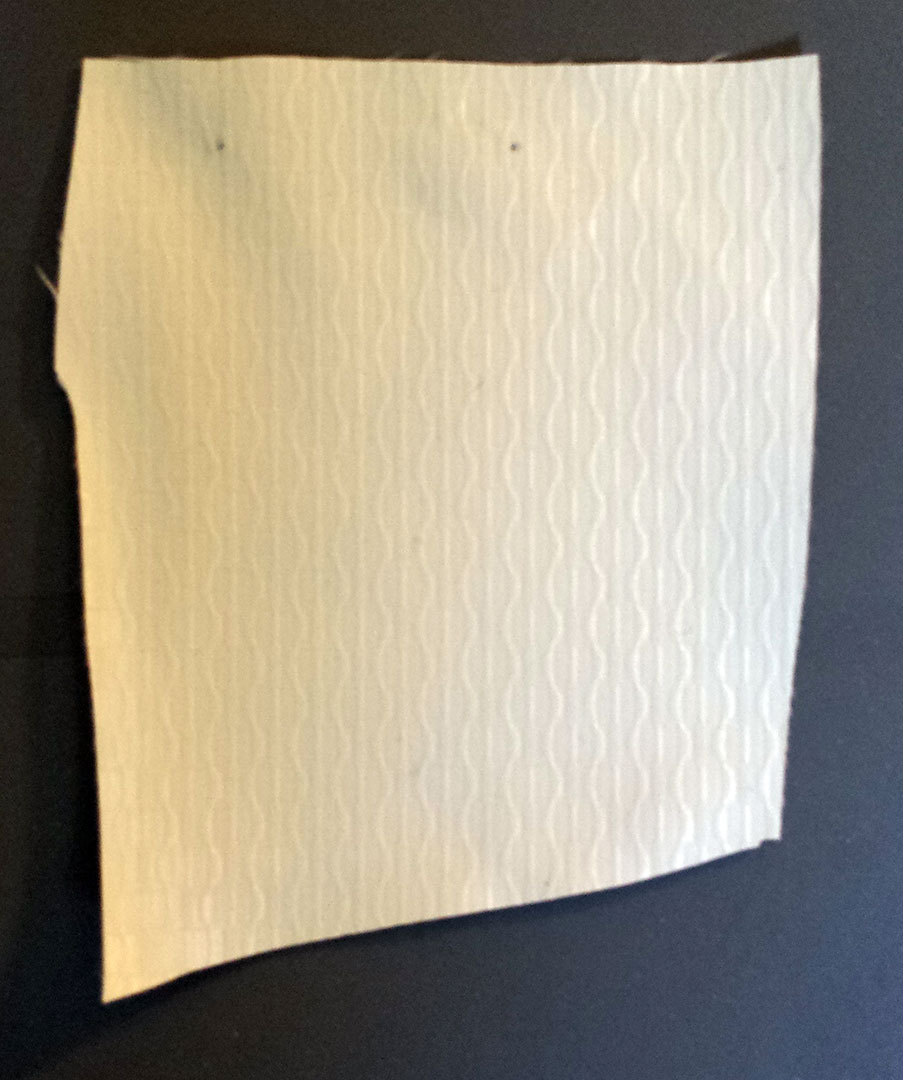 The research on this piece ended up consuming much of my week. I had no idea that working with compressed CO2 was so complicated! I started with a very basic test using a CO2 bike tire inflator to verify the fabric would work:
https://www.youtube.com/watch?v=QtaPZCPldJI
Using pre-filled CO2 cartridges seemed like the way to go. What followed was research into a vast variety of areas, including paintball/airsoft, fish tanks, life vests, cycling and rocketry. I’m pretty sure I now know everything there is to know about CO2. The final design I’ve settled on is to have a 90g CO2 cartridge in a neoprene holster on the thigh, which will connect to a high-pressure solenoid at the lower back. When triggered by the Arduino, via a MOSFET relay, this will inflate the hem through a hidden tube from the solenoid. I currently have almost everything to assemble this. I’m just waiting on hearing back from a solenoid seller to make sure I’ve chosen the correct valve.
3) LightPrint top
 This piece is a more refined take on the project I did at the Kent State Hackathon. I’m going to use this tutorial to create a top that is essentially color change on demand, utilizing a phone app that controls a RaspberryPi. I will also be coding in an override to create a bright color flash when the range sensor is triggered. While I like this setup, I wanted to use brighter LEDs than you find on the RGB strips. I ordered higher powered RGB LEDs and the WS2811 driver chips from Adafruit. And here’s where I encountered a slight setback – not having worked with SMT components before, I didn’t realize that I wouldn’t be able to just drop the chips on a breadboard for prototyping like usual. So, although I have all of the components, I have not yet been able to test this setup. I have on the way a PCB which breaks out the SMT connections to standard breadboard headers. This will allow me to do the necessary testing.
This issue also got me thinking about how I’m going to assemble the final components, which keeping everything small enough to embed in the 3D printed neckpiece. I think I’m going to look into having custom PCBs made that I can mount the chips to which keeping things small. I can then also use SMT resistors, again helping maintain the small footprint.
4) Hoodie sweater
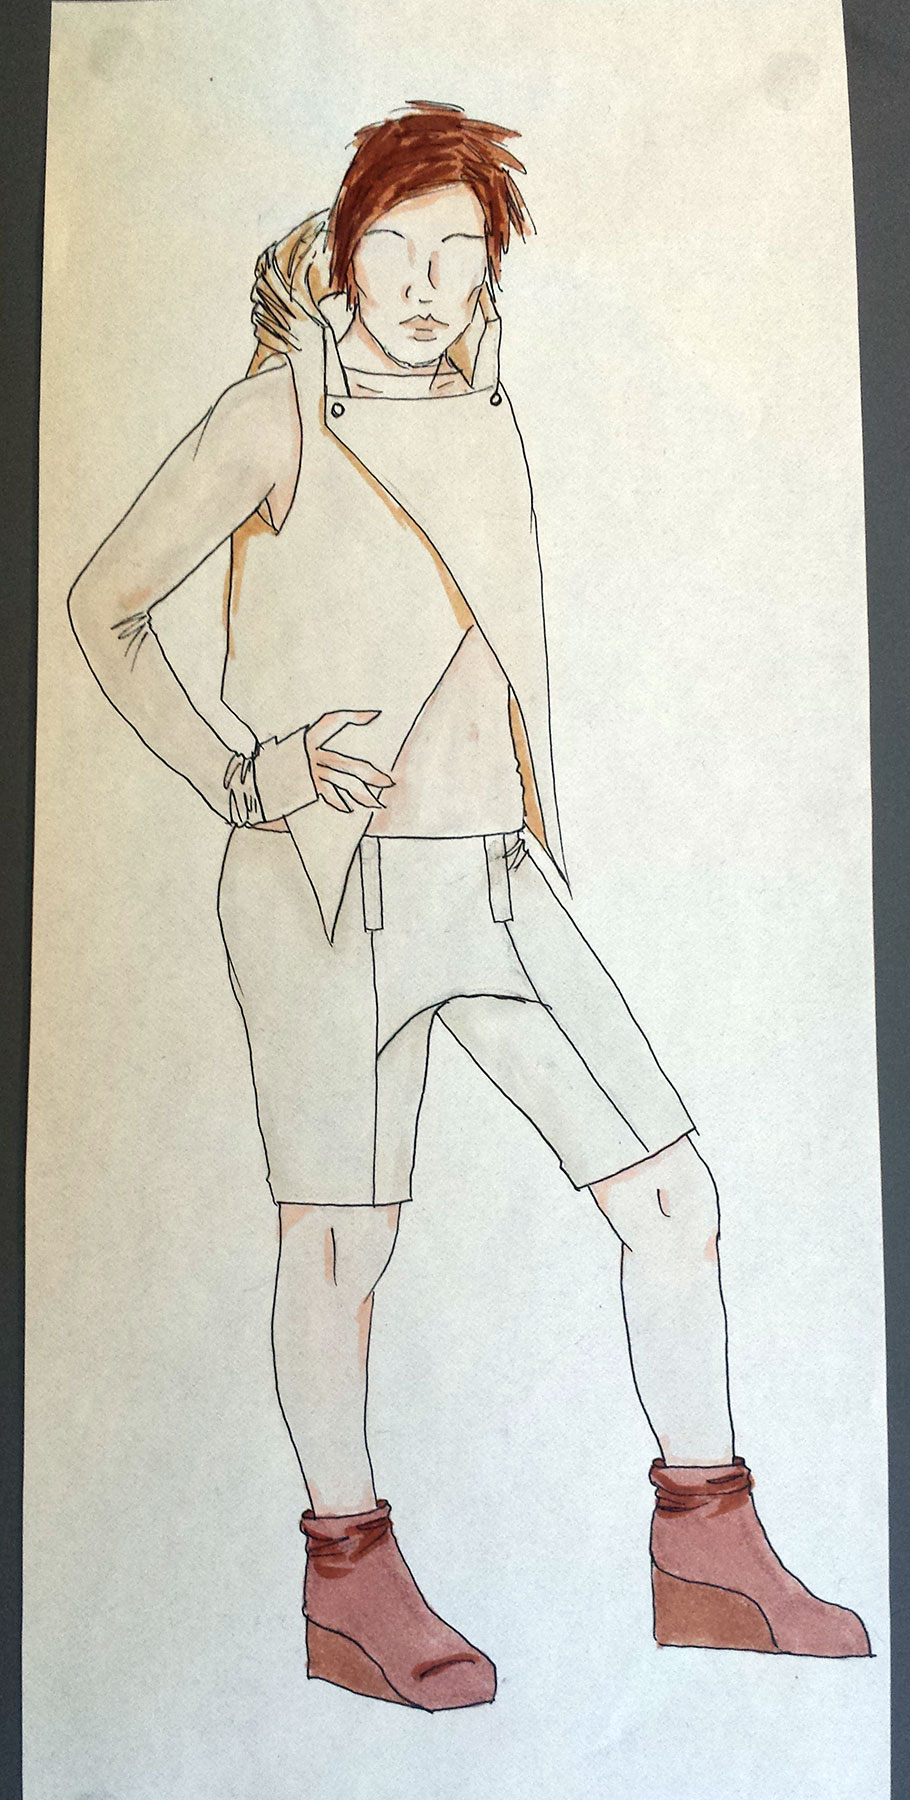

Not much additional progress has been made on this look. Since I wasn’t on campus, I wasn’t able to use the knitting machines. All that’s left on the piece is knitting the sweater and final assembly/sewing.
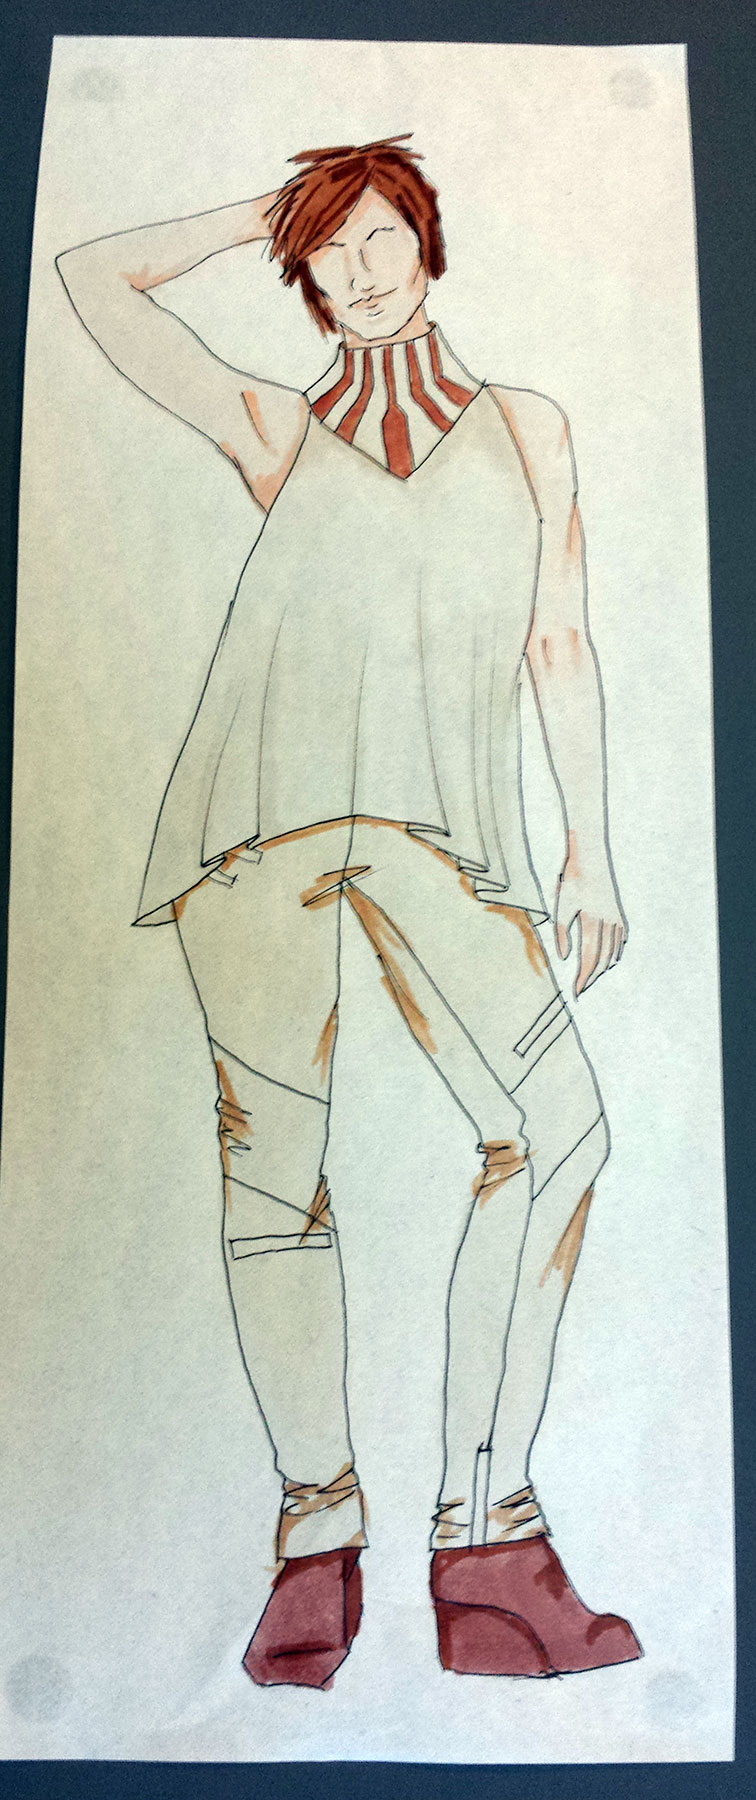
5) Spine top


 This project was my biggest disappointment over break. My 3D printer suddenly stopped working (the Z-probe seems to be faulty), so I wasn’t able to prototype the spine mechanism as I had hoped. I did get my planned shape rendered and ready to print:
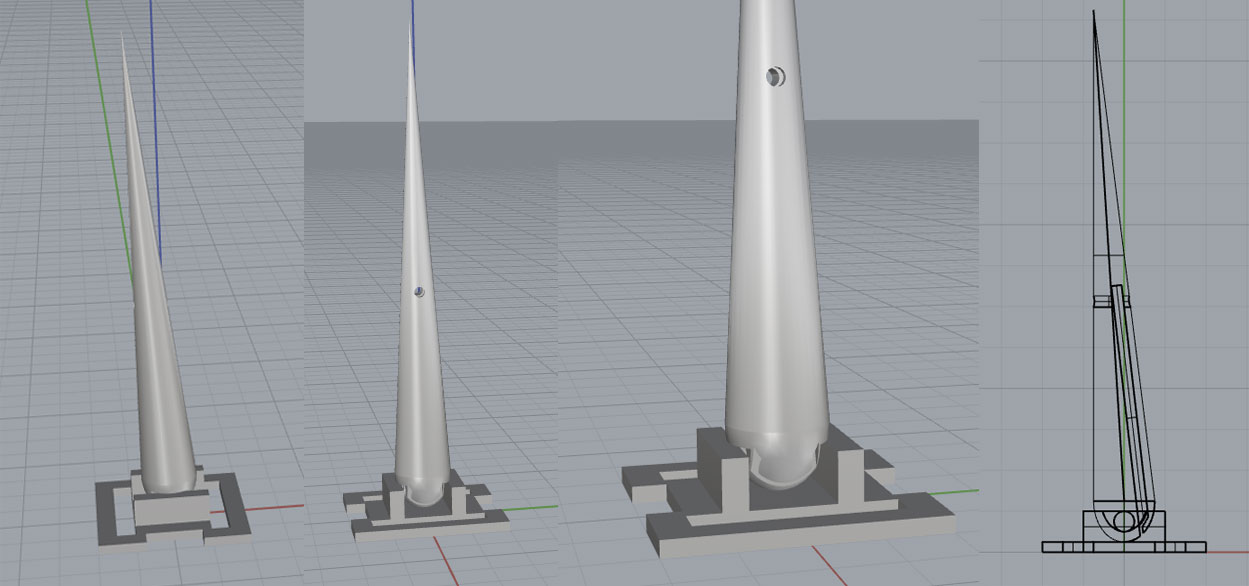 (Ignore the square sections at the bottom, they’re for printing support)
The thought is that a piece of muscle wire will be bent in a U-shape and inserted into the slot of the spine and held in place by a “peg” (in this case, a piece of printing filament) inserted through the small hole in the spine. The spine will be attached to the garment by threading a thin string or thread through the pivot hole and the loose ends of the muscle wire will be threaded through the fabric, crimped and attached to the Arduino setup. When the muscle wire is triggered it will shorten, causing the spine to rise – similar to extending your finger.
Miscellaneous:
I got an tested new PIR sensors to use on all of the garments. I chose this particular style for it’s short reading range (5-6′) and for the design and small size of the sensor package.
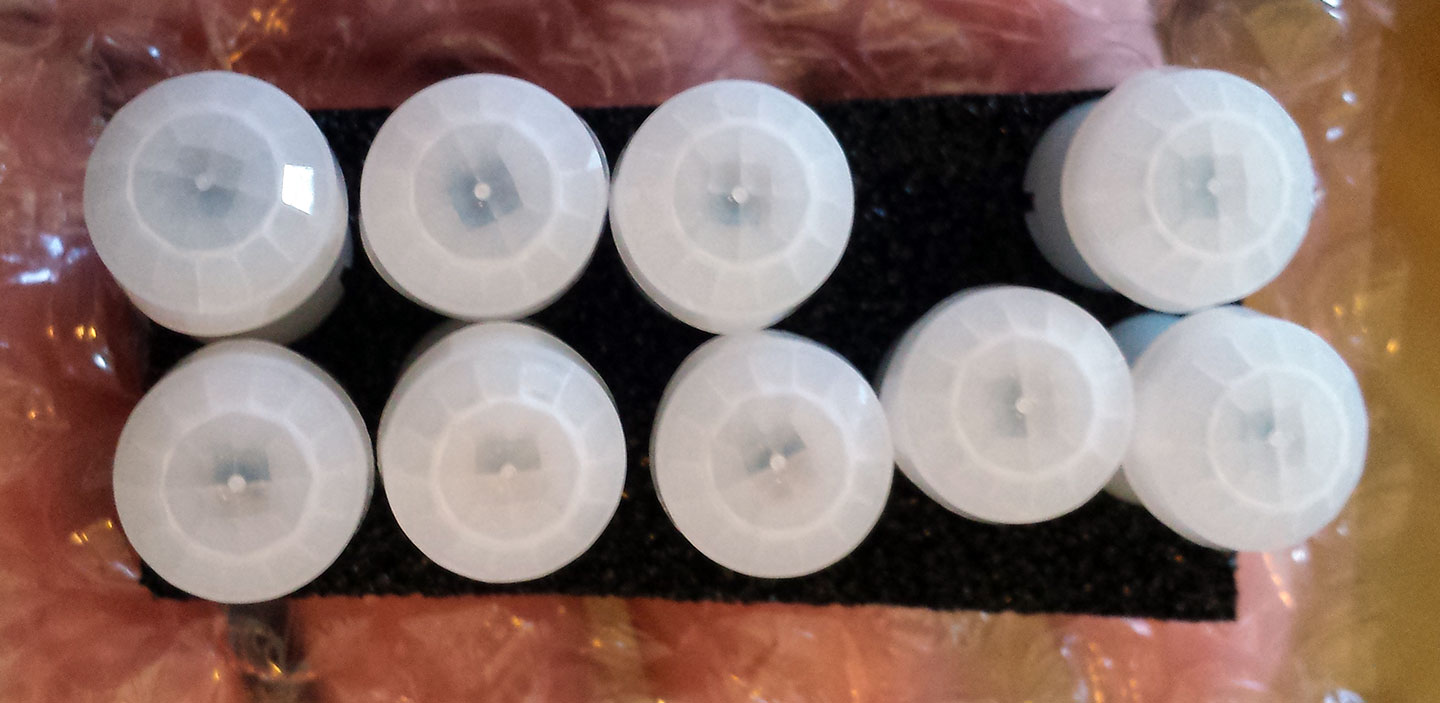
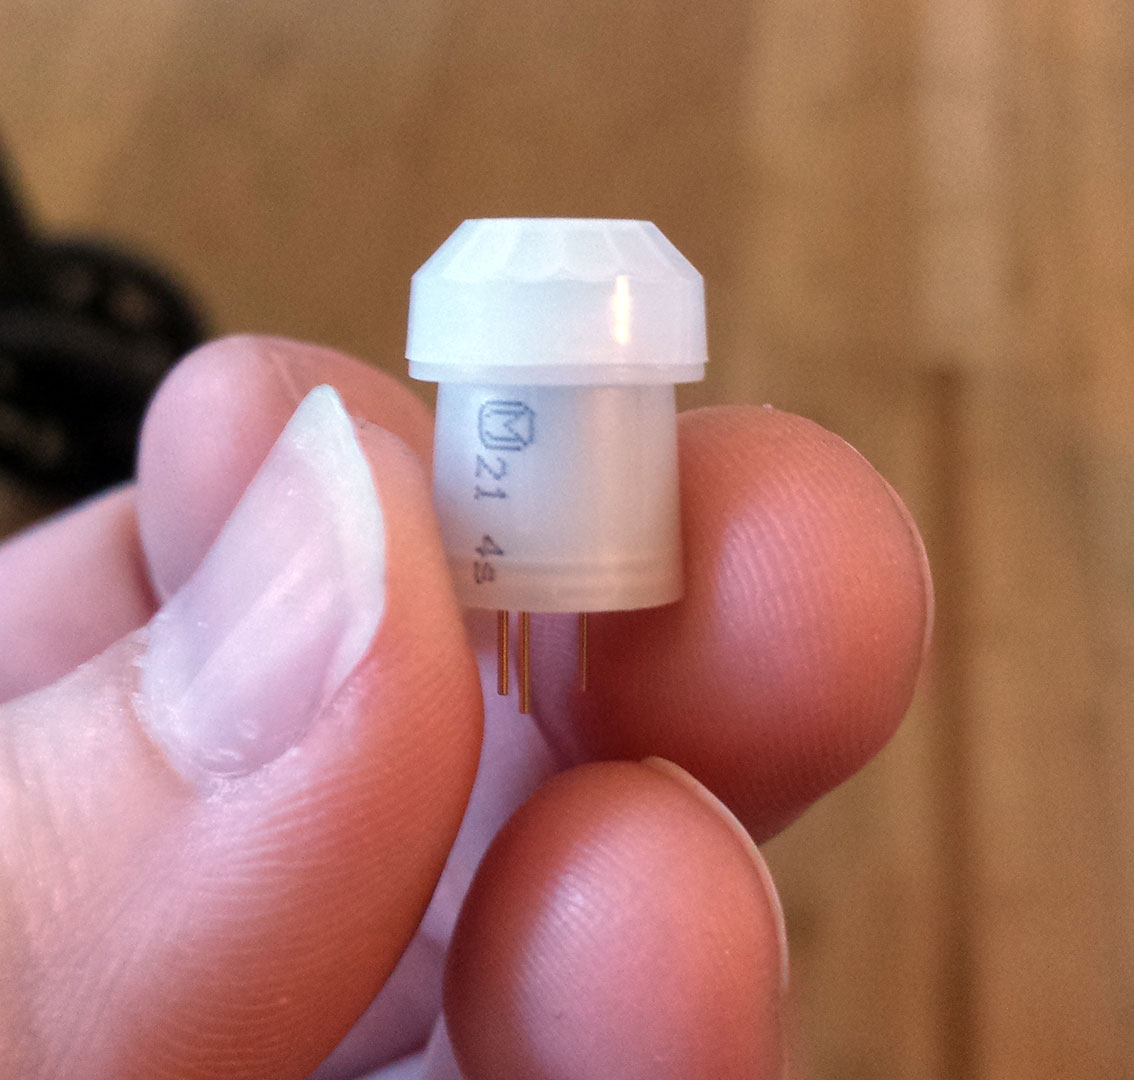 In initial tests I’m getting stable, consistent analog results, so I’m confident these will meet my needs. The plan is to integrate these into assorted design elements, such as buttons and jewelry. I was able to render my own 3D version of the sensor shape, allowing me to print non-active copies.