Images hosted and the code is working!
(spoiler alert: they’re directly in the middle. I probably should have stuck them off to the side just be annoying – when you’re examining these little guys under a real microscope they never stay quite where you want them)
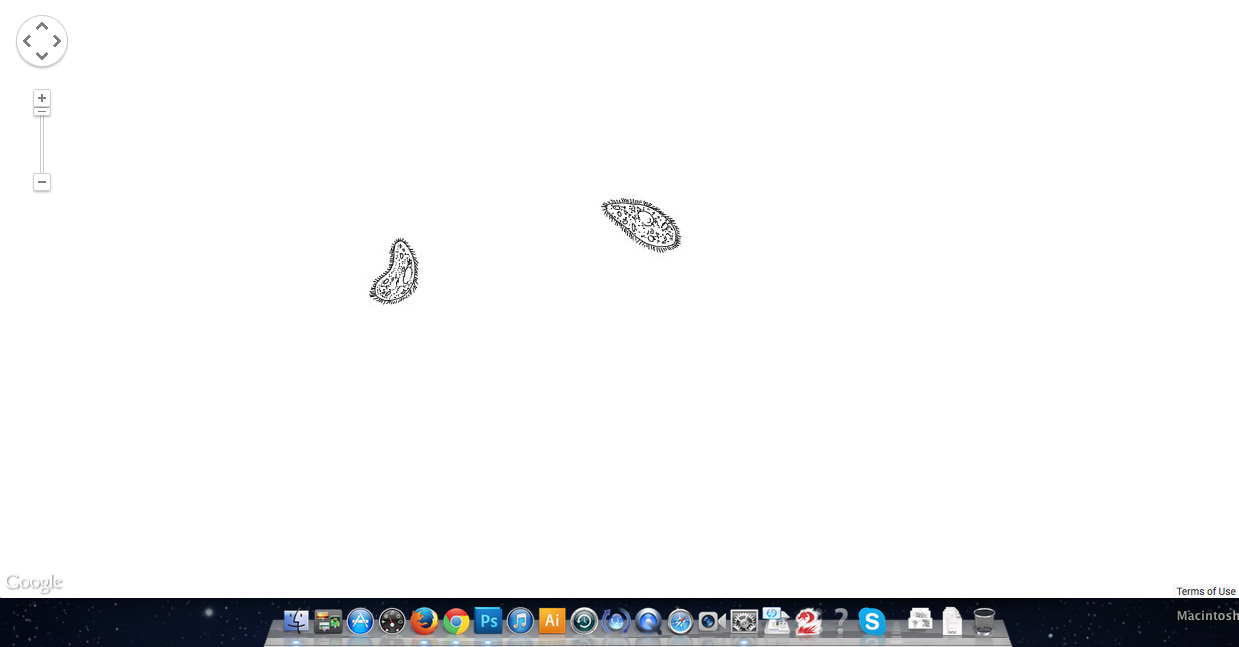
screenshot of full zoom
The code itself was freely available online (with only a few minor adjustments to stop it from repeating horizontally) and the Bramus tiling script for Photoshop works like a charm. Exporting the images as jpgs was much faster and takes up much less space than pngs.
I’ve also been playing around with text-based images, back before we solved the hosting/accessing images issue

(need to use the “i” as a mask for the tiny letters, rather than trying to make the lines form the image)
Our main hangup was merely finding space where the images could be publicly accessible for the code to use them in the zoomable map. My misconception about Box.com (replacing UW’s “mywebspace”) was that it had image hosting capabilities, though it is really only a folder sharing resource designed for people to individually share files with a selected individual, via a common link that expires after two weeks. Uploading files to it took half an age, as it was only meant for documents, not several hundred small image files.
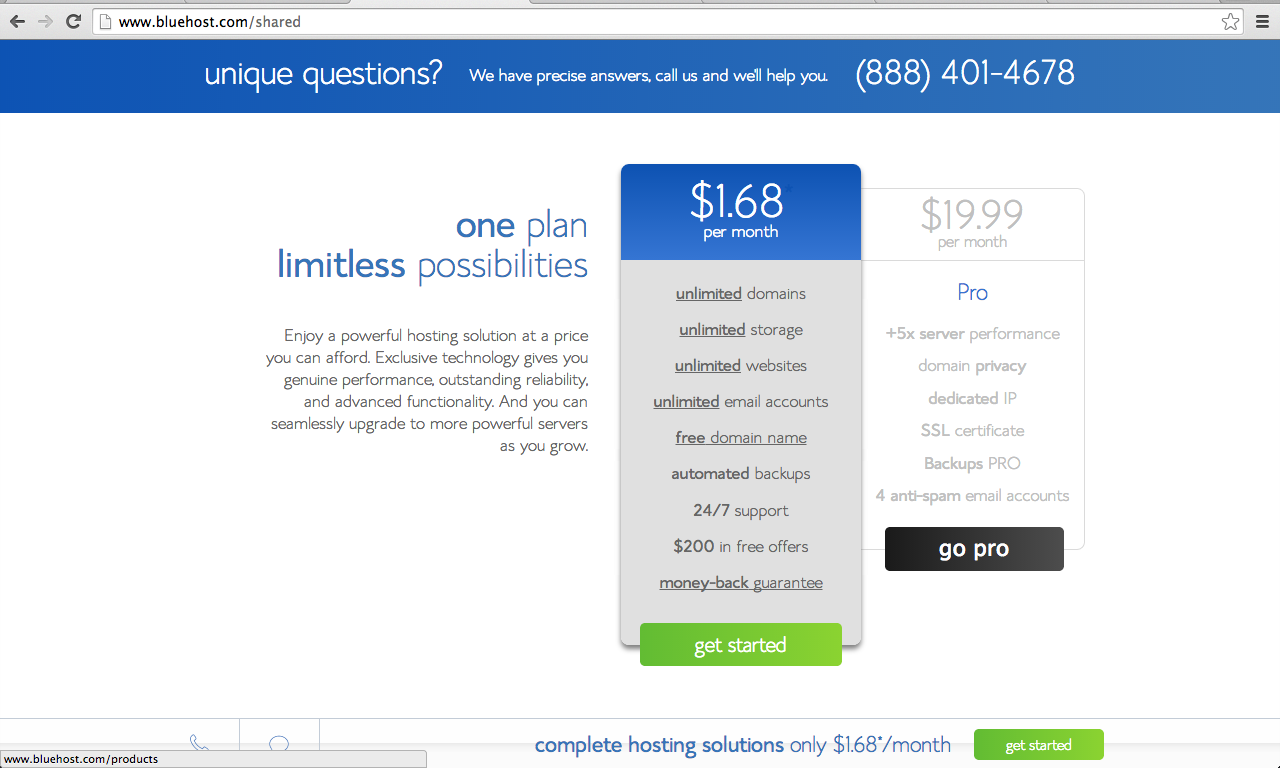
Looking into renting my own little piece of the internet… I am faced with a number of options. Bluehost is very inexpensive (they have a promotion for $1.68/month for the first year) but various reviews complain of extensive lag and difficulties getting issues resolved. I know that people are much more likely to give a bad review than a good one, so the representation is probably disproportionate. Other review sites give it a generally decent rating, and they claim unlimited storage (but not really).
Myhken’s Webhosting Reviews have lined up several alternatives for comparison: Digital Ocean and RamNode both have good reviews, and seem to be generally comparable.
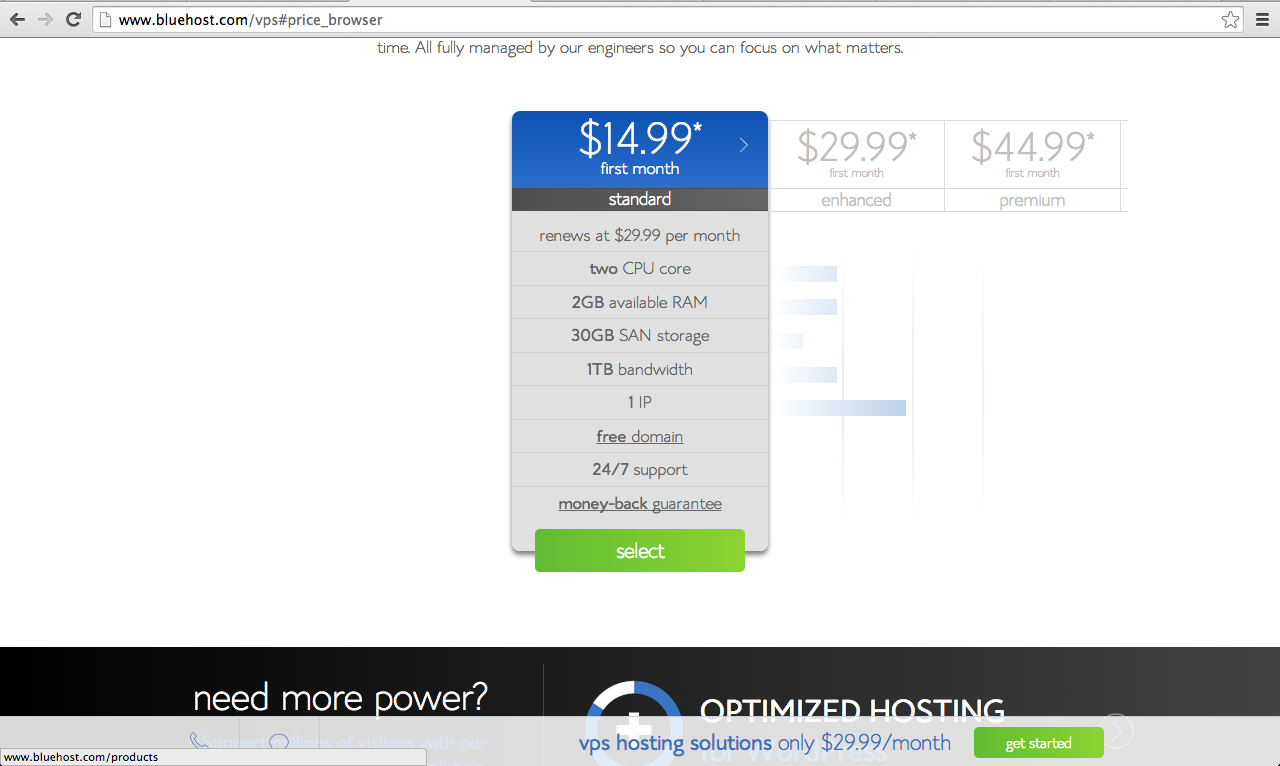
VPS versus shared hosting vs cloud hosting? The internet seems to thing VPS is better than shared: fewer people grouped onto one server, but cloud is the be-all-end-all at least according to the ones promoting clouds. I’ll probably start with the lowest cost and upgrade when it becomes necessary I suppose.
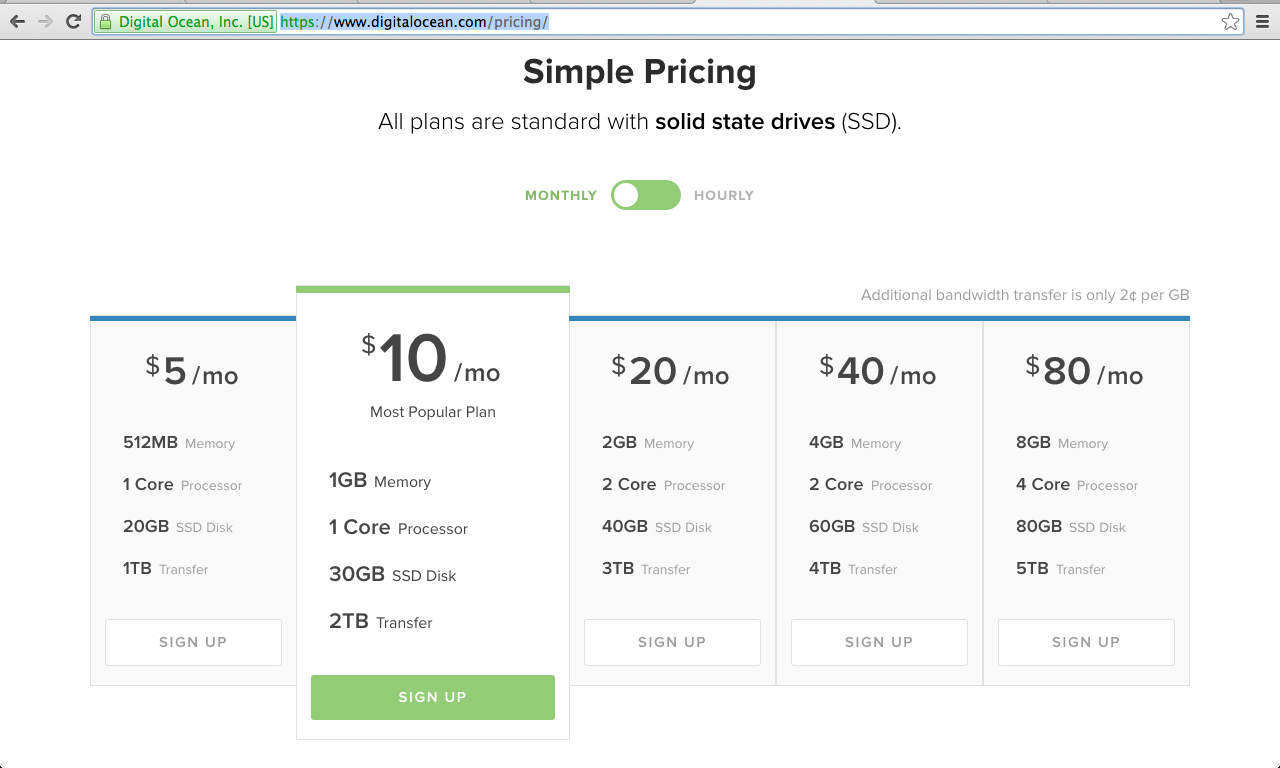
Digital Ocean (showing 1 GB RAM and 30 GB SSD space)
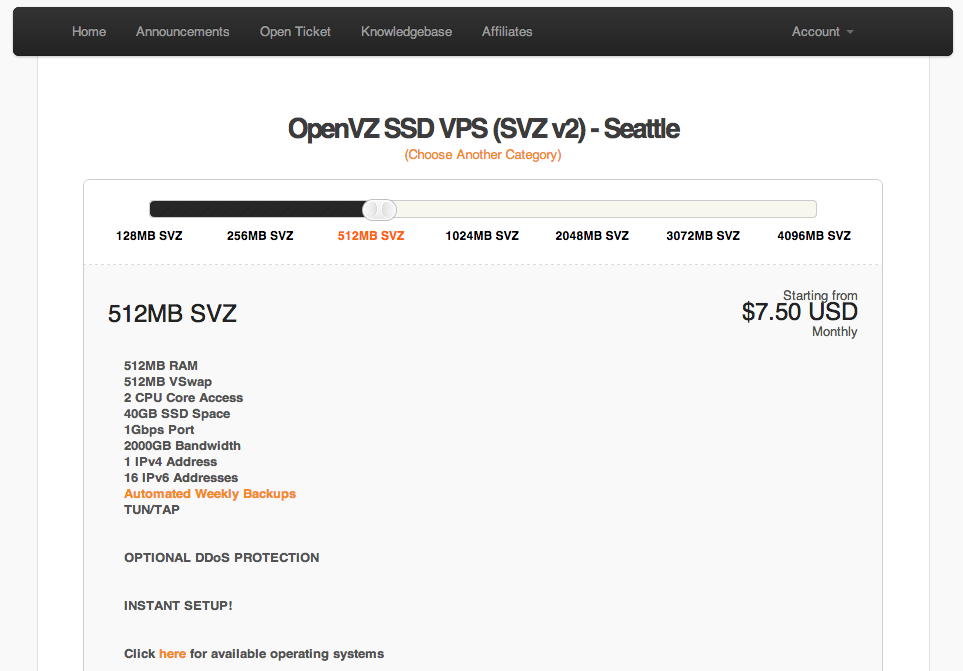
RamNode (showing 512MB RAM, and 40 GB SSD)
Main question for the moment: Does the “512 MB RAM” refer to the amount of storage space available at this price, or is 40GB SSD the actual storage?
More research tonight, don’t want to jump into anything…