This week I studied Chapter 9 of “Learning Processing”, and Chapter 2 of “The Nature of Code”. This is a little different than what I had originally set as the material for Week 4 but I really wanted to start dealing with vectors and particle systems and it seemed like a good idea to mix the material dealing with Arrays and the PVector class together since they are both complementary to one another.
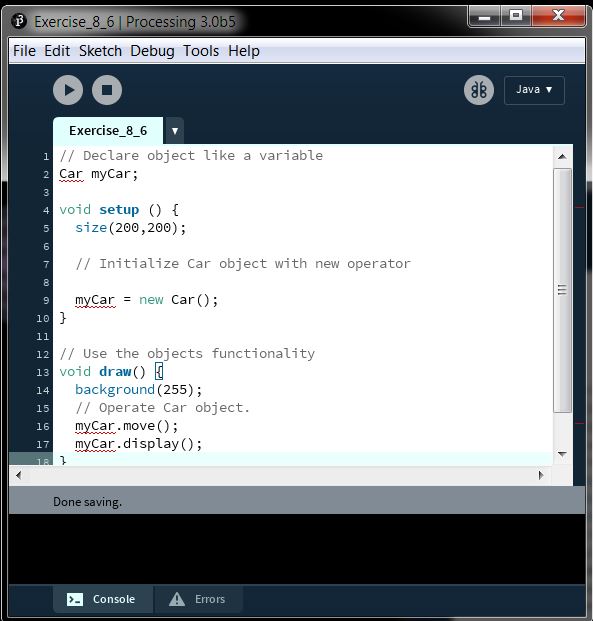
Last week I was introduced to object-oriented programming and the creation of objects to make our Processing more flexible and modular. By using arrays of objects, now I can automate the creation and animation of multiple objects, as many as I’d like, with the use of for loops, dot notation and array operations. Of course, arrays need not be just objects, they are free to contain any type of variable, as long as all the variables in the array are of the same type. The book presented the example of making a trail of ellipses follow a mouse cursor. As the exercise, the author asked us to refactor the code using an object-oriented approach. This was a little bit tricky syntax-wise because arrays needed to be declared and initialized and I wanted to make the size of the array an argument that could easily be changed. Here is my solution:
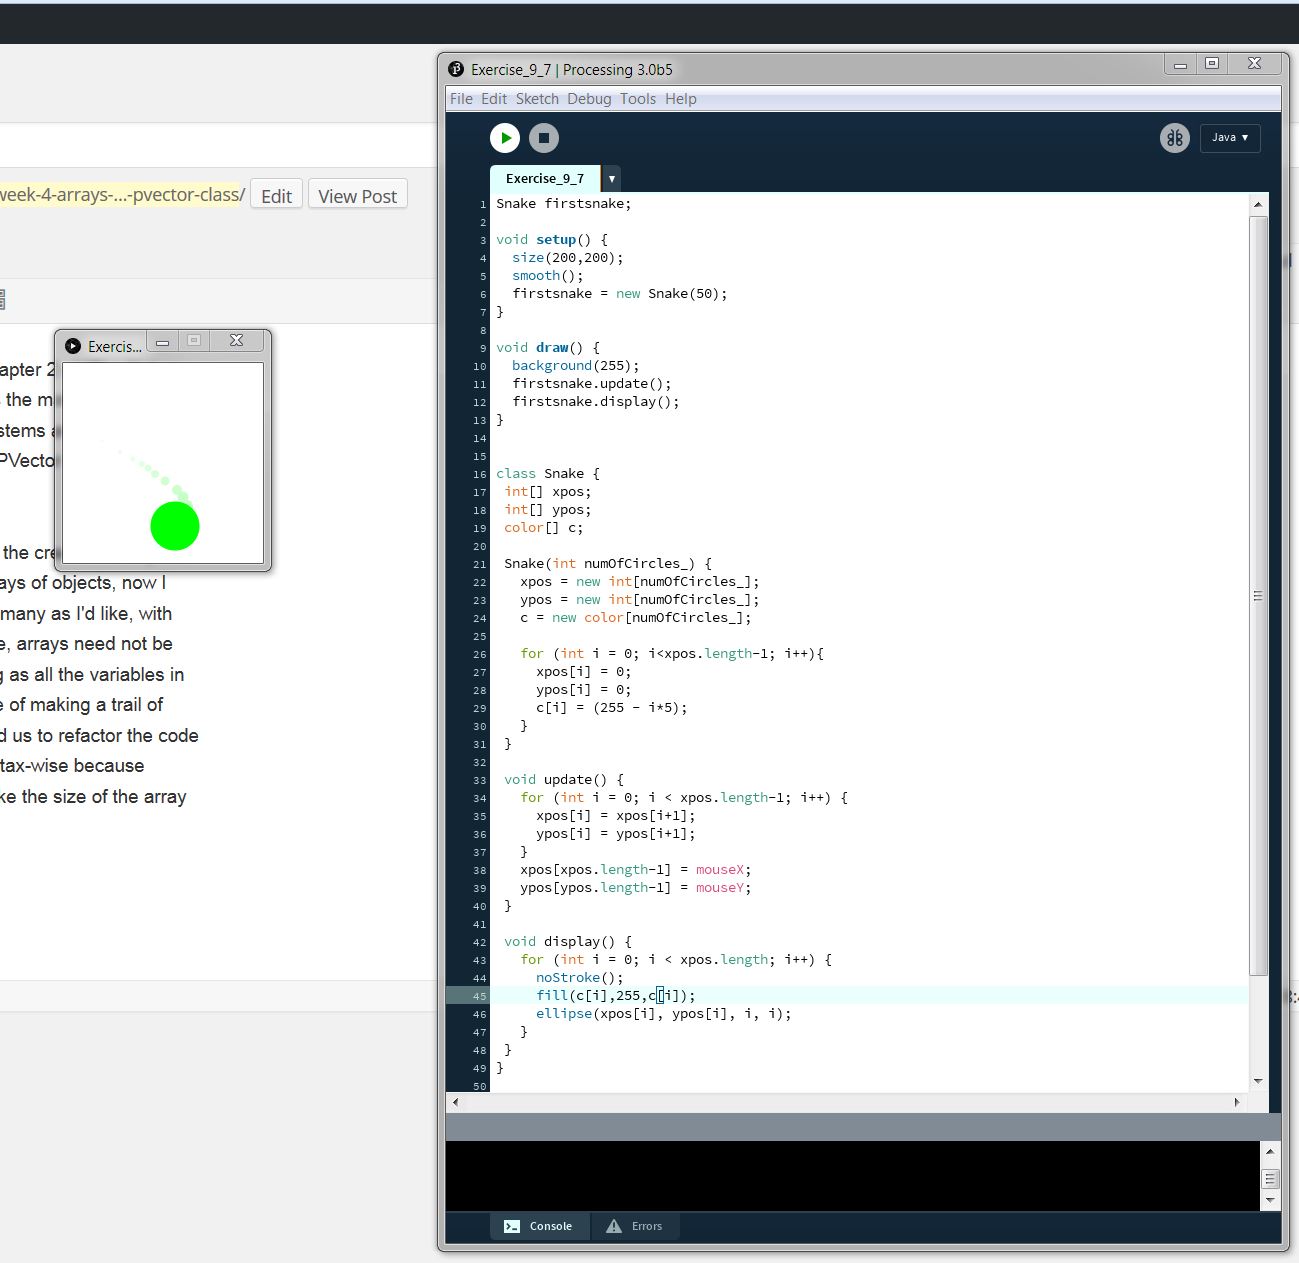
Solution to Exercise
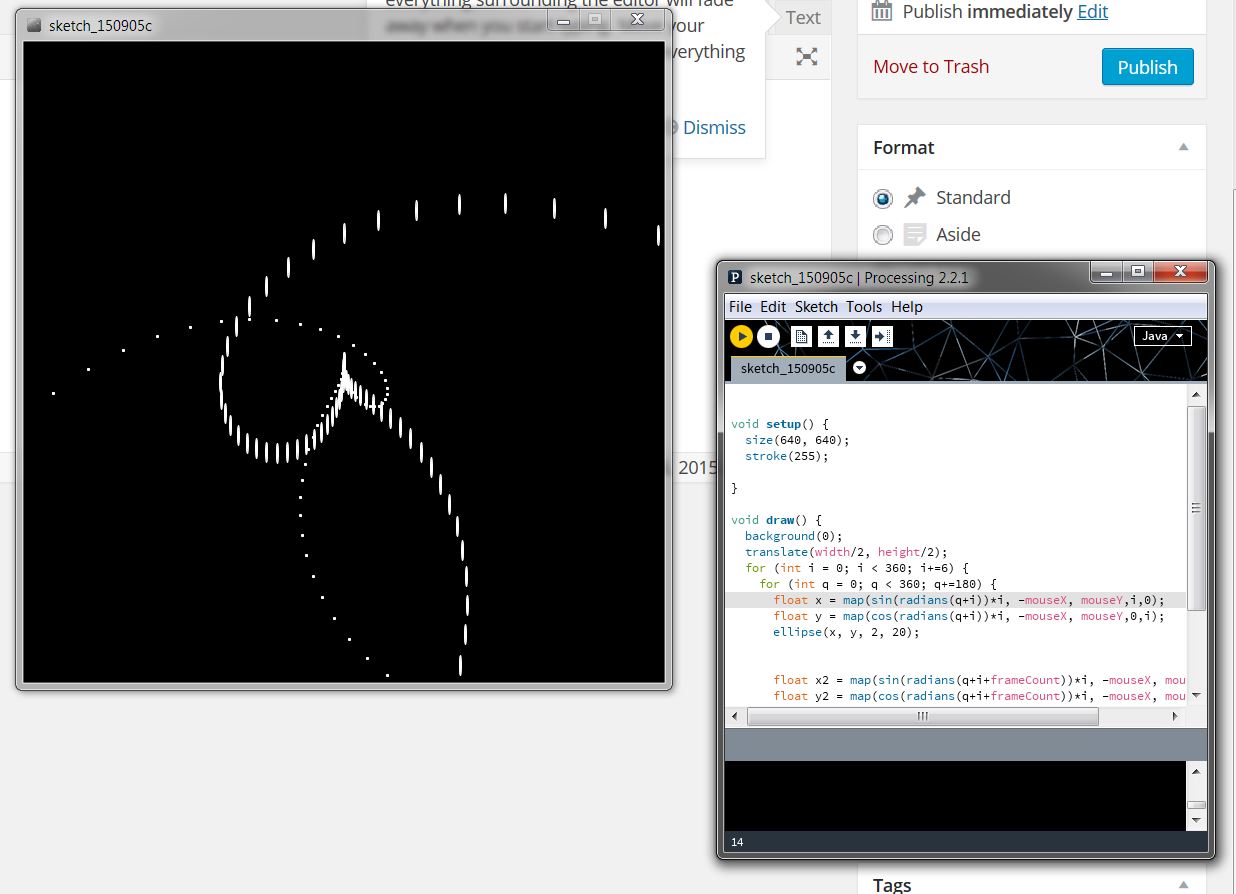
On to PVectors… They are a class in Processing made to help model motion and physics. We know abt vectors. Velocity, Acceleration and position are all vector quantities. You can do algebra with vectors, you can do calculus with vectors. Particle systems will often operate under certain motion simulations and this is why it becomes necessary to make particles use PVectors. Otherwise we would need to have variables of motion for x, y, and z separately.
Owing to the knowledge I gained from Chapter 2, I was able to code a basic particle system that responds to mouse presses making each particle’s acceleration be toward the cursor each time the mouse is pressed. This is my project for the week and you may interact with the composition by clicking here. Next week, I will add a number of enhancements including trails and more realistic accelerations by including forces and dampening.
See you next week.