CS699 Final Post by Dongxia Wu
Project1: 3D video implementation
Project2: 3D scene implementation
Description:
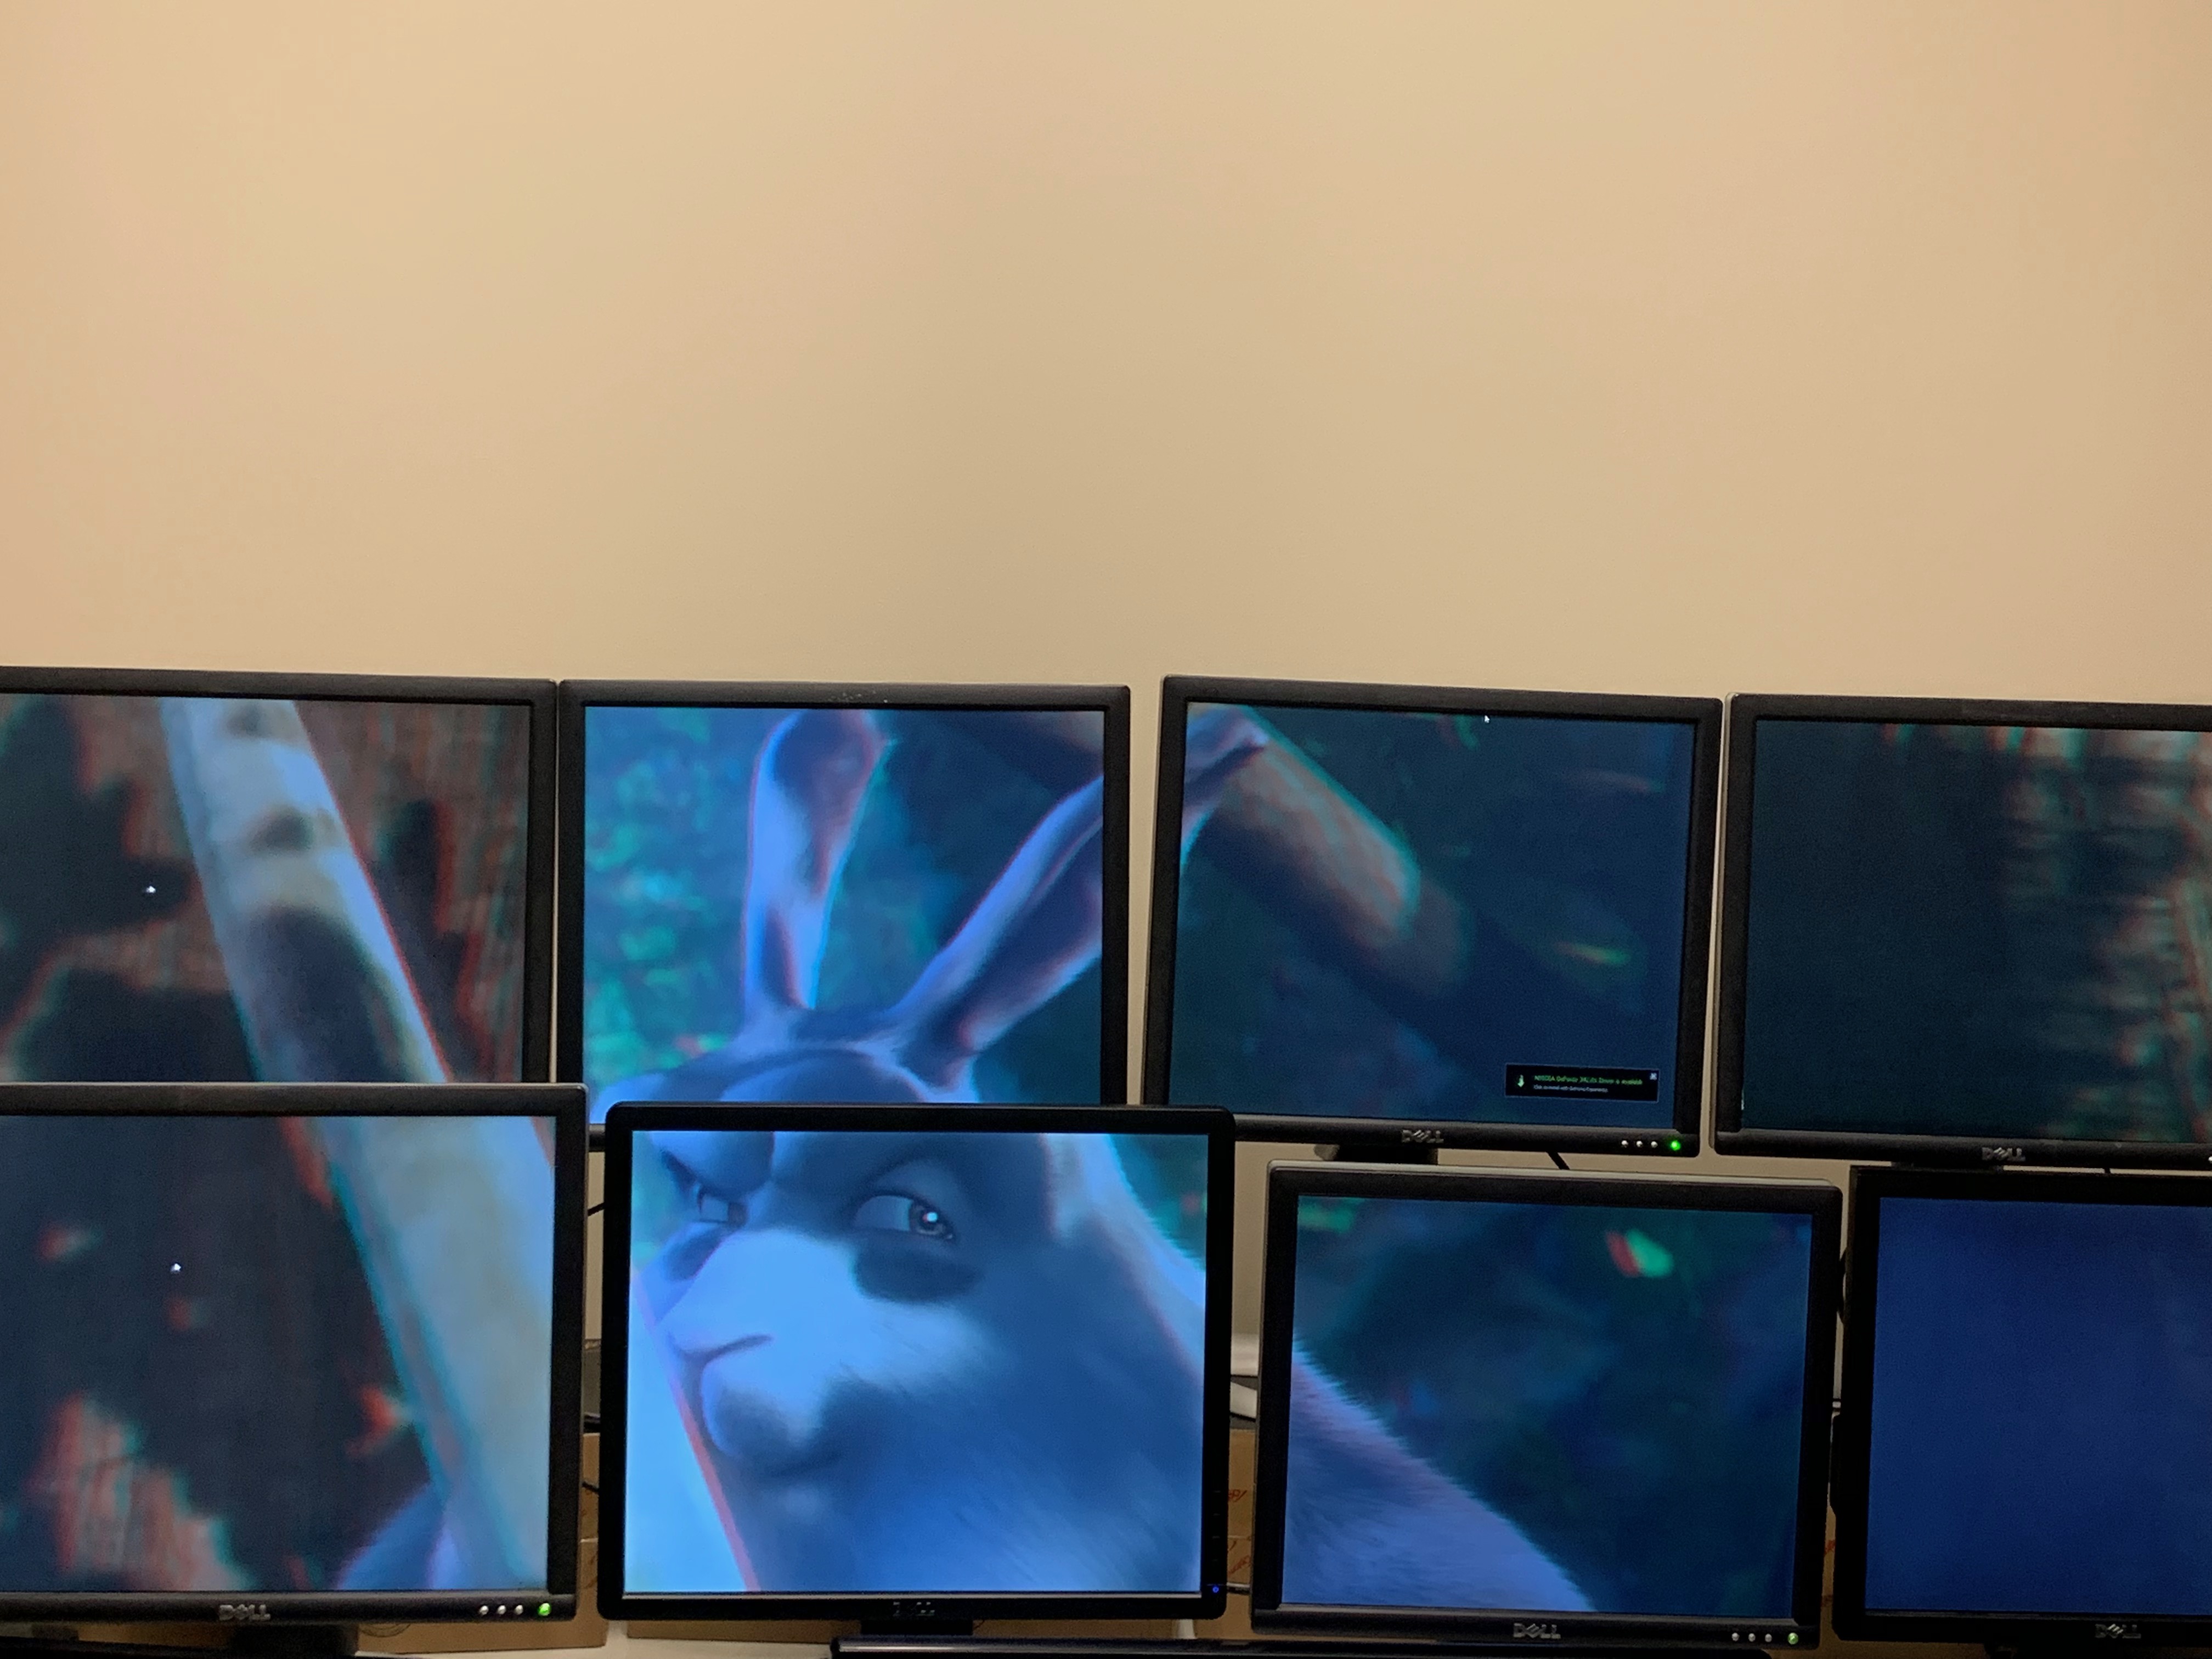
This semester I successfully built and tested two Unity projects: one for 3D video, one for 3D scene for the tiled display system, including 6 machines and 11 monitors connected by the network. For the 3D video project, the goal is to show a high resolution 3D video on this system. To achieve this, I successfully built the tiled display environment, and then attached the 3D video to the scene. For the 3D scene project, the goal is to attach the prefabs controlling the tiled display environment for a 3D scene project, and to make sure the display system shows the correct picture from the 3D scene.
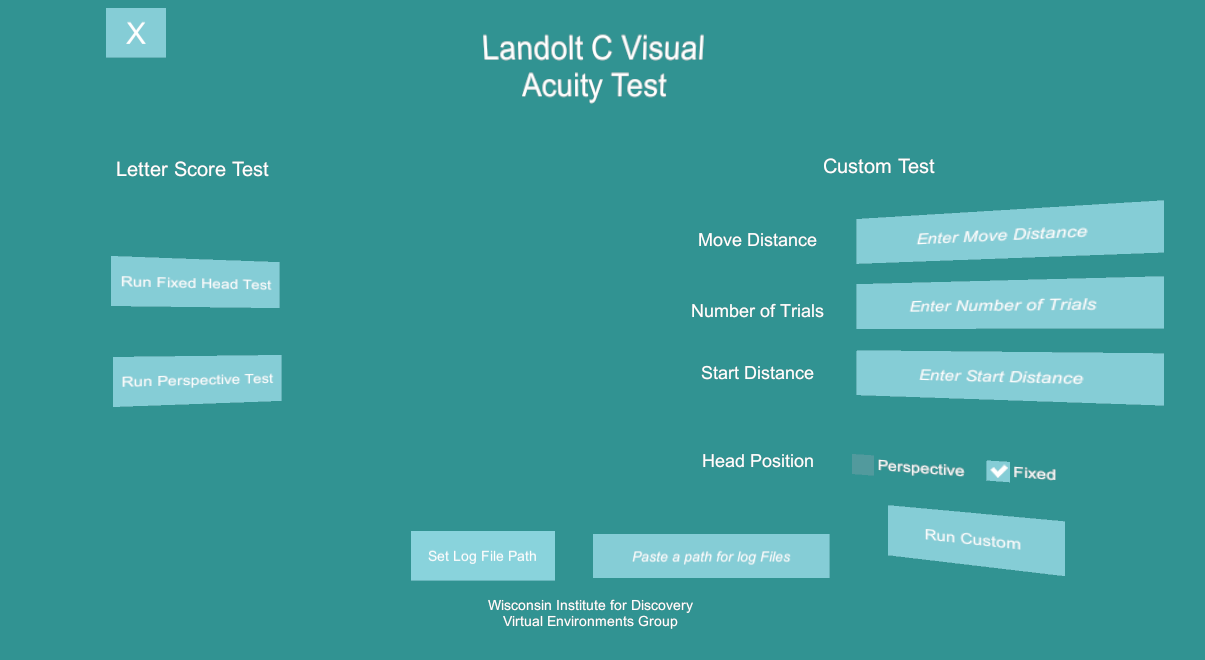
For both of the project, the first step is to build the tiled display environment to make the monitor array look like a series of windows on virtual scene from a given perspective. In order to achieve this, I used two UniCave prefabs: Network_Manager, and Tri_Monitor for projects. UniCave is the a Unity3D plugin for non-head mounted virtual reality display systems provided by the Kevin’s group. I changed the parameters with correct IP address of corresponding computer host for the head node and all the sub (display) nodes. With Yuzi’s help, we measured the relative position and size of every monitor corresponding to the head (audience’s eye position). After the adjustment, we set the head at the center of the monitor array (XY plane) and about 3 meters away from the monitor (z axis).
After that, I attached the 3D video, a few minutes animation which is found from online source. After adjusting the position and the size the video to fit the display array, I successfully built and tested the 3D video project. In order to test the project conveniently, I also used python script to realize cluster launching, which enables starting the executable on all of the machines through the head node.
For the test part, there were some spatial misalignments since Yuzi and I had not measured the relative position of the monitors precisely. The performance looks much better after tuning the monitors. Also, I tested the time alignment, the tiled display environment successfully check and tune the frame to the similar number for each monitor automatically.
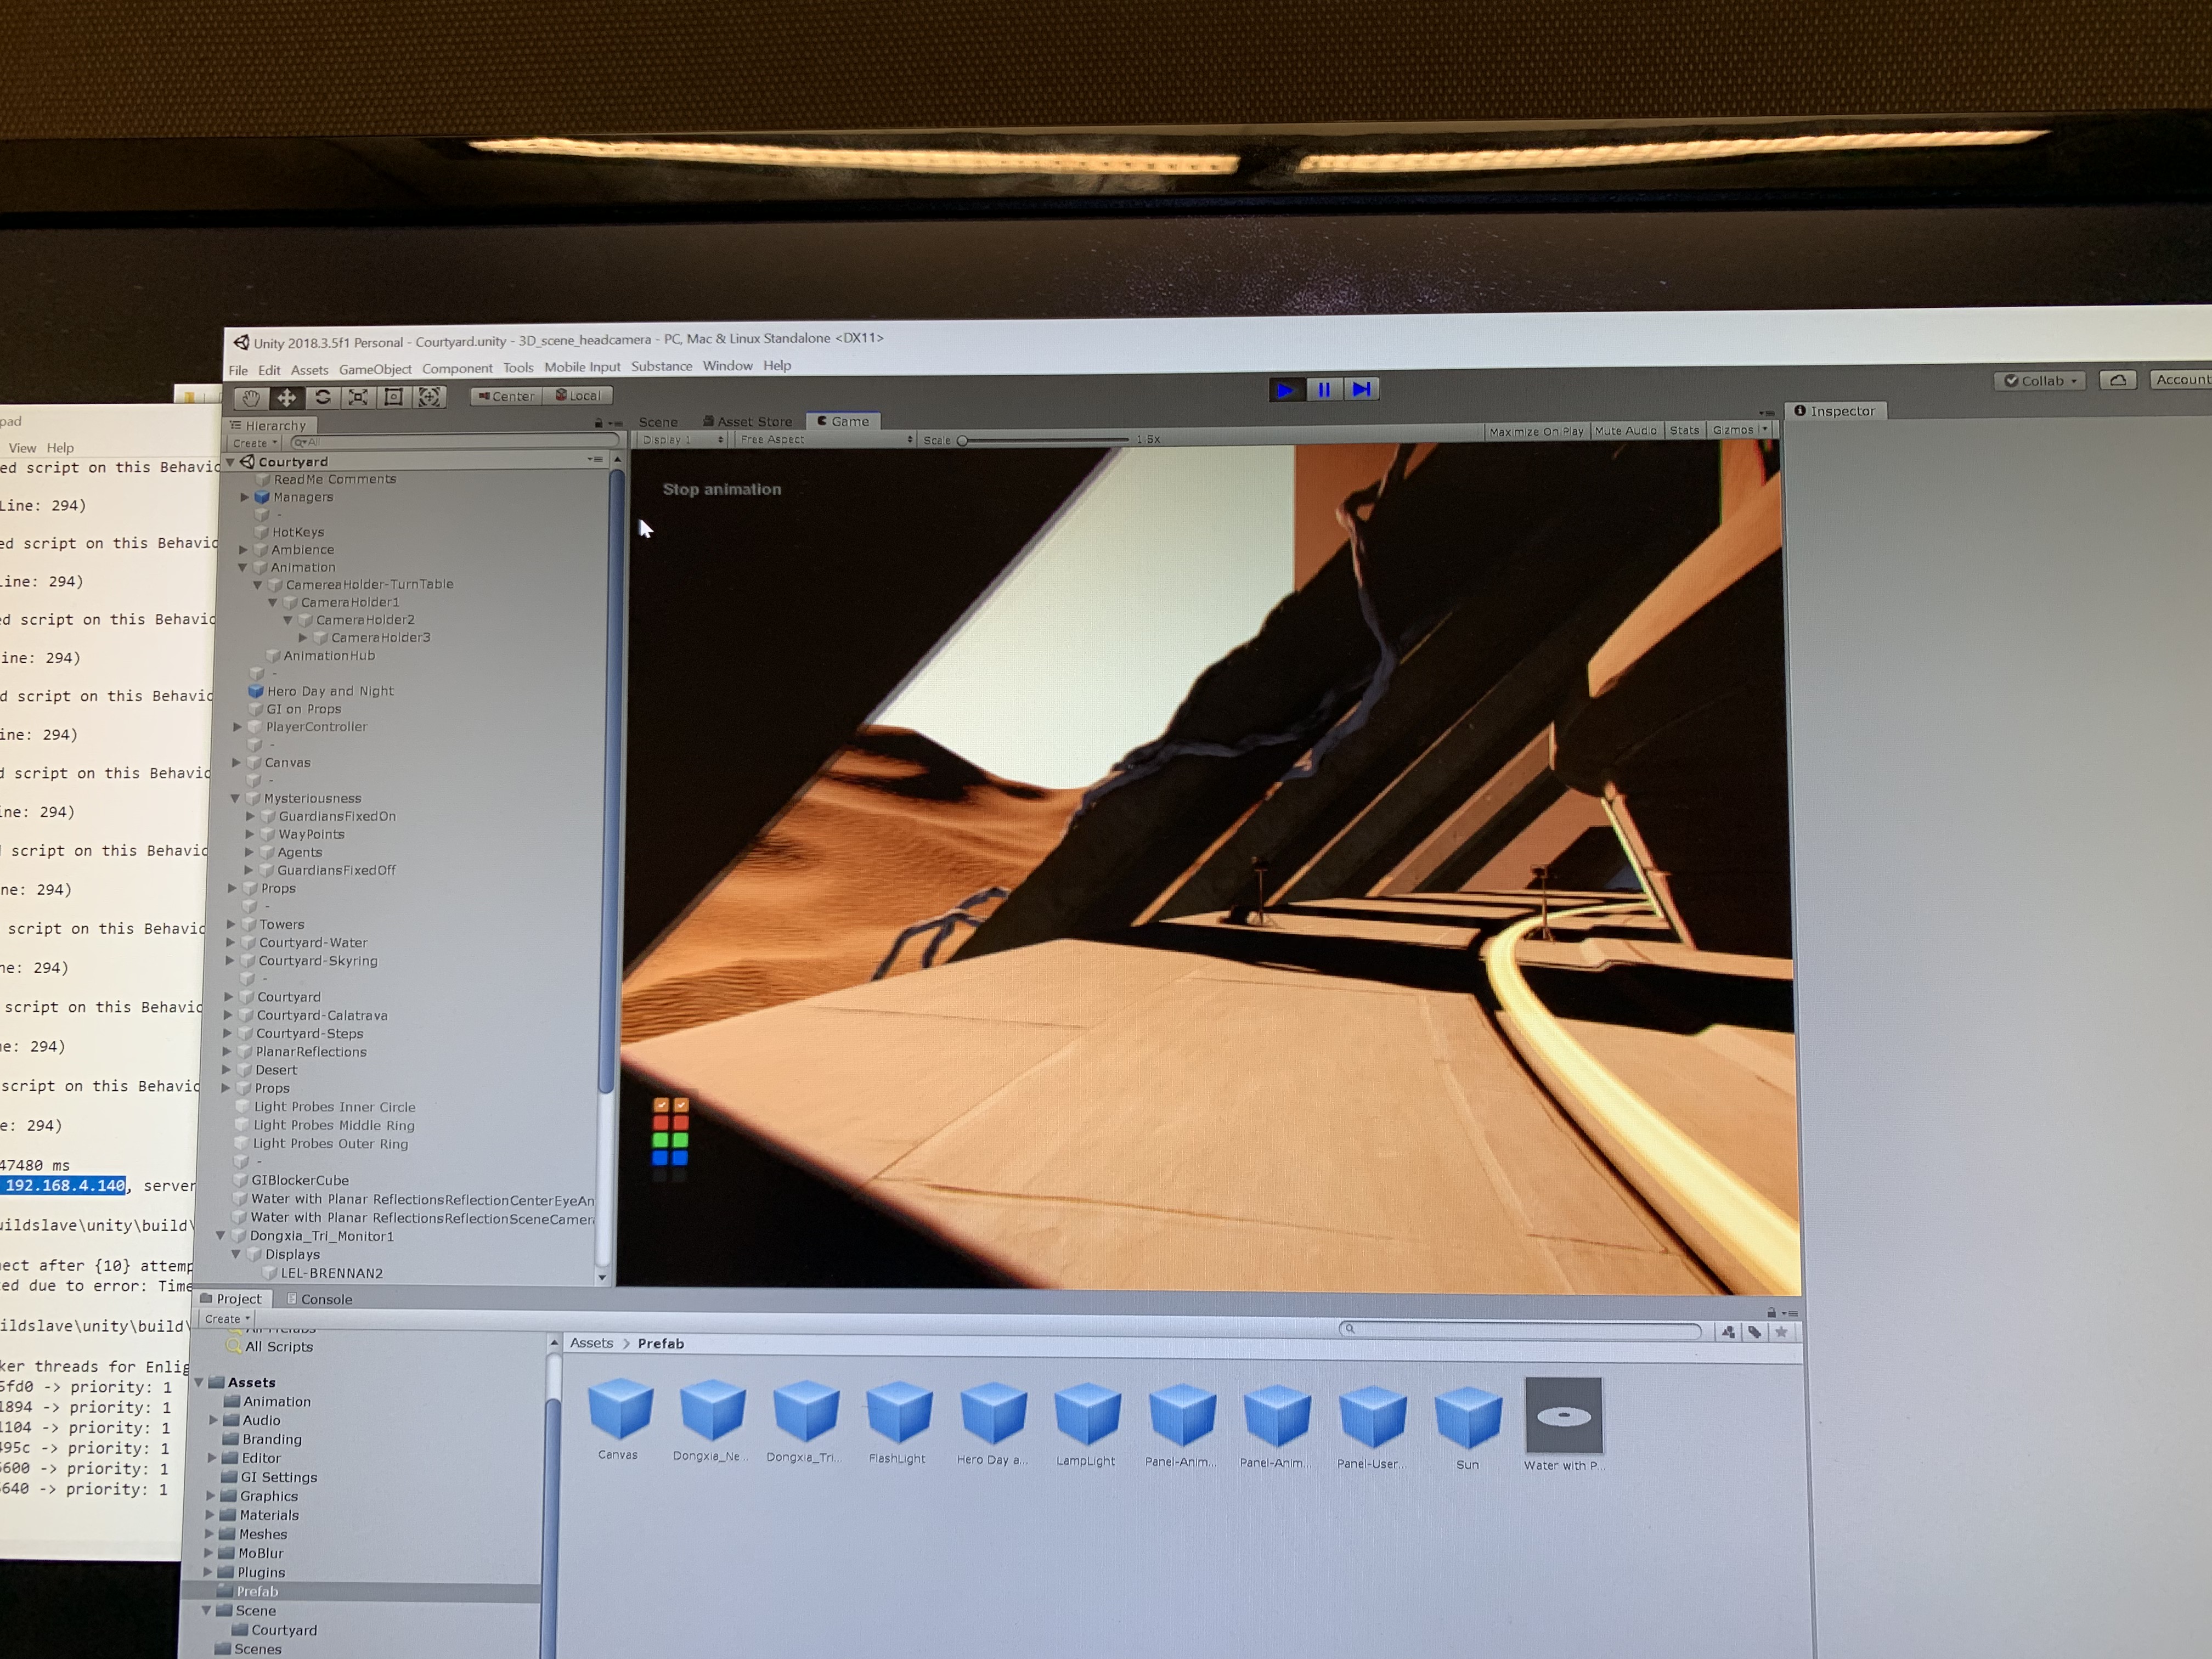
For 3D scene project, the concept is to make my prefabs for tiled display system work for other 3D scene project. In order to achieve this goal, I used the courtyard as our 3D scene, which is a free source provided by unity, and tried to add the prefabs I made for 3D video project to realize the tiled display function since these two project shared the same physical display system. The method seems straightforward: just add the prefabs under playerController object as its child in order to getting the same position and rotation information from controller. However, it seems that these UniCave prefabs will get confused about which cameras to be selected when there are more than one camera for different purposes. Therefore, I deleted all the cameras instead of the camera for player controller.
Feelings:
I feel happy of what I have achieved this semester. Since I didn’t have much background of VI, computer graphics, and special software like Unity and Microsoft Mixed Reality tools, I was really struggling on my HoloLens project. But things become better after I switch my project to tiled display system. Thanks for help from Kevin, Ross, and Benny, I successfully finished 2 projects for 3D video and 3D scene implementations. During this process, I kept challenging myself and learnt new things independently, especially the knowledge of Unity. Now I am feeling more confident to use this powerful tool for future project.
Challenges:
One of long-standing challenges is the connecting process from the head node. Since these two projects are all based on the tiled display system, they are highly dependent on correct and fast network connecting from head node to each sub nodes. However, firewall system for each machine sometimes can be very annoying for our system. The cluster launching scripts were able to work before. But after all machines updated to Windows 10, it somehow does’t work.
Another challenge for both 3D video and 3D scene project is the frame difference for different displays. When looping to the start point, the frame difference became more apparent. I have changed the related parameters, but the performance didn’t improve a lot. Such problem may result from different graphics card settings and hardware configurations for different displays.
Finally, the courtyard demo I chose for the 3D scene project is a very large and complicated scene. There are many cameraHolders and objects for controlling. These objects are related with each other, which makes it challenging to figure out their function and relation. I tried to delete unnecessary objects to make it simple and find the right position to add the prefab to inherit the right position and rotation from the playerController.
Future work:
I will be very excited if I can apply what I have learnt from this semester’s work to new 3D display system. It seems that the physical performance of our display and computer is not very good and becomes a limiting factor. For example, the system sometimes has a serious delay when playing. It will be interesting to see the performance of tiled display system with new displays and computers.
Also, I want to apply UniCave prefab for polymorphic device system such as building a virtual reality display environment in a room combined with display and projector. Compared with 2D display array system, I think this way will generate a more immersive feeling.
Video Link:
project2_3D_scene_control_video