Week 5 Update – GLOVES

What did you do this week?

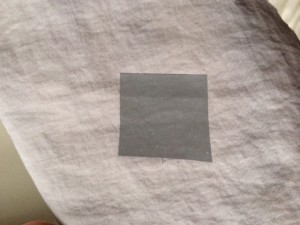
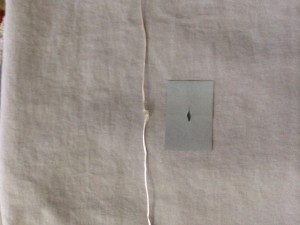
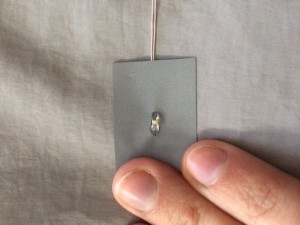
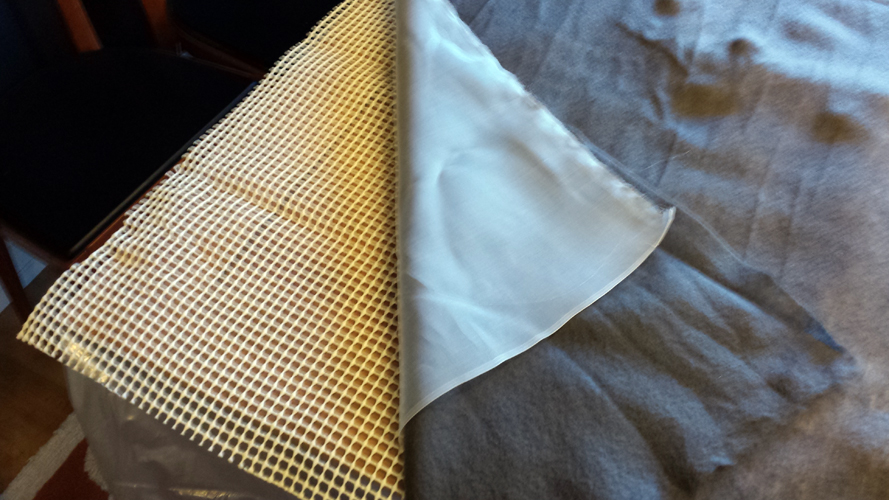
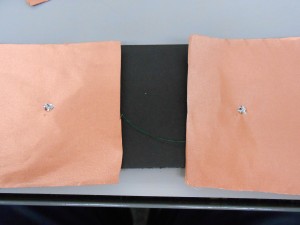
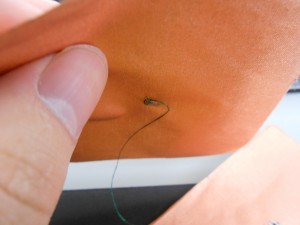
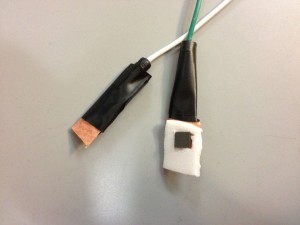
This week, the button was made. Figure below shows how we put the QTC sensor between the copper taffeta . It’s just a prototype. It’s not really neat but it works at least for these coming 2 weeks.

After that I tested the QTC sensor and (another flexible pressure sensor) with UNO. It worked :). I could turn the LED on/off . (Shown in the video below)

[http://www.youtube.com/watch?v=8B2CqgdbpUw&feature=youtu.be]

[]

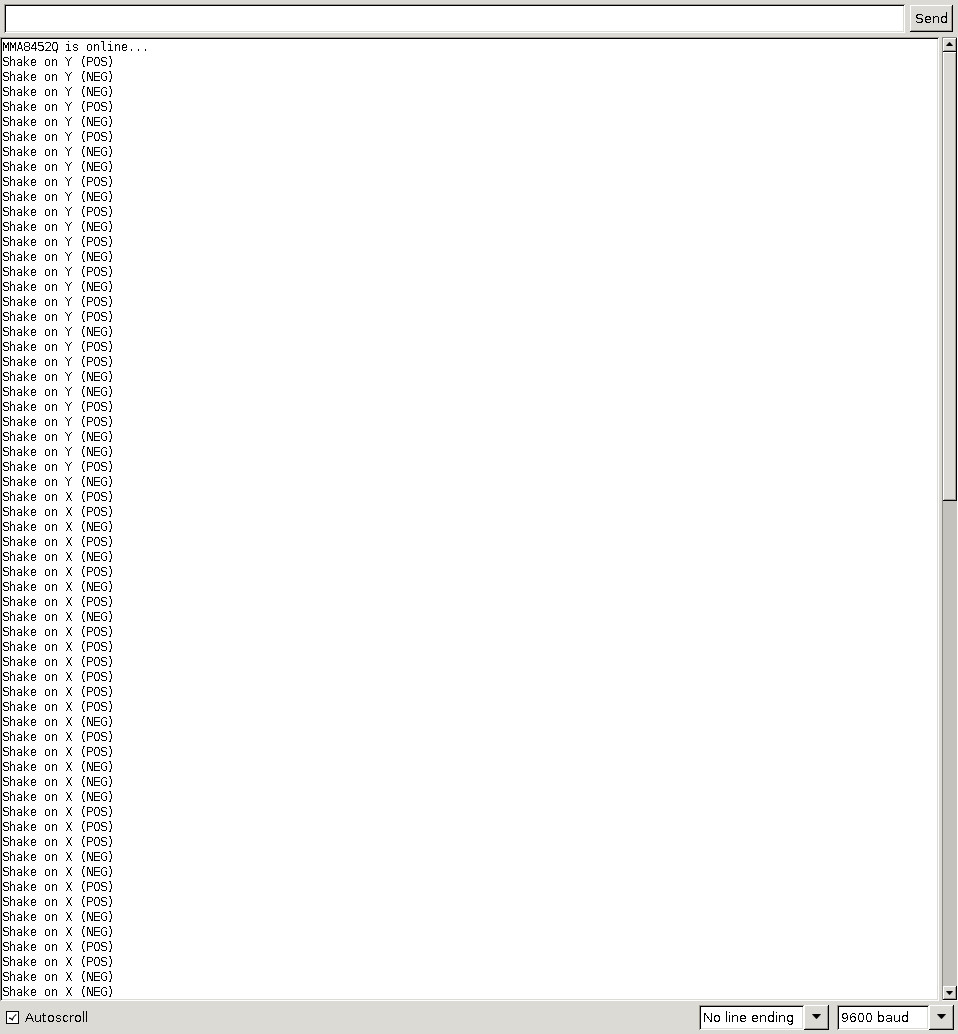
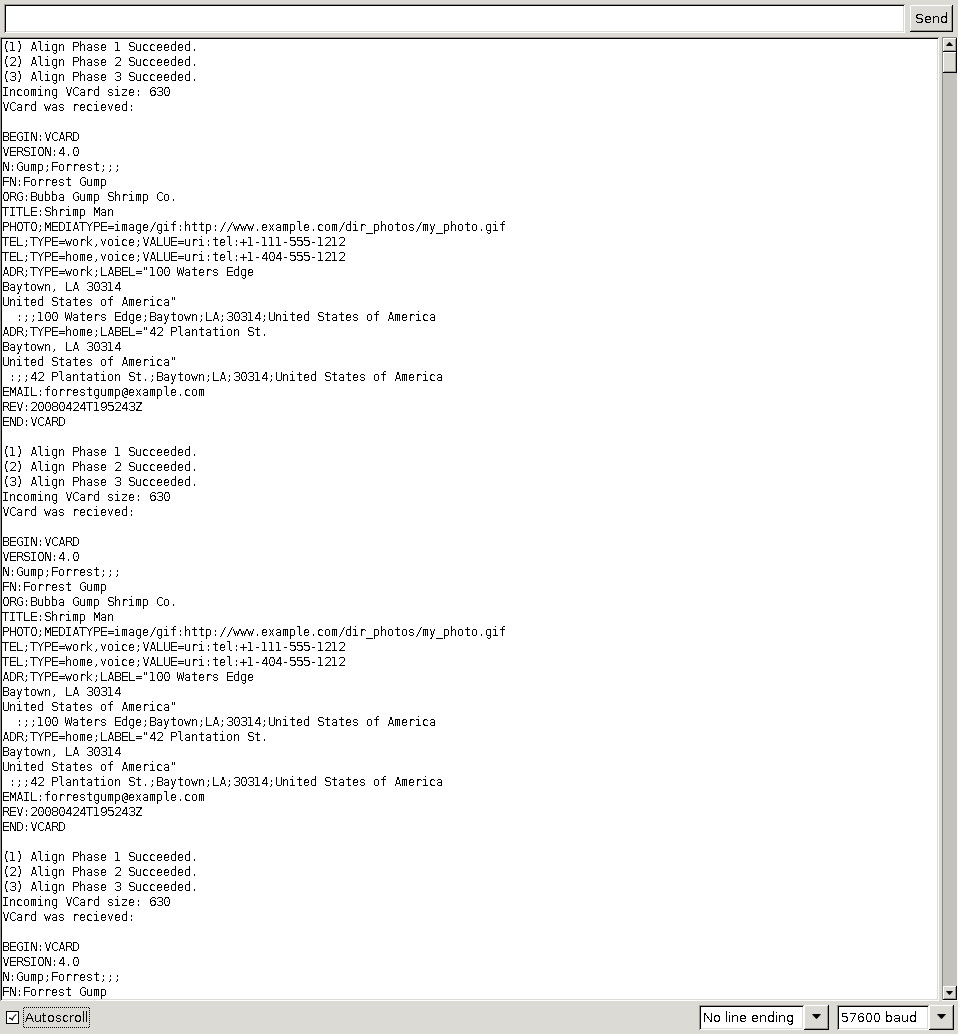
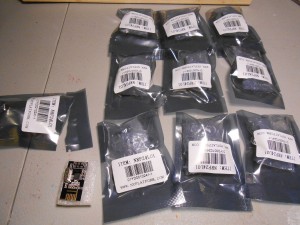
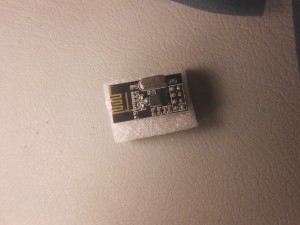
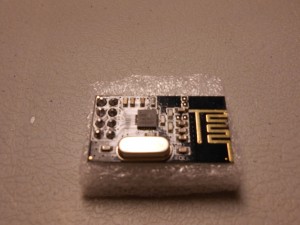
We tested the bluetooth and confirmed that data can be transferred over the connection. We are still working to figure out how we can send the text message from the smart phone.

Describe the problems you encountered

I couldn’t find the Android-based smart phone to play with it during holiday. It’s not a big deal. I wrote a chuck of code. I’ll test it soon.

Describe the successes you had

Finally we could make the button from the QTC.

Thanks to the generous donation of copper taffeta from Nathan, We used it as a conductive material to ‘sandwich’ wires to each side of the QTC material. It’s successful, this’ll be a very resilient sensor for pressure that we can put on the fingertips or along the sides of the gloves for user interaction.

We also had success transmitting data from a bluetooth-enabled phone to the bluetooth module and having the Arduino respond to the data. We will use this success to move onto sending textual data and displaying it on the screen next!

Are you on schedule?

Yes! We’re past our initial hurdle of communication and we hope that integration of sensors will go much more smoothly. Hopefully!! 🙂

What do you plan to do next week?

For next week, we plan to integrate the flex sensors and build a test program for the android phone to transmit custom data (e.g. text messages) to the lilypad/screen.

Moneo: Day 35

Week’s Accomplishments:

Problems:

Network protocols are hard. Took me 48 hours to get the transmitters wired correctly and communicating a vcard bidirectionally successfully. Then I discover that one of the accelerometers appears to be broken. This has delayed the next stage of the protocol development where I need to implement a discovery protocol when receiving a shake event.

Successes:

The transmitters, after all the pain getting them here and setup, do in fact work. The wiring is a bit touchy, but I hope that will be fixed once they are more permanently attached. The other good news is that the $10 accelerometers I got have built in high pass filters for shake detection. And it worked pretty well. Granted, the communication is a fair bit more complicated than a simple analog model, but in return I don’t have to implement a potentially complex filter on the microcontroller.

Schedule:

At this point I’m looking at things to prune. I’ve already tossed the range testing stage for lack of time. I may end up tossing the discovery protocol too, if I can’t get new sensors in fast enough or if proves too complicated in the time I have left.

Next week:

The last and hopefully final shipments are in route from Amazon and Sparkfun. These include the wrist straps (2 models, not sure which is best) and battery connections. Needless to say, these are the critical pieces to finish this project off. They should be in by Thursday so I can assemble everything this weekend and put on the final coding touches. Like it or not, this project is coming down to the wire.

Week 5 – Update


What did you do this week?

I bought iron-on reflective ribbon and made sure it would adhere to my fabric without any issues (successful! See picture below)

My plan is to use the reflective ribbon to hold the string lights in place.

I finished most of the construction of the jacket but still need to sew on the cuffs and around the bottom edge.

After talking with Emelia a few weeks ago, we decided it would be best to put a small pocket on the inside of the jacket to hide the Lilypad and other wiring.

Describe the problems you encountered.

No serious problems.  I had hoped to have spent some time working with the proximity sensor but didn’t get around to it.

Describe the successes you had.

I sewed in a zipper for the first time!

Are you on schedule?

I am on schedule but will be busy next week.

What do you plan to do next week?

Program the proximity sensor and start sewing/ironing the string LEDs into place.

week 5

what did you do?

– finished scarf

– finished code

problems:

– have not tested code to see if it works yet, problems setting that portion of the project up

successes:

– scarf is complete

schedule:

still doing well

next week:

begin sewing on the led’s

finalize code


Week 5

1. What did you do?

  • Lots!  Settle in for an in-depth picture tour of felt creation…

Step 1: Soaking wool roving in vinegar and water

Step 2: Vinegar water is drained and dye is applied to the roving

Step 3:  Wool is baked in a 350 degree oven for 45 minutes, then thoroughly rinsed and hung to dry.  I was able to speed up the drying process using the sweater rack attachment for my dryer.  I did 3 “colorways,” using different intensities of dye to get a range of colors.

Step 3a:  Cuddle with lazy cat while batches of wool are baking.

Step 4:  I took over our large dining room table to layout my felting supplies.  I put a plastic drop cloth over the table, then a 5′ x 8′ rug pad, followed by a layer of silk organza and a layer of grey prefelt fabric.  The rug pad helps agitate the fibers when rolling, which causes the multiple fabric layers to bind together.

Step 5: Tufts of roving are pulled of an placed on top of the prefelt, creating cloud-like shapes

Step 6: 2 hours later…

Step 7: A layer of netting is carefully placed over the roving to help keep everything in place.  The entire piece is then liberally sprayed with warm soapy water and another piece of netting is rubbed in circles over the surface of the piece to being binding the fibers together.

Step 8: One the fibers have begun to felt, the entire piece (including the rug pad) is wrapped around a heavy cardboard tube and then rolled back and forth on the table for 10 minutes or so.  The piece is then unrolled and rerolled in the opposite direction.  The rolling continues to encourage the multiple layers to felt together.  Once the felting process has started, the piece is removed from the tube and the rug pad, then rolled back up with the layers separated by the netting and tied.  The roll is then placed in the washing machine on the gentle cycle.

Step 9: The fabric was unrolled, rerolled and run through the wash cycle 3 times to achieve sufficient felting.

Step 10: Find your kitten playing in your felting supplies


2. Problems

  • I had one major issue – namely, it turns out I badly miscalculated the amount of roving I needed for each sheet of felt and was only able to complete 2 panels this weekend.

3. Successes

  • I made felt!  Considering all of the issues I had with the dyeing and felting process, I am extremely pleased with my outcome.  It actually looks astonishingly close to my original sketch.

4. Schedule?

  • Oi, am I in a tight spot.  I had originally planned on making all of the felt and sewing the gown this weekend.  Instead, I was only able to complete half of the felting.  At this point, I doubt that the addition of the stretch sensor is going to happen in time for the exhibit.  I’m hoping to add that feature in the future.

5. Next Week?

  • Due to my yarn shop’s hours, I won’t be able to buy additional roving until Tuesday.  I’m planning to dye the roving and felt the last 2 panels during the week.  I can dedicate next weekend to sewing the gown and soldering the electronics, then sew the in the electronics over the course of the next week.  I also plan on finalizing my programming in class this week.  Yikes!!

Posting Reminder

Remember posts are going to be due Sunday this week, but they need to be extra good.  That means you should make sure you have more than one image and an extensive  description of your progress this week.

Also remember to TAG YOUR POSTS with your project name.

week 4

What did you do:

1. Received what should be the last of my supplies. LEDs, motion sensors, arduino board.

2. Continued working on my scarf.

3. Wrote up the code for what I would like the scarf to do.

Problems:

1. Would have liked my scarf to be finished thus far.

Successes:

1. Wrote the first draft of my code, thinking it went okay, ready to test it this week.

Next week:

1. Sew LED’s and Motion sensors onto scarf. 

Week 4

1. What did you do?

  • Purchased my roving and all of my felting supplies
  • Began dye tests
  • Worked on refining the lightning program
  • Received my small boards and MOSFETs

2. Problems

  • The roving is turning out to be more of an issue than anticipated.  I started with a huge ball of roving:

  • Than I applied my dyes, using a color scheme of grey and a dark grey/purple to create the storm cloud effect.  This was the outcome:

  🙁

  • Obviously, some additional work is needed.

3. Successes

  • I tested my wiring plan and I am able to power each 15 led “cloud” off of a single pin.
  • I refined the lightning program to give a more realistic stutter effect.
  • The programming was so successful, that I’ve decided to add a knit stretch sensor to control the storm intensity via gesture.

4. Schedule?

  • Still doing reasonably well.

5. Next Week?

  • I have major goals to be completed by the end of Thanksgiving:
  1. Dye all roving
  2. Felt yardage
  3. Drape and sew gown
  4. Create stretch sensor

It’s going to be a busy week!

Moneo: Day 24

Week’s Accomplishments:

Tested Soldering the Copper Taffeta to the wire thread. Seemed to work very well. The solder sucked into the weave and the fabric did not melt under the brief exposure to the iron.
Very nice conductivity.
Best news of the week: The RF transmitters arrived. Finally. All ten from the second shipment are here, each in its own static bag.
Close up shot of the board.
Size comparison
These will be used to attach ribbon cable to the transmitters. The socket is a bit too large. I may end up soldering it to the underside of the assembly.

Problems:

Time wasted waiting for transmitters. Also, intial tests with taffeta as RF shielding were less than successful.

Successes:

The Taffeta soldered much better than I expected. If I can get it to act as an RF shield, I’ll be set.

Schedule:

Delayed. The shipping time on the transmitters has been a set back. Will need to work quickly to get them integrated.

Next week:

Acclerometer and wireless protocol development.

Week 4 – Update

What did you do this week?

I finishing cutting my pattern for a 3rd (and hopefullly last) time:

The pulse sensor seems to be working properly. I determined that I am able to get the best read from the sensor when it is placed on the inside of my wrist.  I think this will work nicely with the design of my jacket. I will put a velcro strap on the inside of the cuff to secure the sensor to the skin.

Describe the problems you encountered.

No major problems this week.

Describe the successes you had.

I was excited to get the pulse sensor working.

Are you on schedule?

I am on schedule.  Originally I had planned to finish the construction of the jacket first, but it made more sense to get the sensors up and running to determine how they will be best incorporated into the construction.

What do you plan to do next week?

Before Thanksgiving break I would like to make sure the proximity sensor works and start sewing the jacket together.