3D Capture – Semester Wrap Up

Our project on 3D motion capture was certainly a learning experience.  Although we have yet to make models of phenomena over time, we have certainly improved on our skills in data collection (photographic techniques), post-processing, and model construction and refinement in Agisoft Photoscan.

Data Collection

Initially, we took photos of objects indoors lit by a halogen light, using a 30-110 mm lens. As a result, we struggled with a few issues:

  • Due to the directional light, it created diffuse shadows over the model, which made it difficult for Photoscan to align the camera angles.  In addition, the hue of the light altered the appearance of the final generated textures for the object (everything was tinted yellow).
  • We were attempting to model white-ish objects on a white counter top, which also made it difficult to align camera angles.  With lack of apparent textures and similarities in color, it made it more difficult to distinguish between the model and the environment.
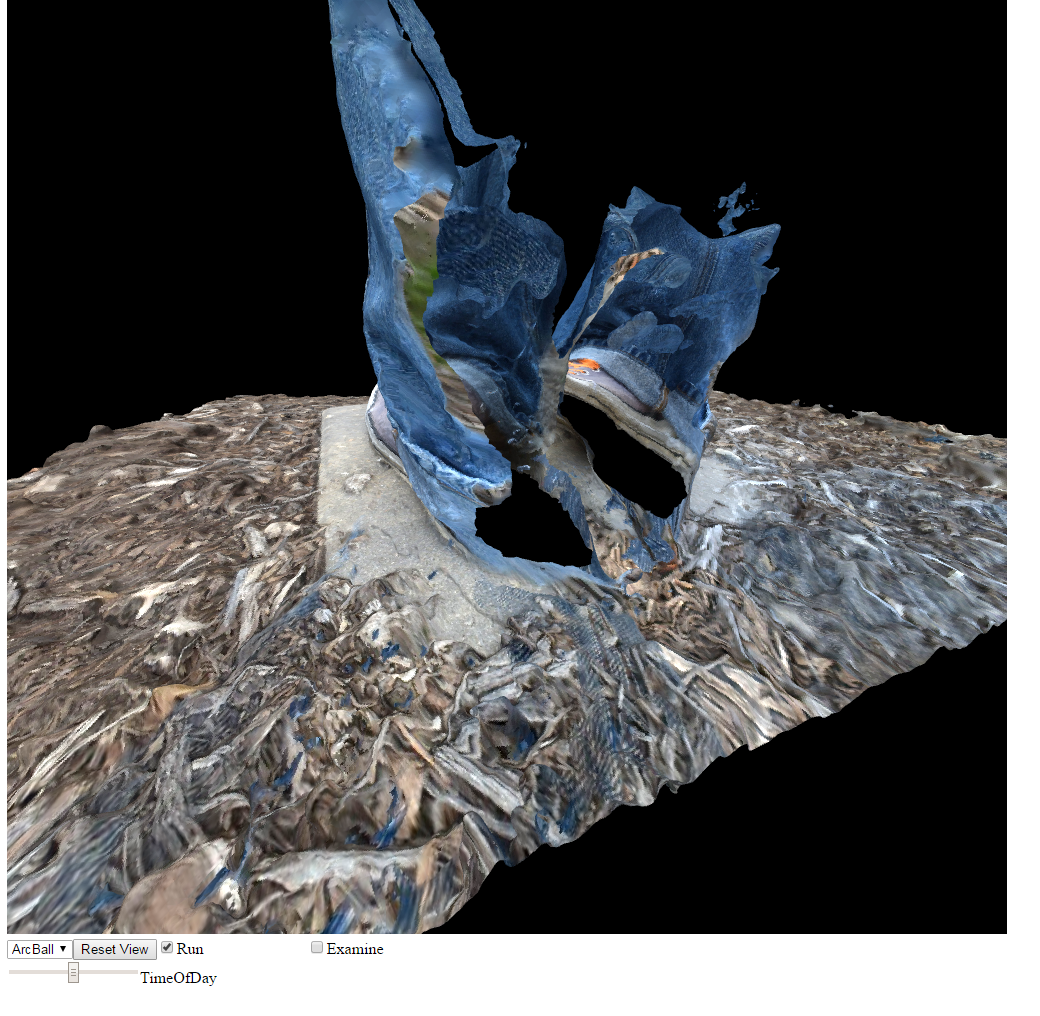
  • With a 30-110mm lens, we zoomed in close to the object so that it took up the entire frame of the image, but due to our placement of the camera this created a very narrow depth of field. As a result, if we focused on one piece of the object, other parts of the object would appear blurry, and would interfere both with dense point cloud generation and texture generation. (In the Depth of Field and Color Issues link, you can see how the sword and arm are in focus, but more distant features like the head are out of focus)
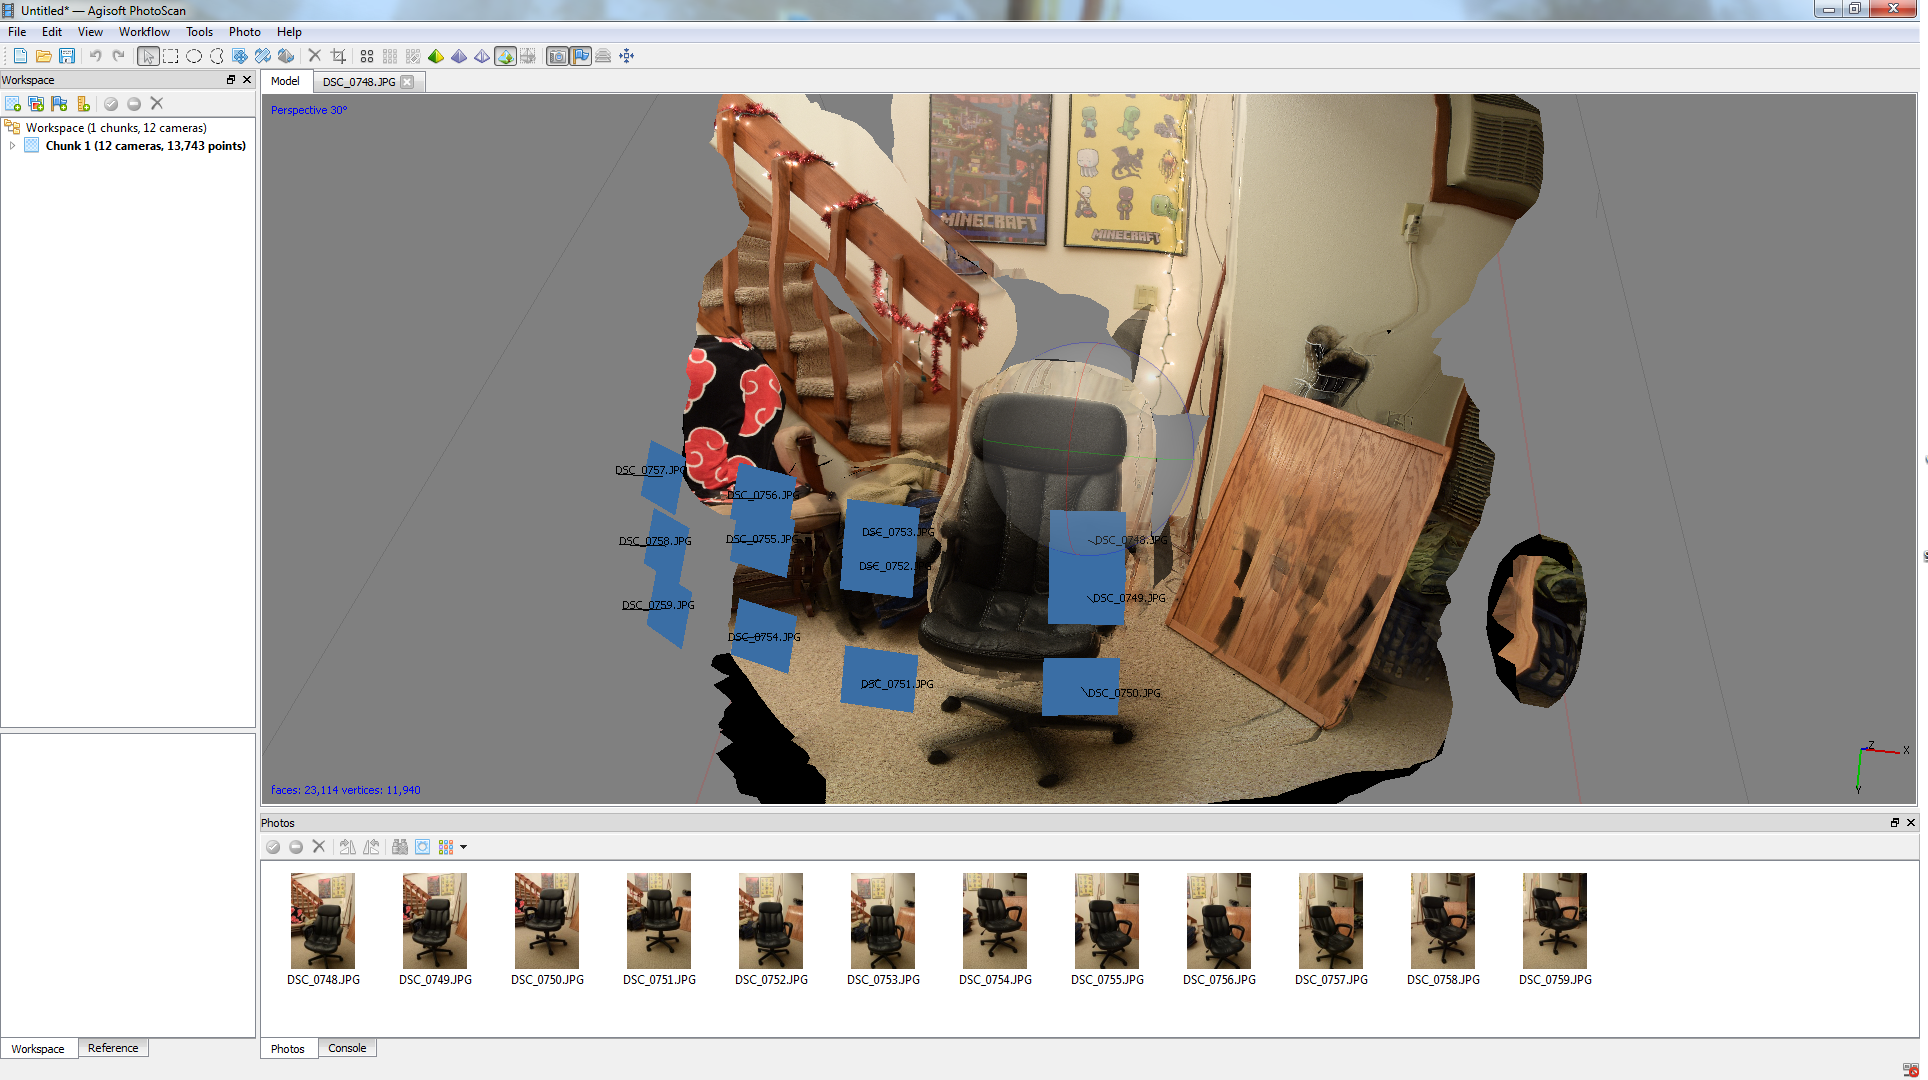
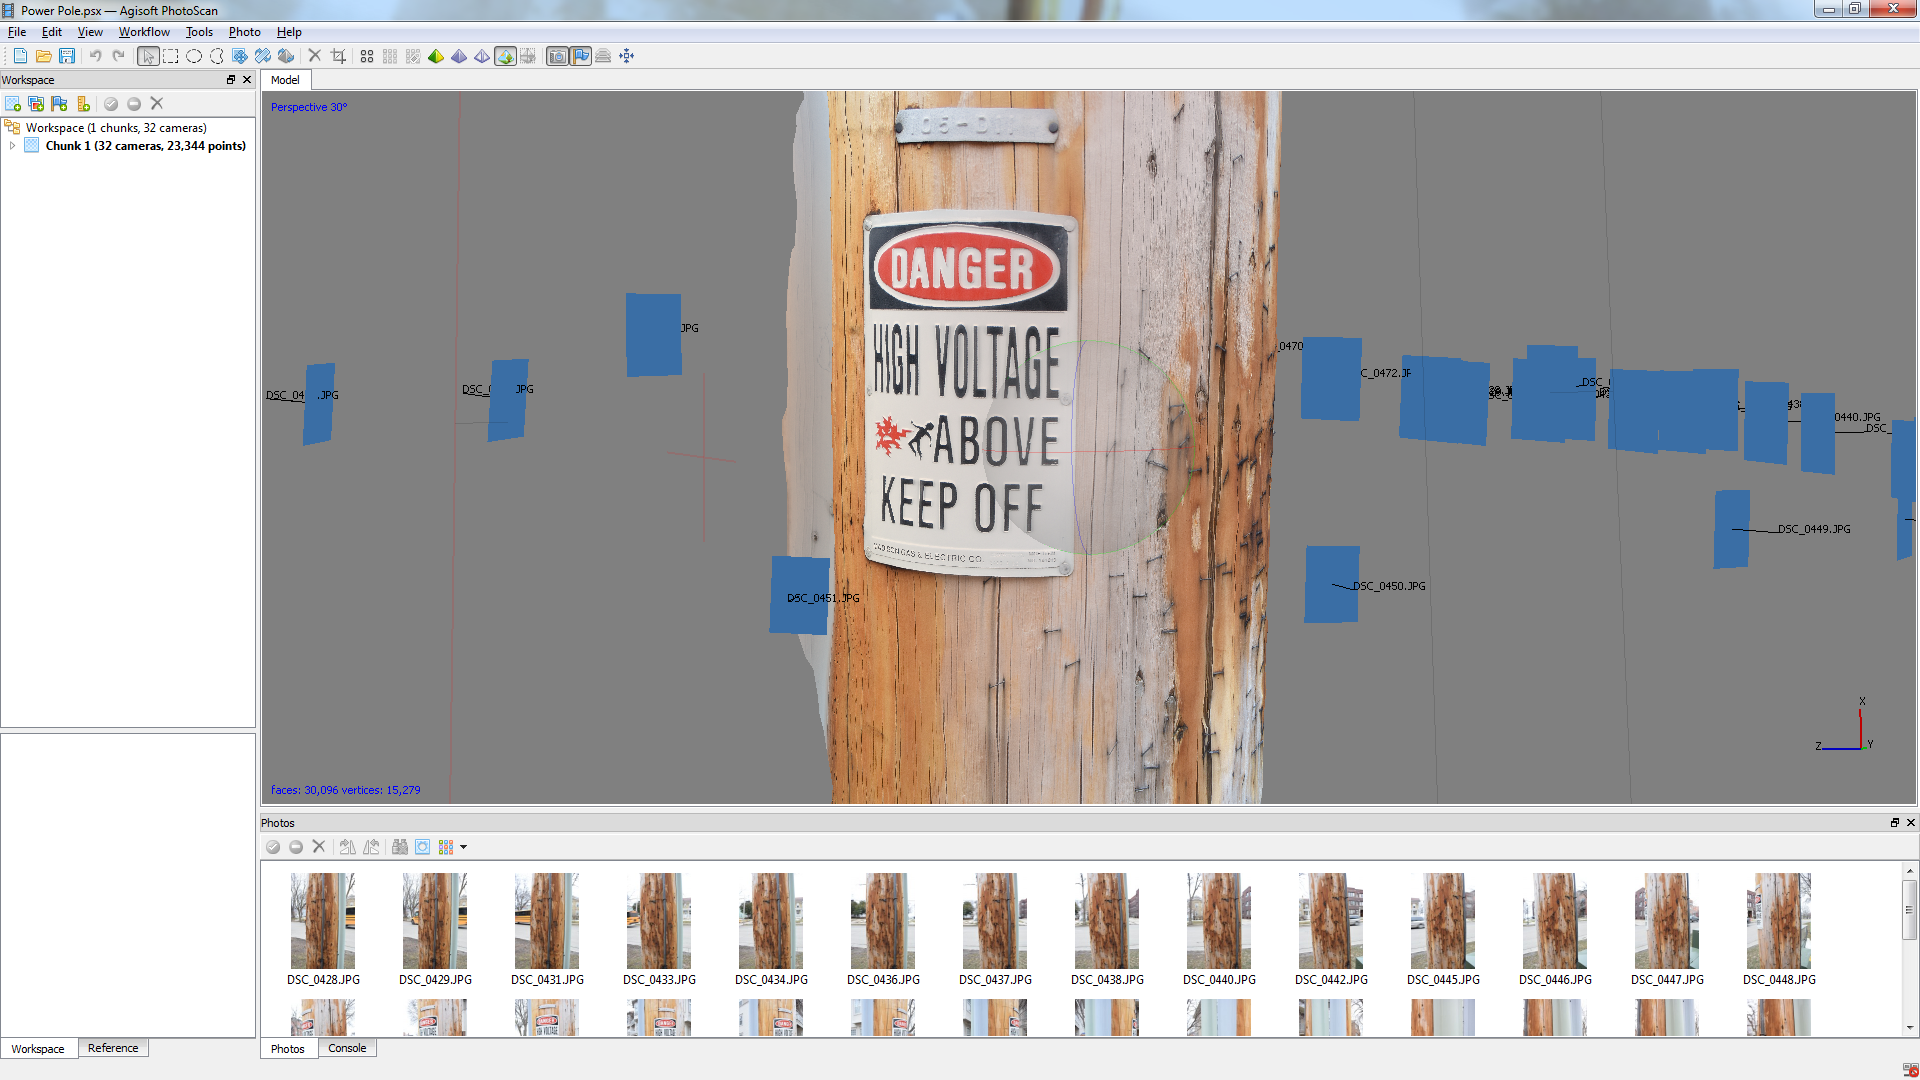
  • The importance of proper coverage is still something we’re working with. We’ve often forgotten to take high shots of the top of an object to be left with an excellent looking model with a hole in the top of the mesh which can be quite frustrating. This is also true of gaps in the model, such as bent arms or areas between the legs, coverage of these areas is essential to prevent holes or conjoined parts of the model.

Depth of Field and Color issues

Essentially, with only few images taken in this fashion it would result in models that we’ve dubbed “pudding monsters” due to the lack of well-defined edges and features.

No Texture Pudding

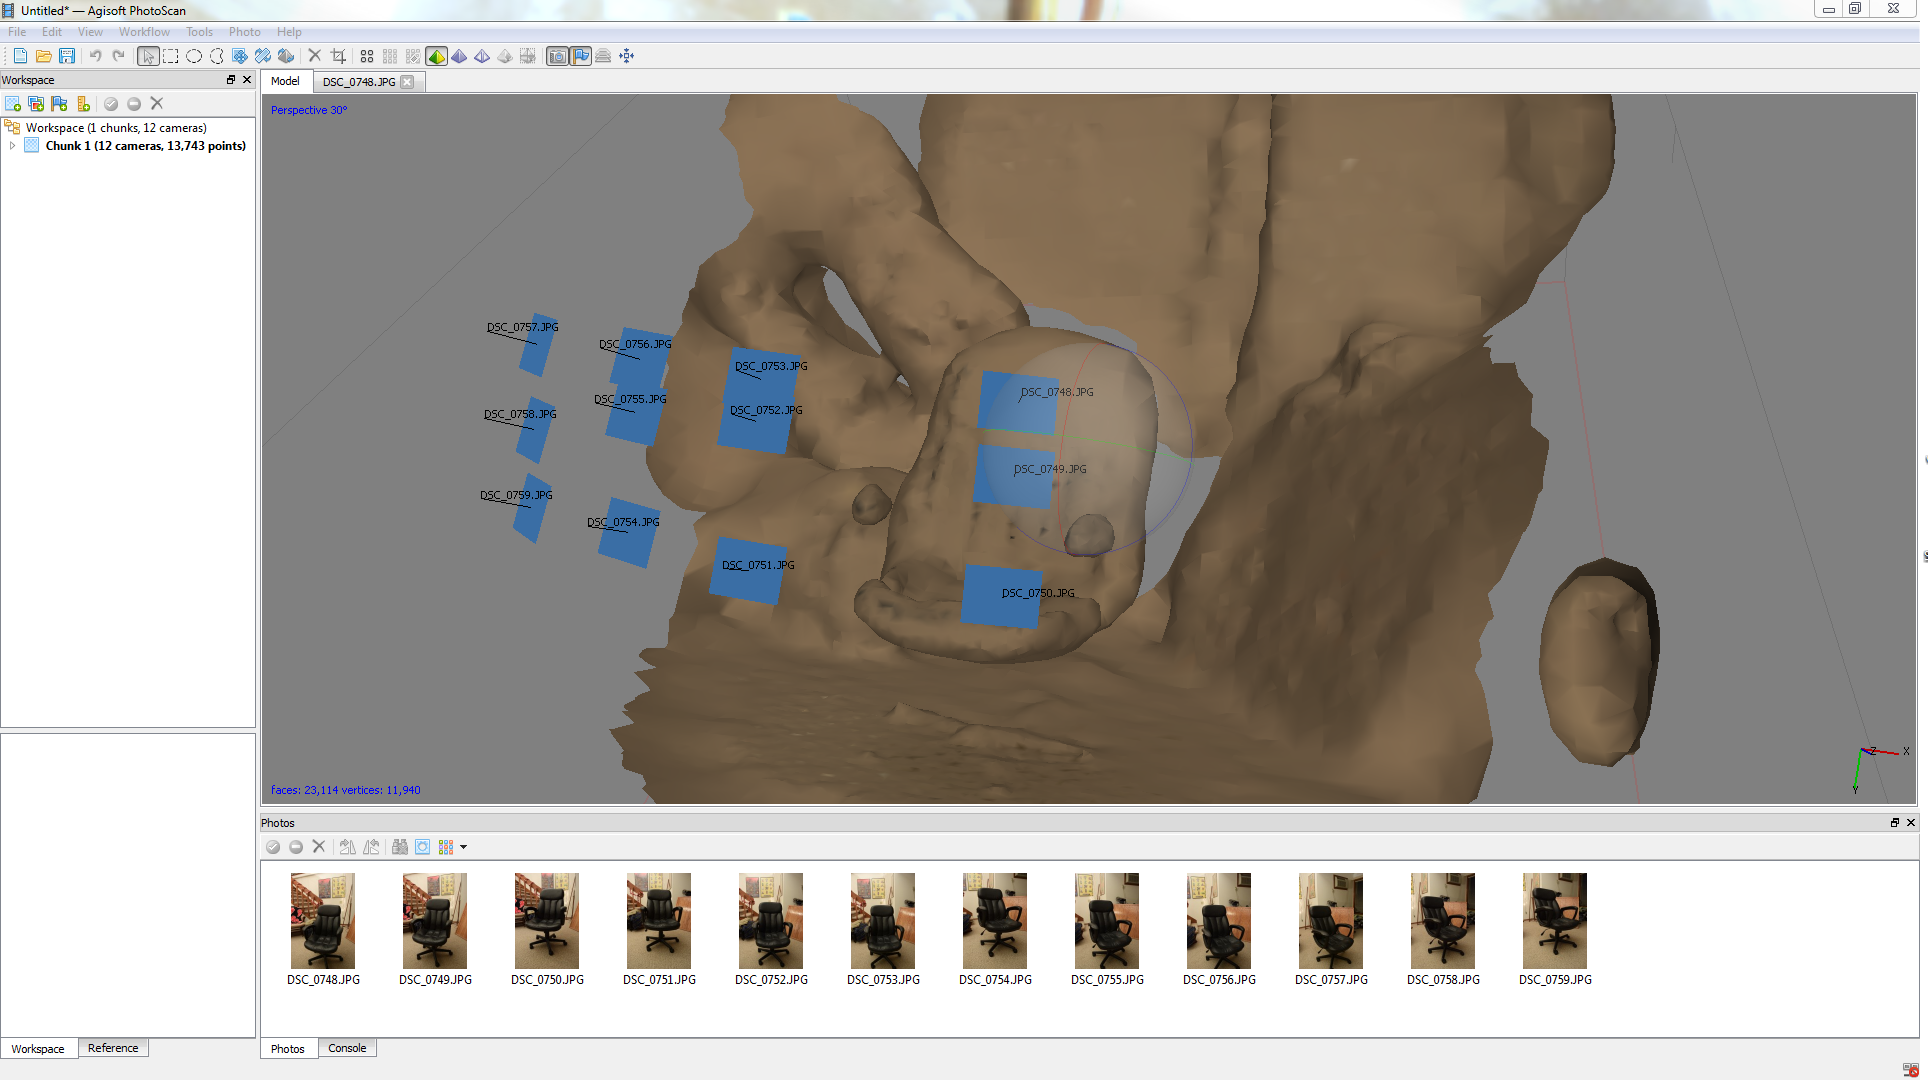
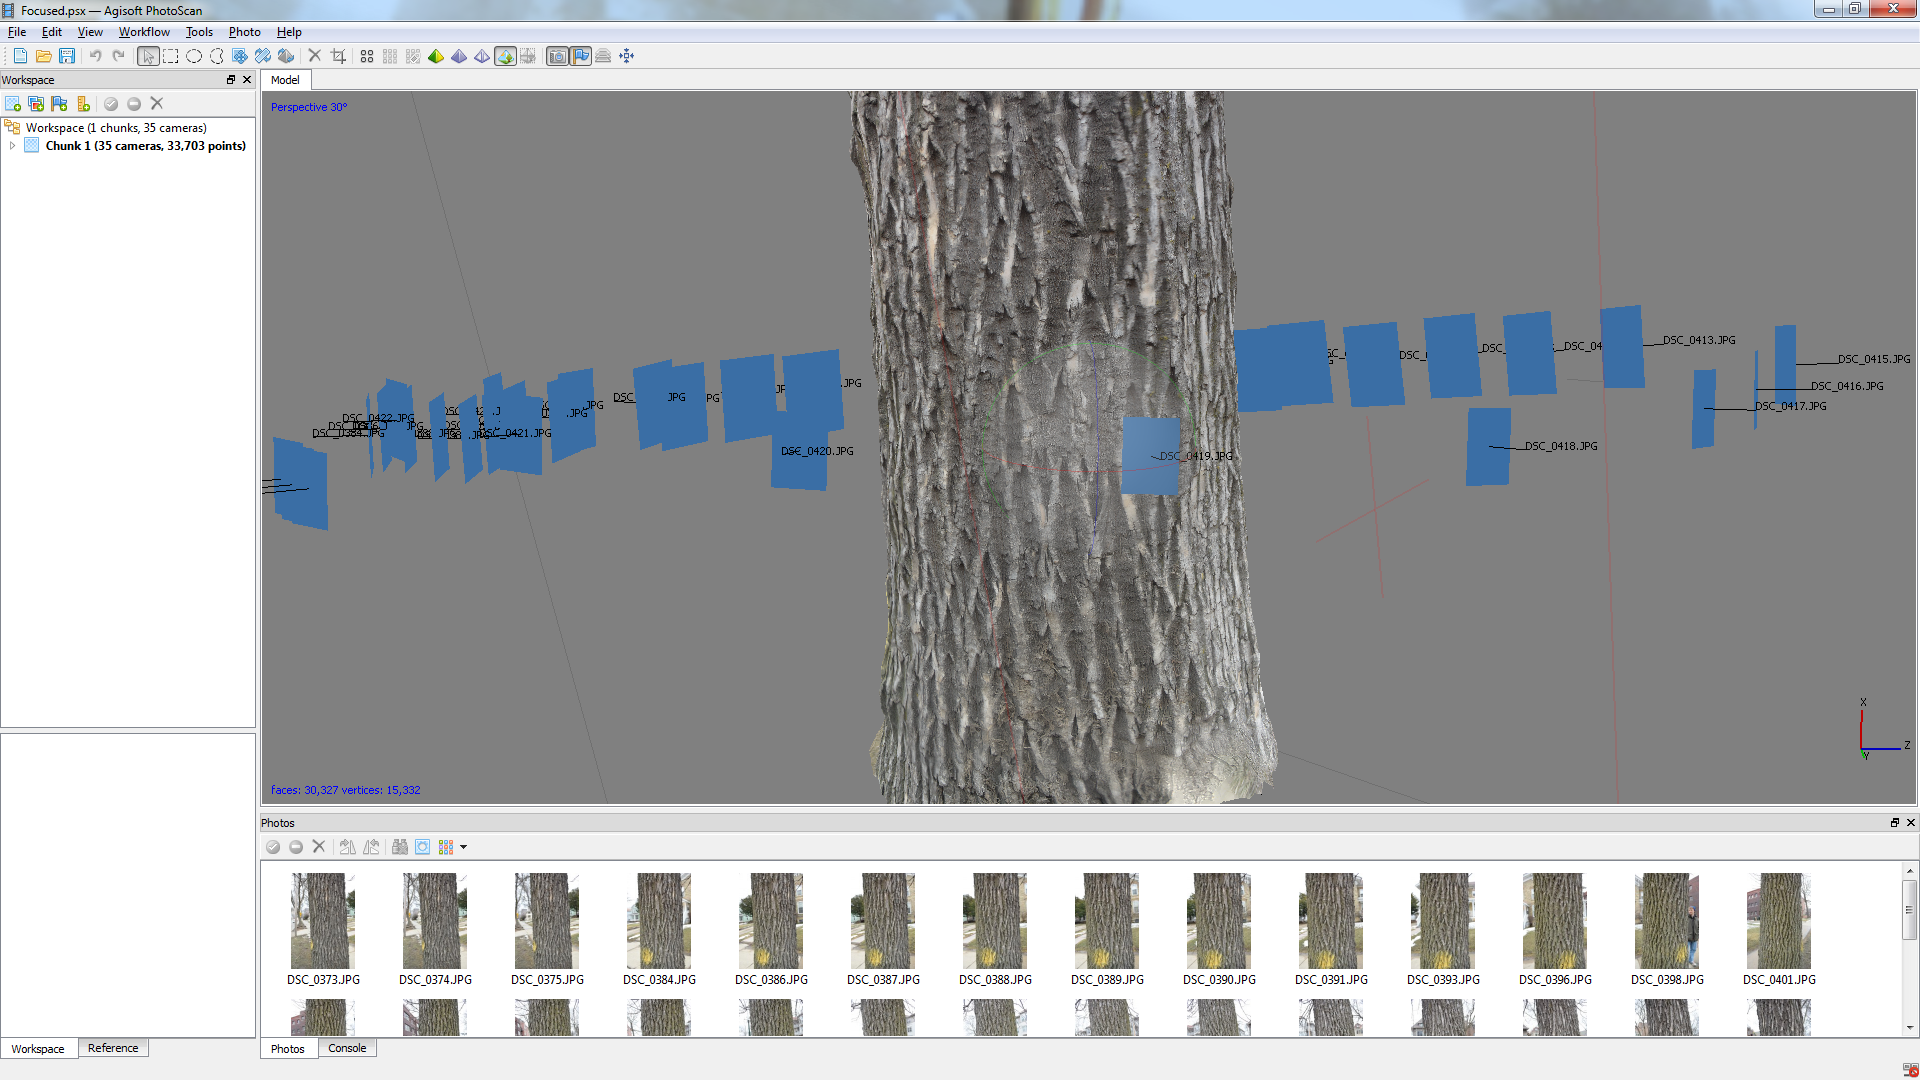
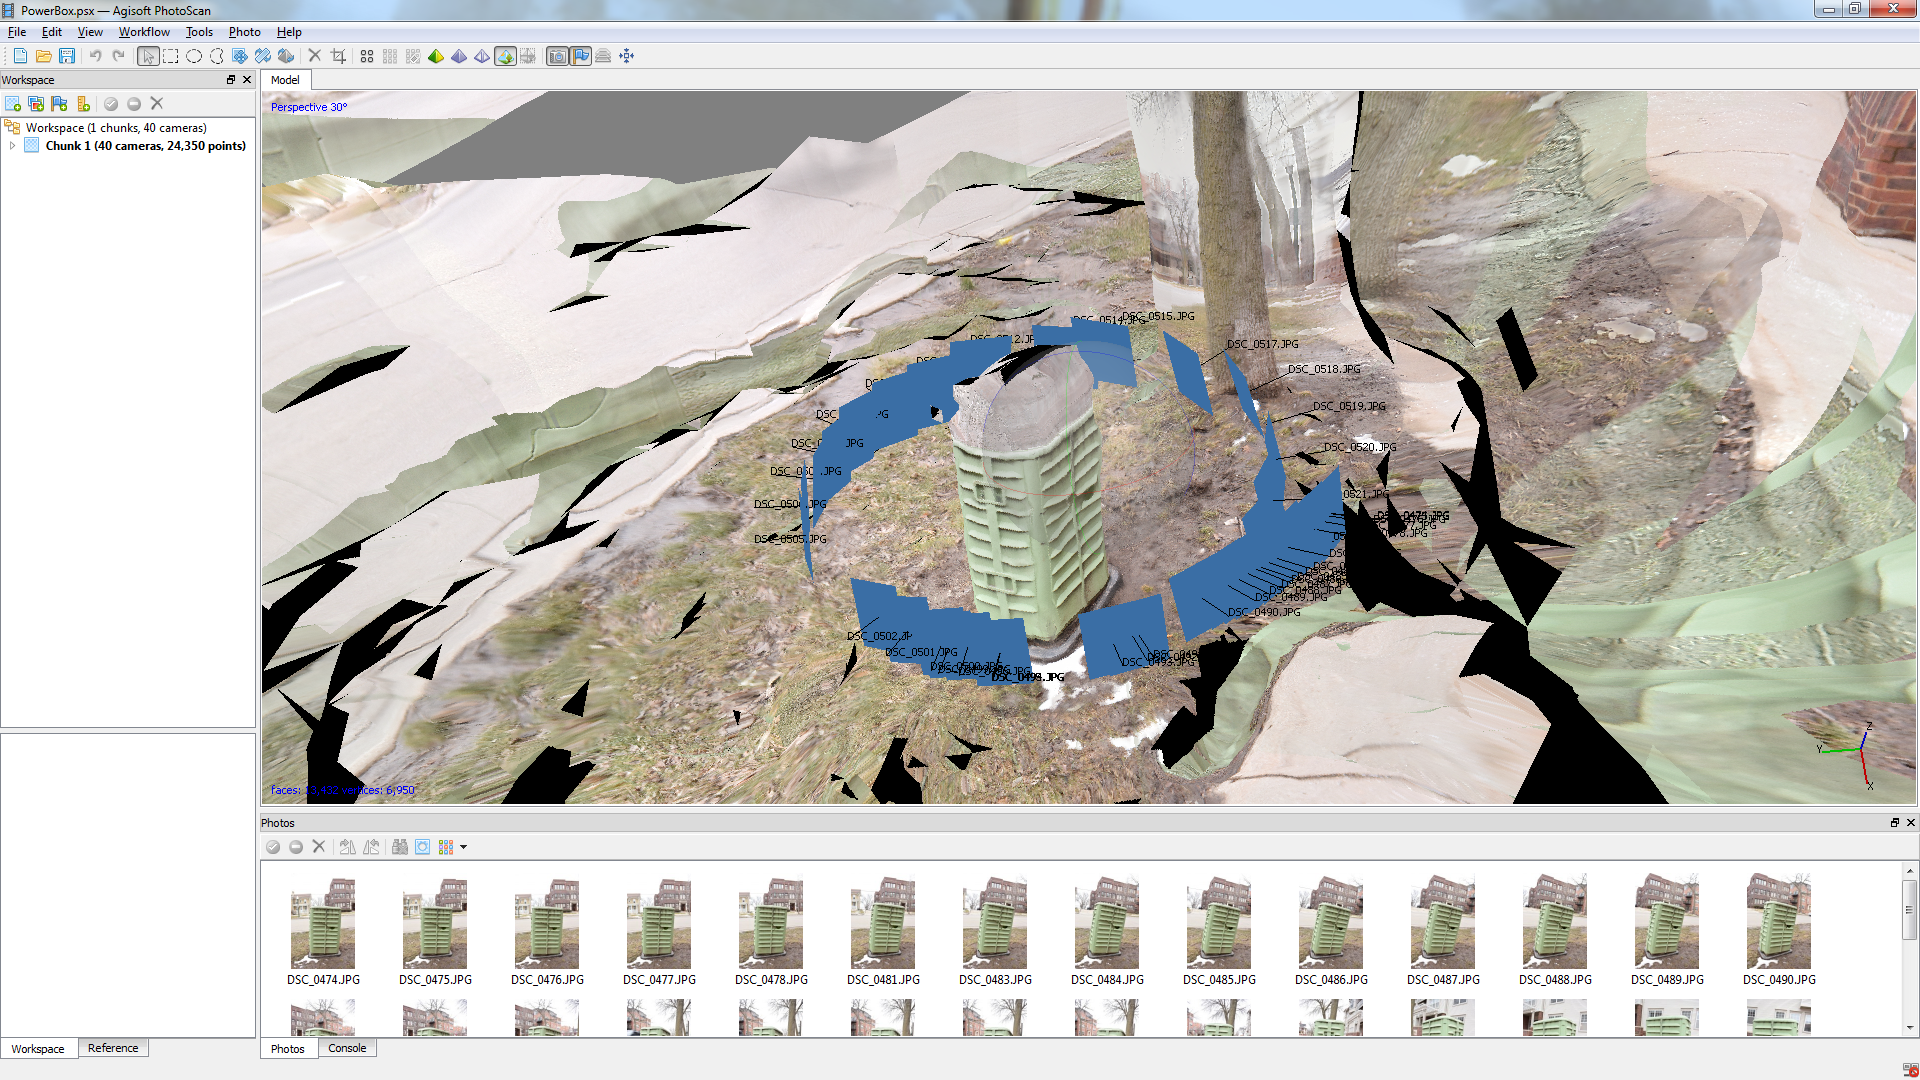
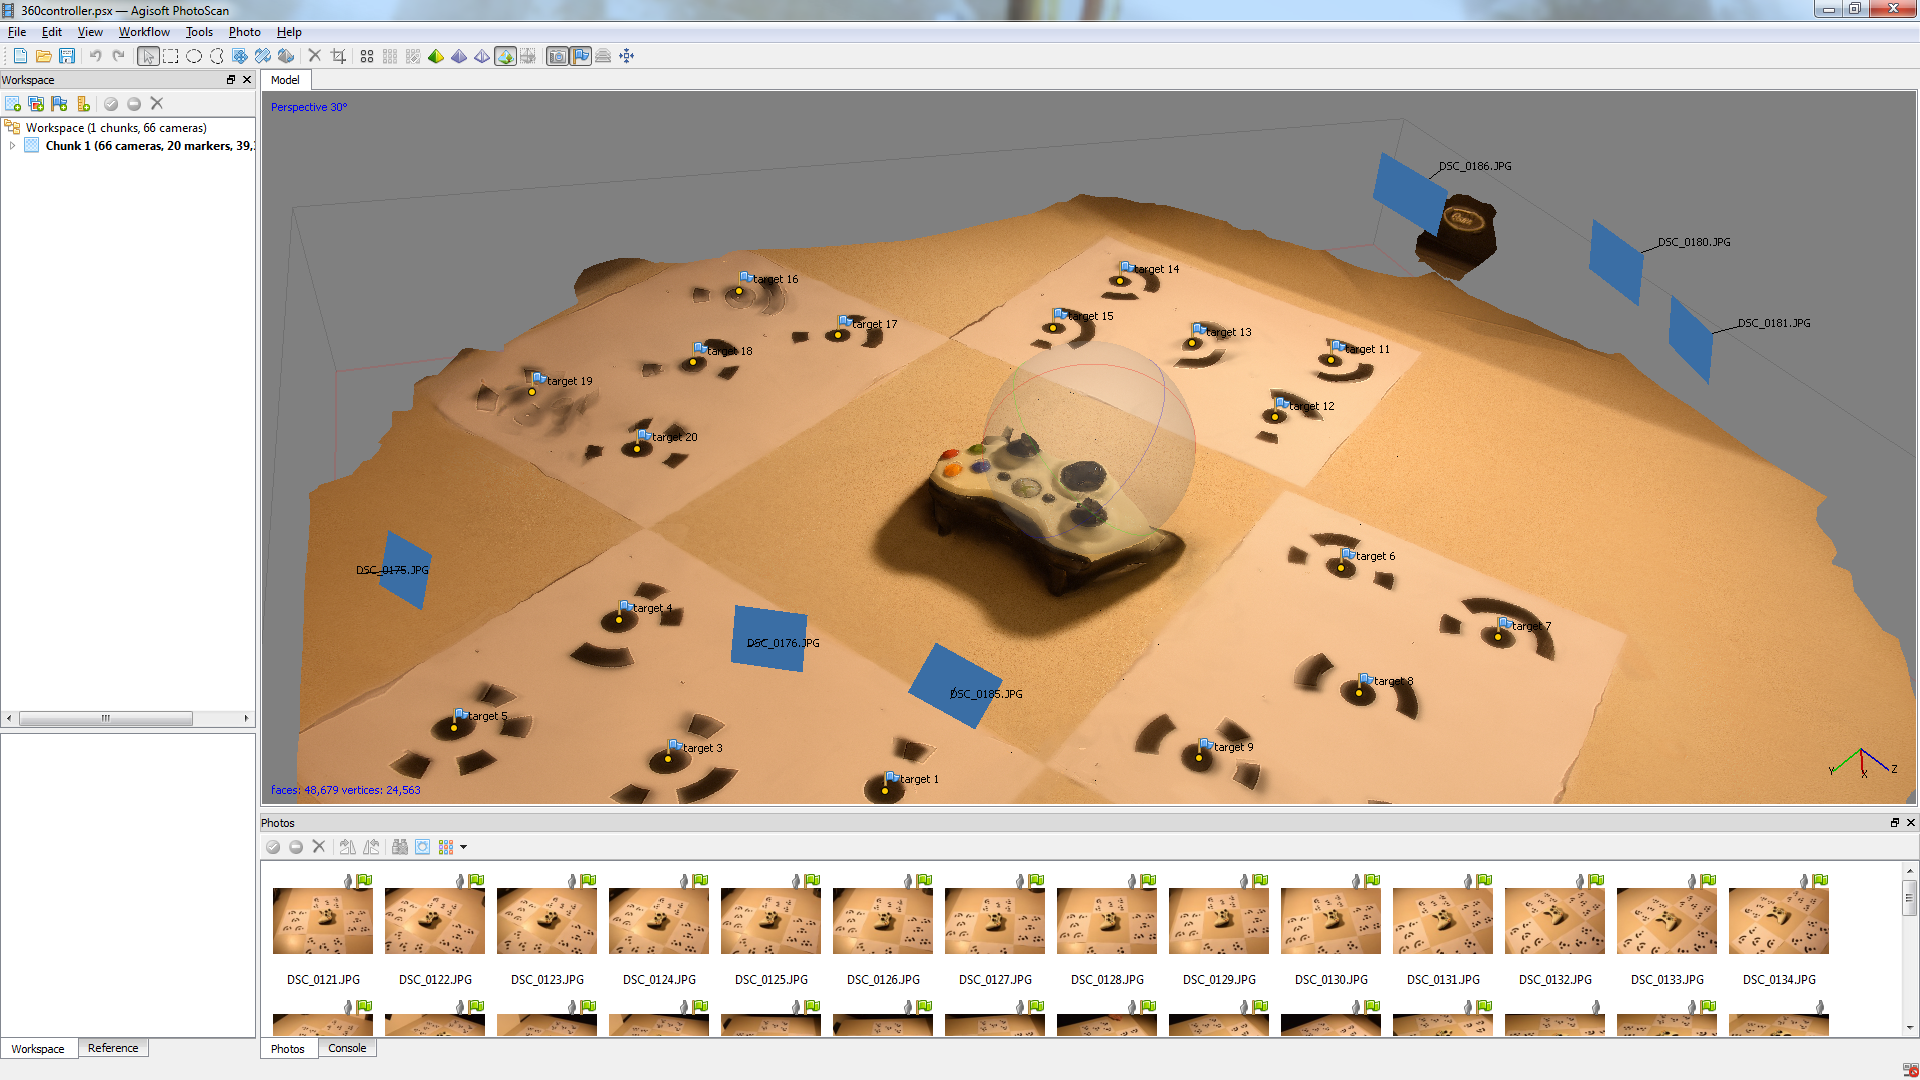
Eventually, we’ve found out that shooting outdoors in overcast conditions provide excellent lighting, as there is uniform lighting all around the object to prevent diffuse shadows on the object. This, in conjunction with more apparent surface detail, allowed for much better alignment and mesh generation. We also found that taking close up shots after getting general coverage really improved the quality of the mesh and texture; it seems that one can mix different kinds of shooting eg. panning and circling as long as there is sufficient overlap between images to obtain alignment. On the note of alignment, we really should be using markers. They speed up the alignment processes immensely and they also help alignment where there is ambiguous overlap. We had to experiment with manually inserting markers into the datasets to get cameras to align in some cases, and while we were able to obtain full camera alignment using this method, it was very time consuming and not something that is viable for constant use. Some object have very difficult times aligning and I’ve had issues getting bushes and large trees to align properly, sometimes only aligning 4-6 cameras out of a 200+ image set. Again, printing out markers could help immensely with this.

Power_pole

Post-Processing

Our final improvements to the project this semester were in editing photos before importing them into Photoscan.  Initially, we did no photo manipulation, but later we found that we could perform preprocessing on the photos to correct contrast, lighting, and exposure of the original images. We used this approach on the Mother Nature model from Epic (not shown here) that was shot indoors in directional light. The corrections may have helped with alignment accuracy and depth calculation, but the resulting textures were non uniform due to corrections being greater in certain angles than others. Overall the model turned out well, but there are certainly room for improvements. We are currently using the automatic mode on the camera for very quick modeling, but we wonder if it would be better to use manual exposure settings to maintain aperture, ISO, and shutter speed between photos. This manual constancy should allow for very even textures and consistent exposure settings between photos, but this approach would only be viable for diffuse and well lit subjects.

Model Construction and Refinement

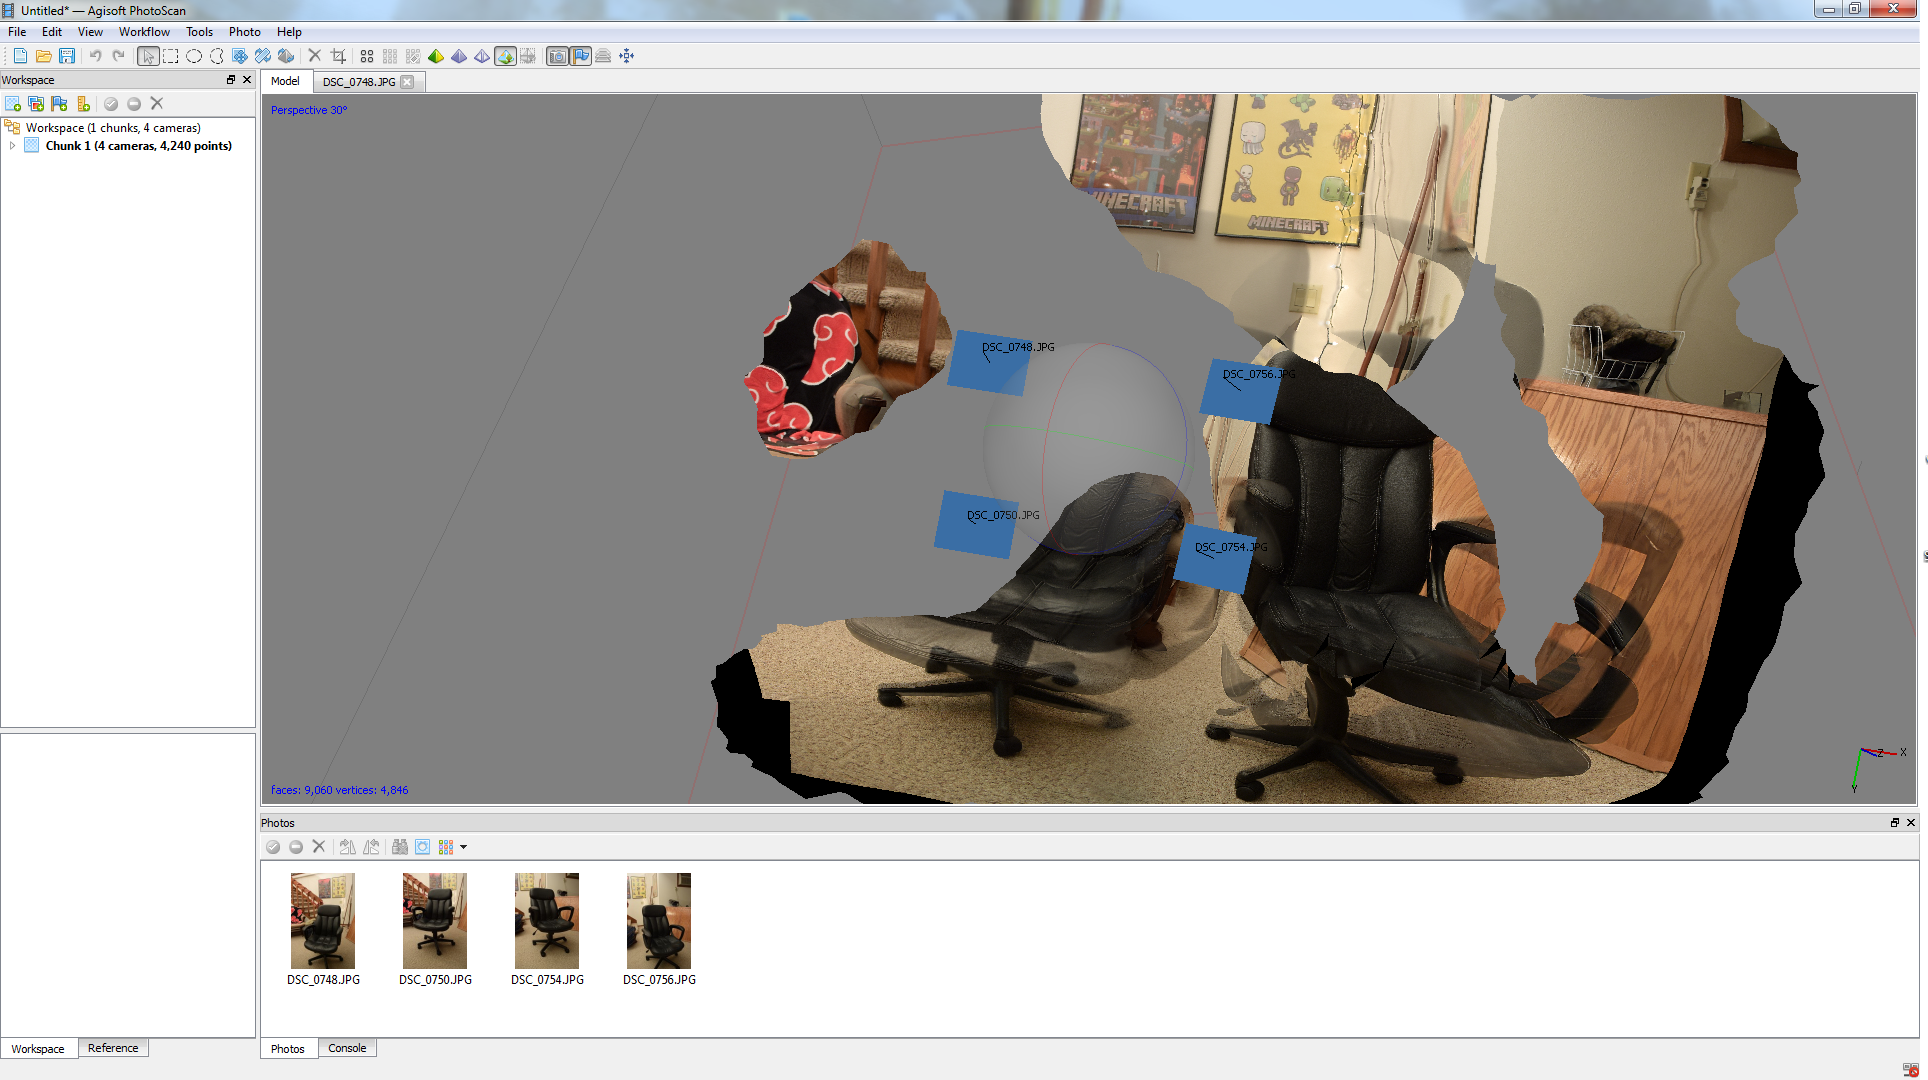
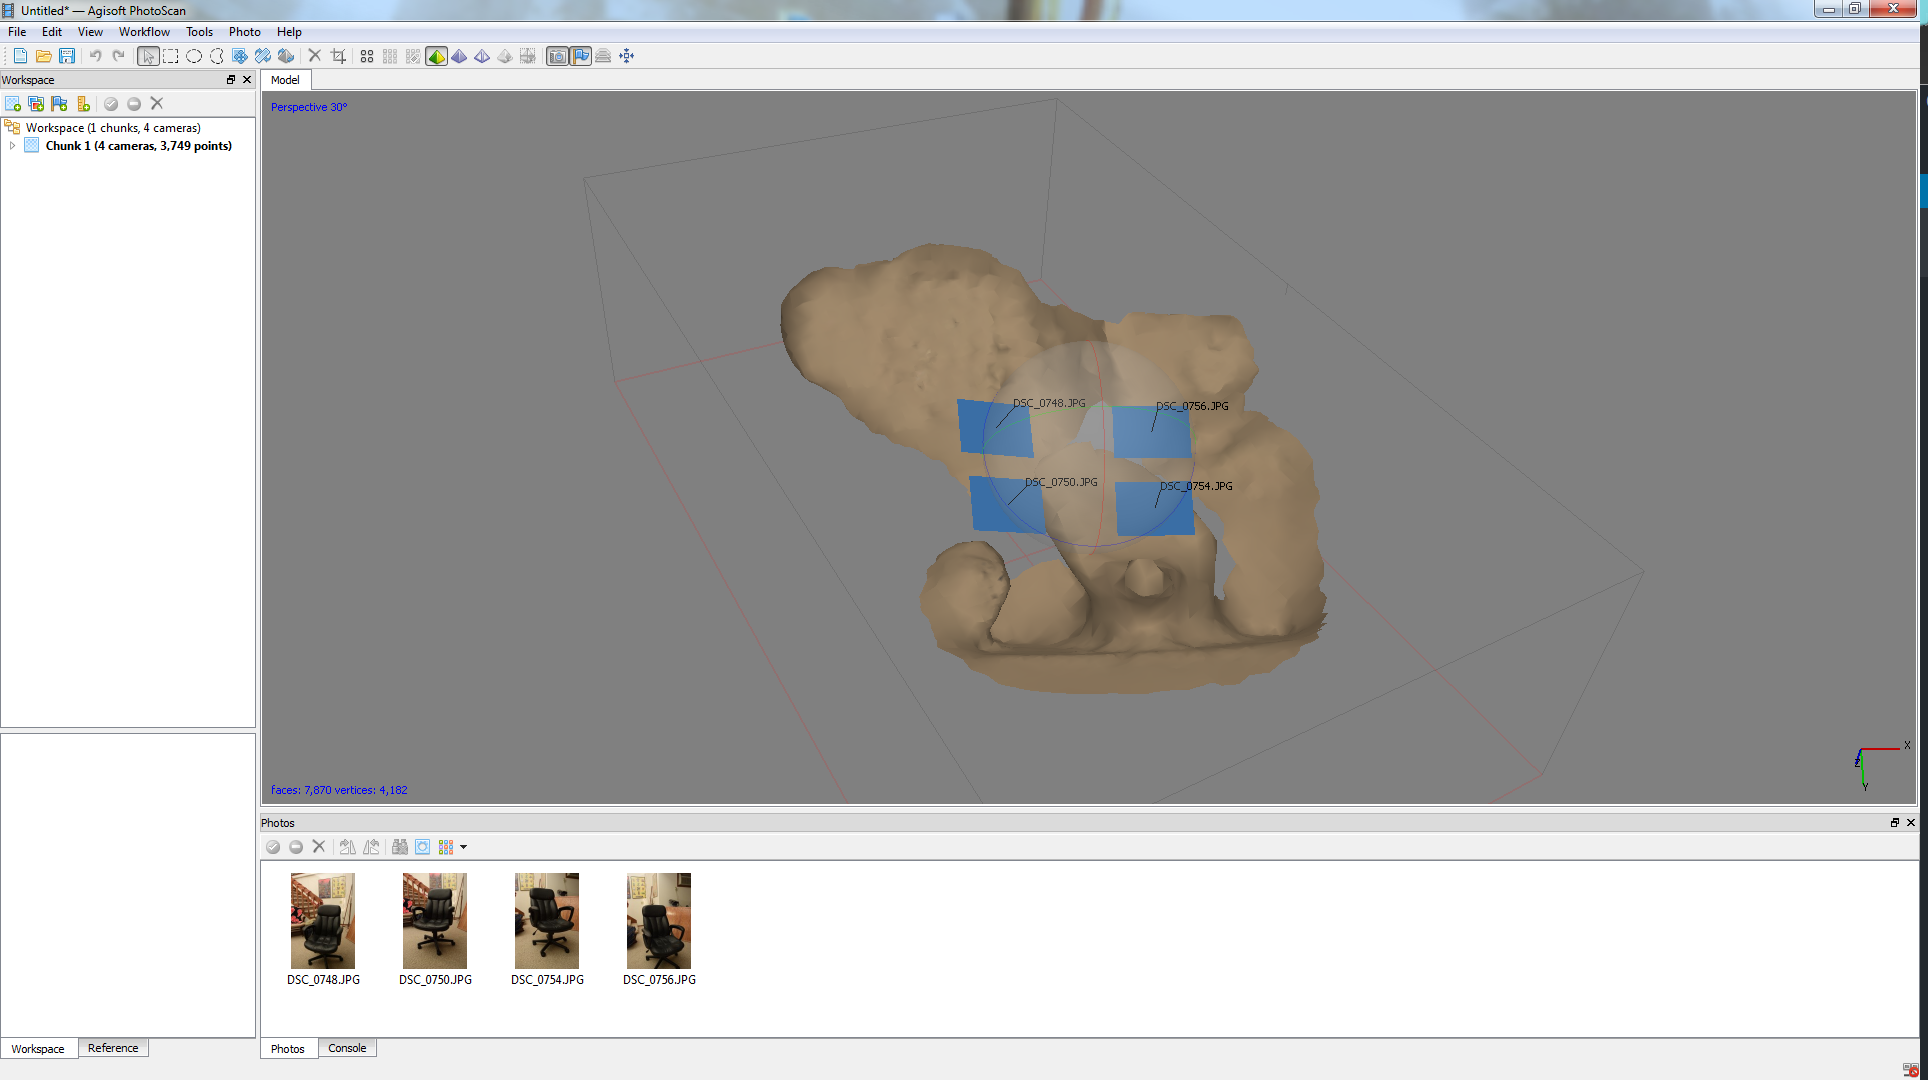
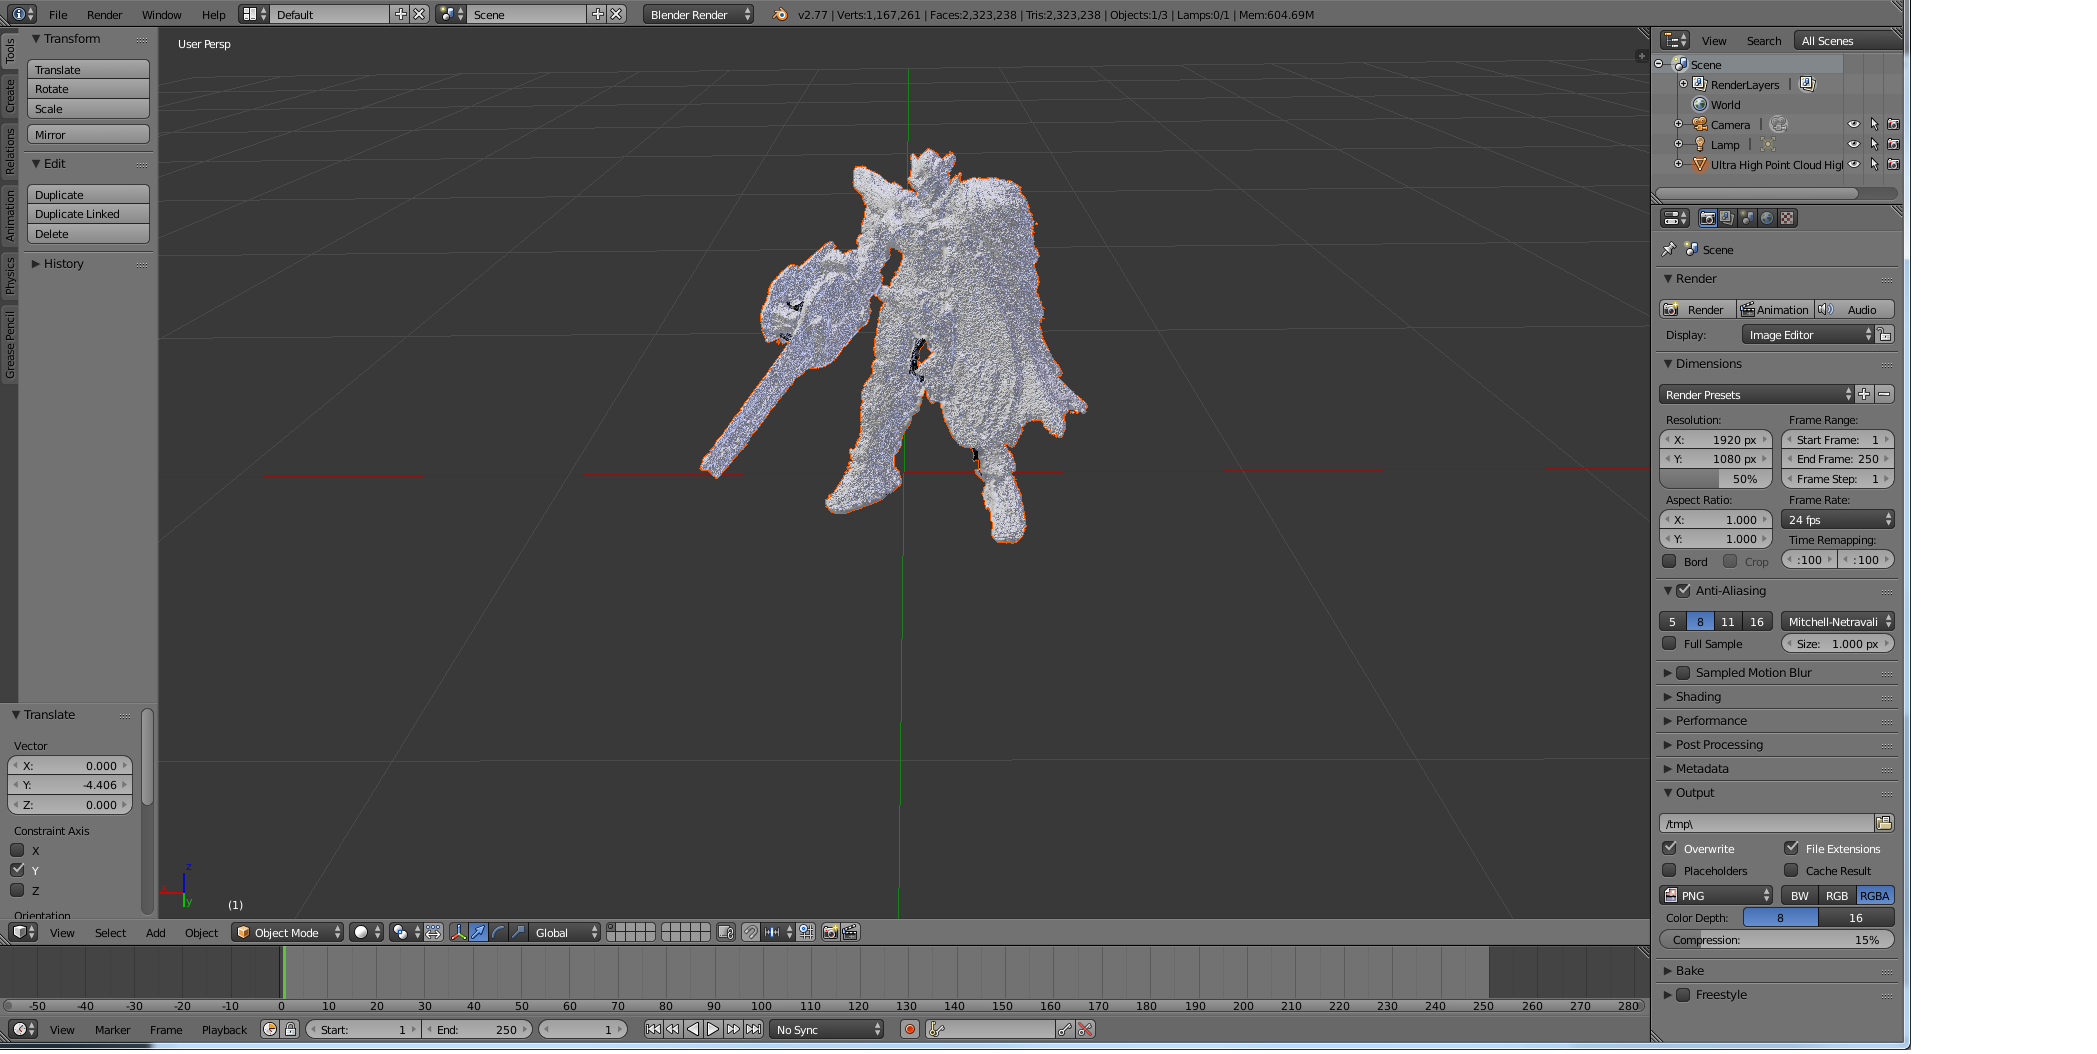
Our biggest mistake we made in earlier stages of the project was constructing meshes from sparse point clouds.  Essentially, we were only constructing models by limited datapoints provided when camera angles are aligned.  With dense point cloud generation, Agisoft uses photogrammetry (which Andrew and Bryce should learn about next semester in CS 534 – Digital Photo Computation) to construct data points of key features and interpolate values between them, creating a much more detailed data set.  As a result, our models turned out much better, even with low-detailed dense point cloud generation.

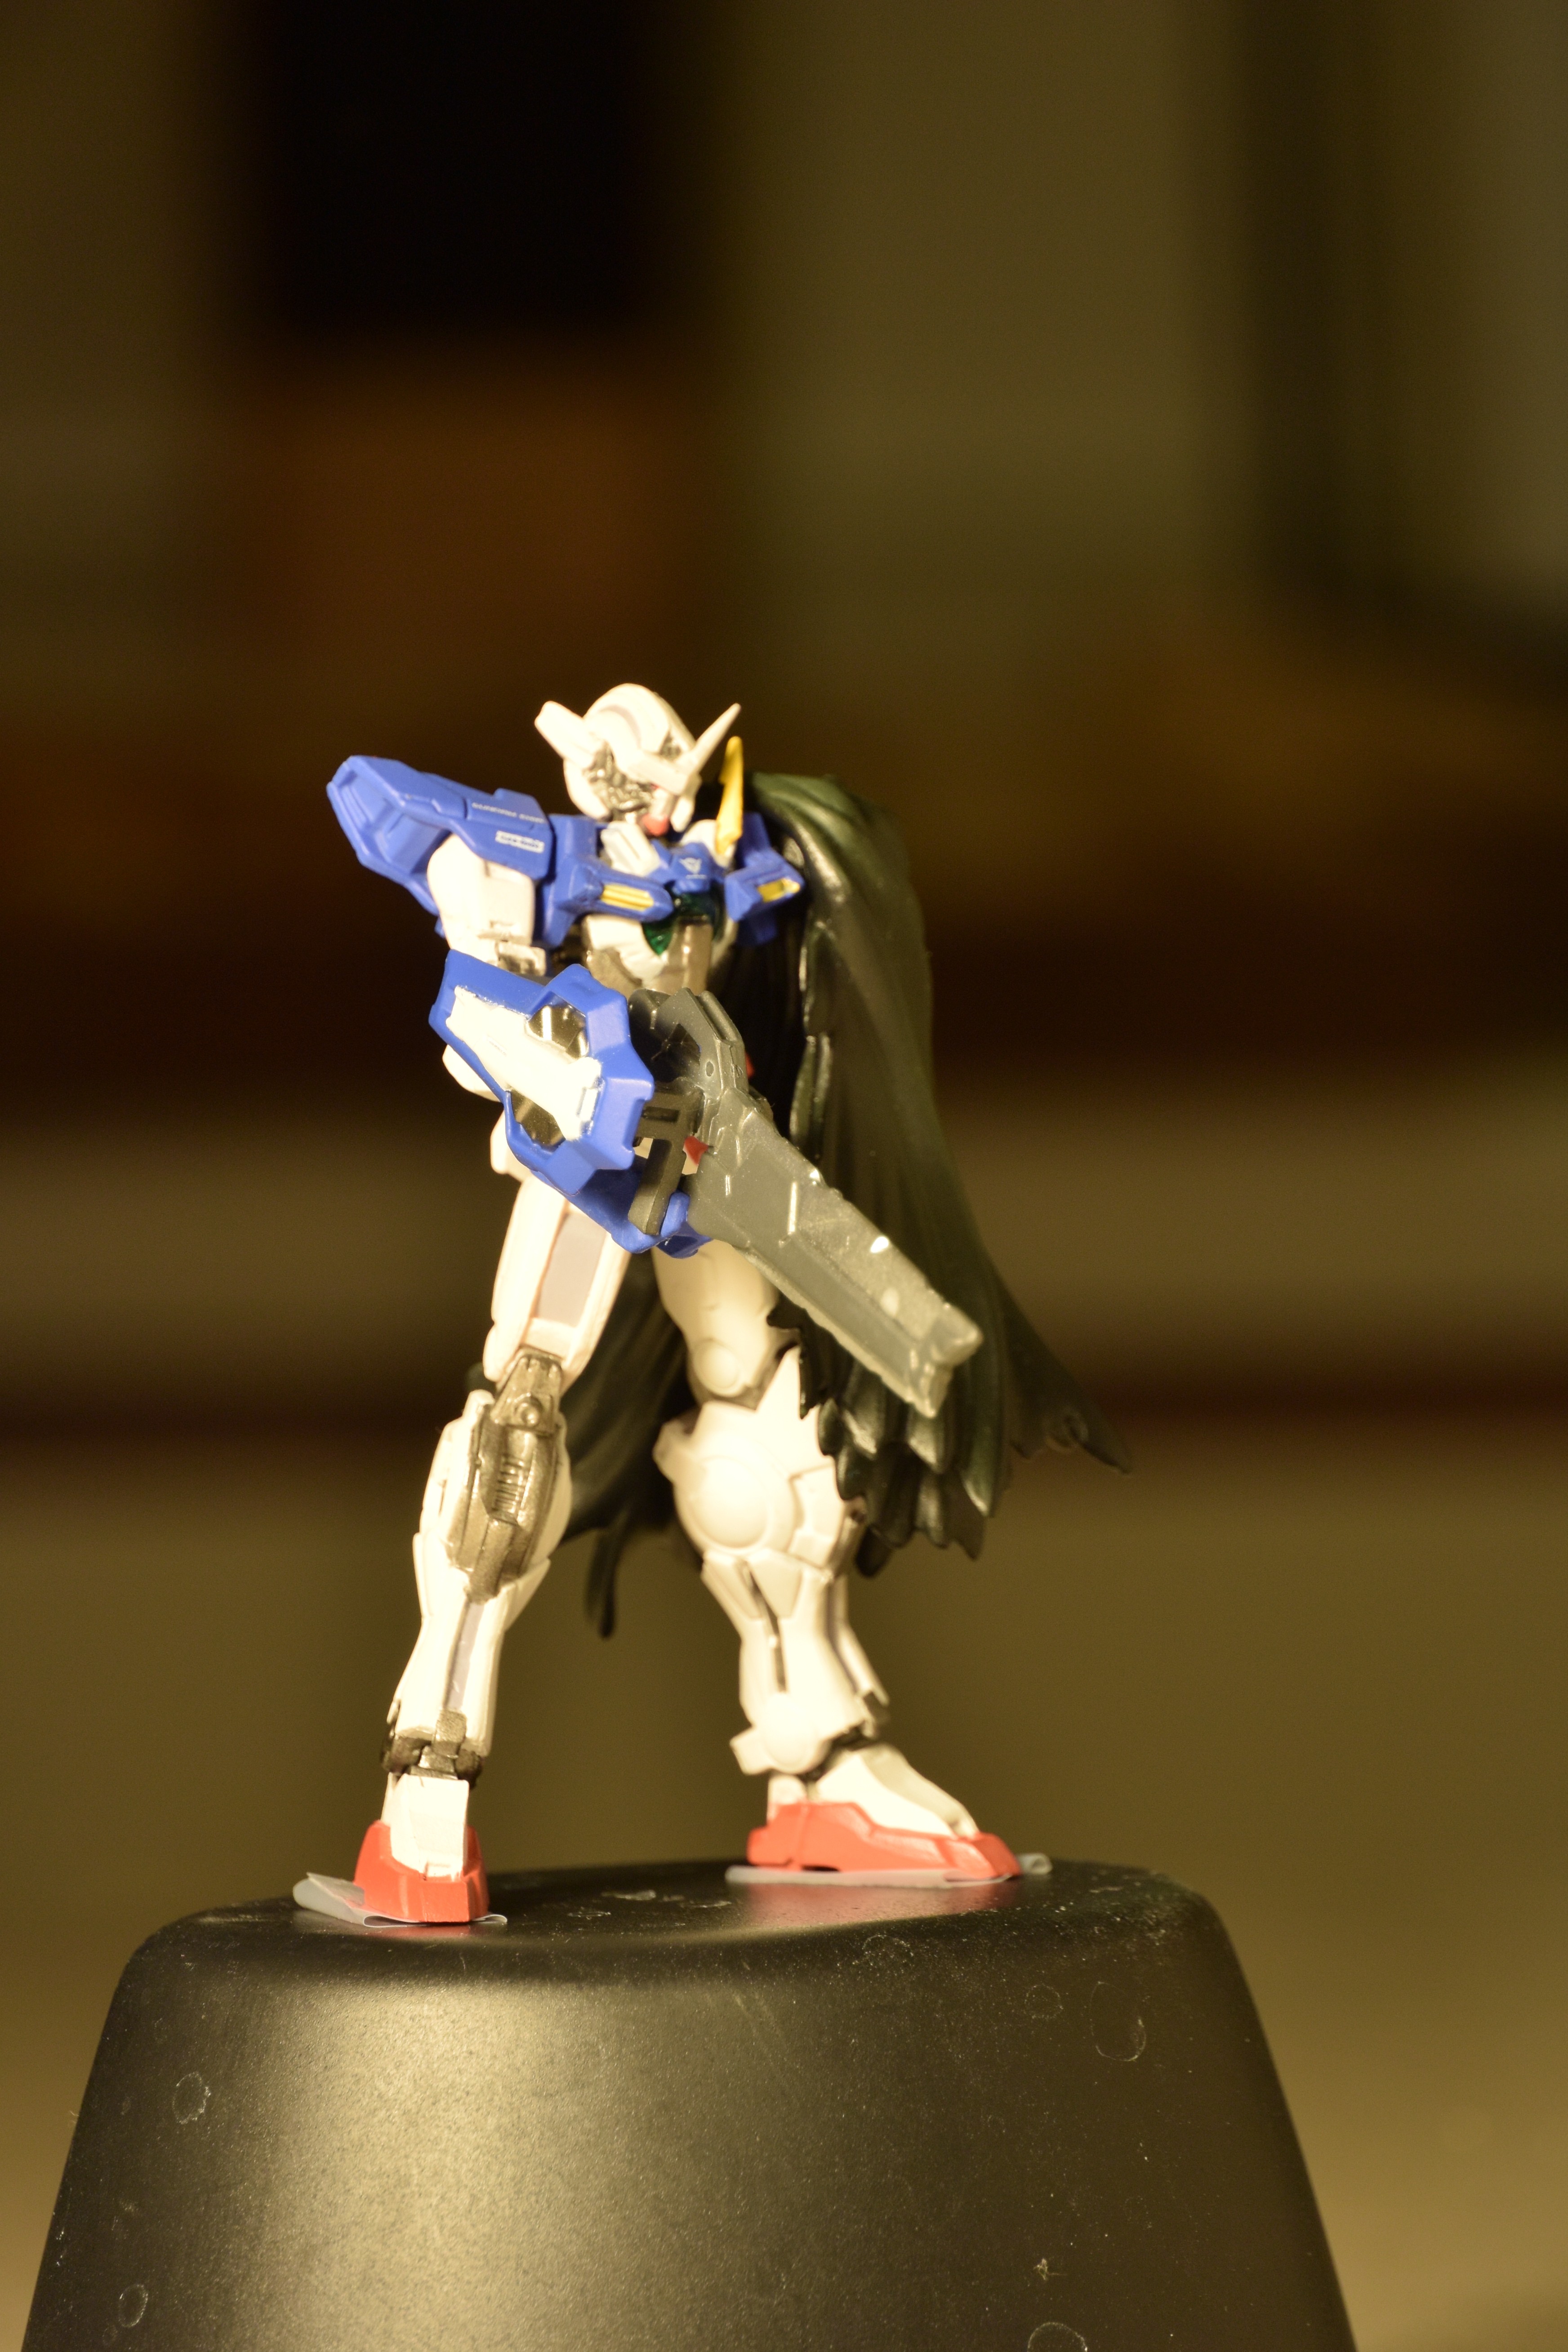
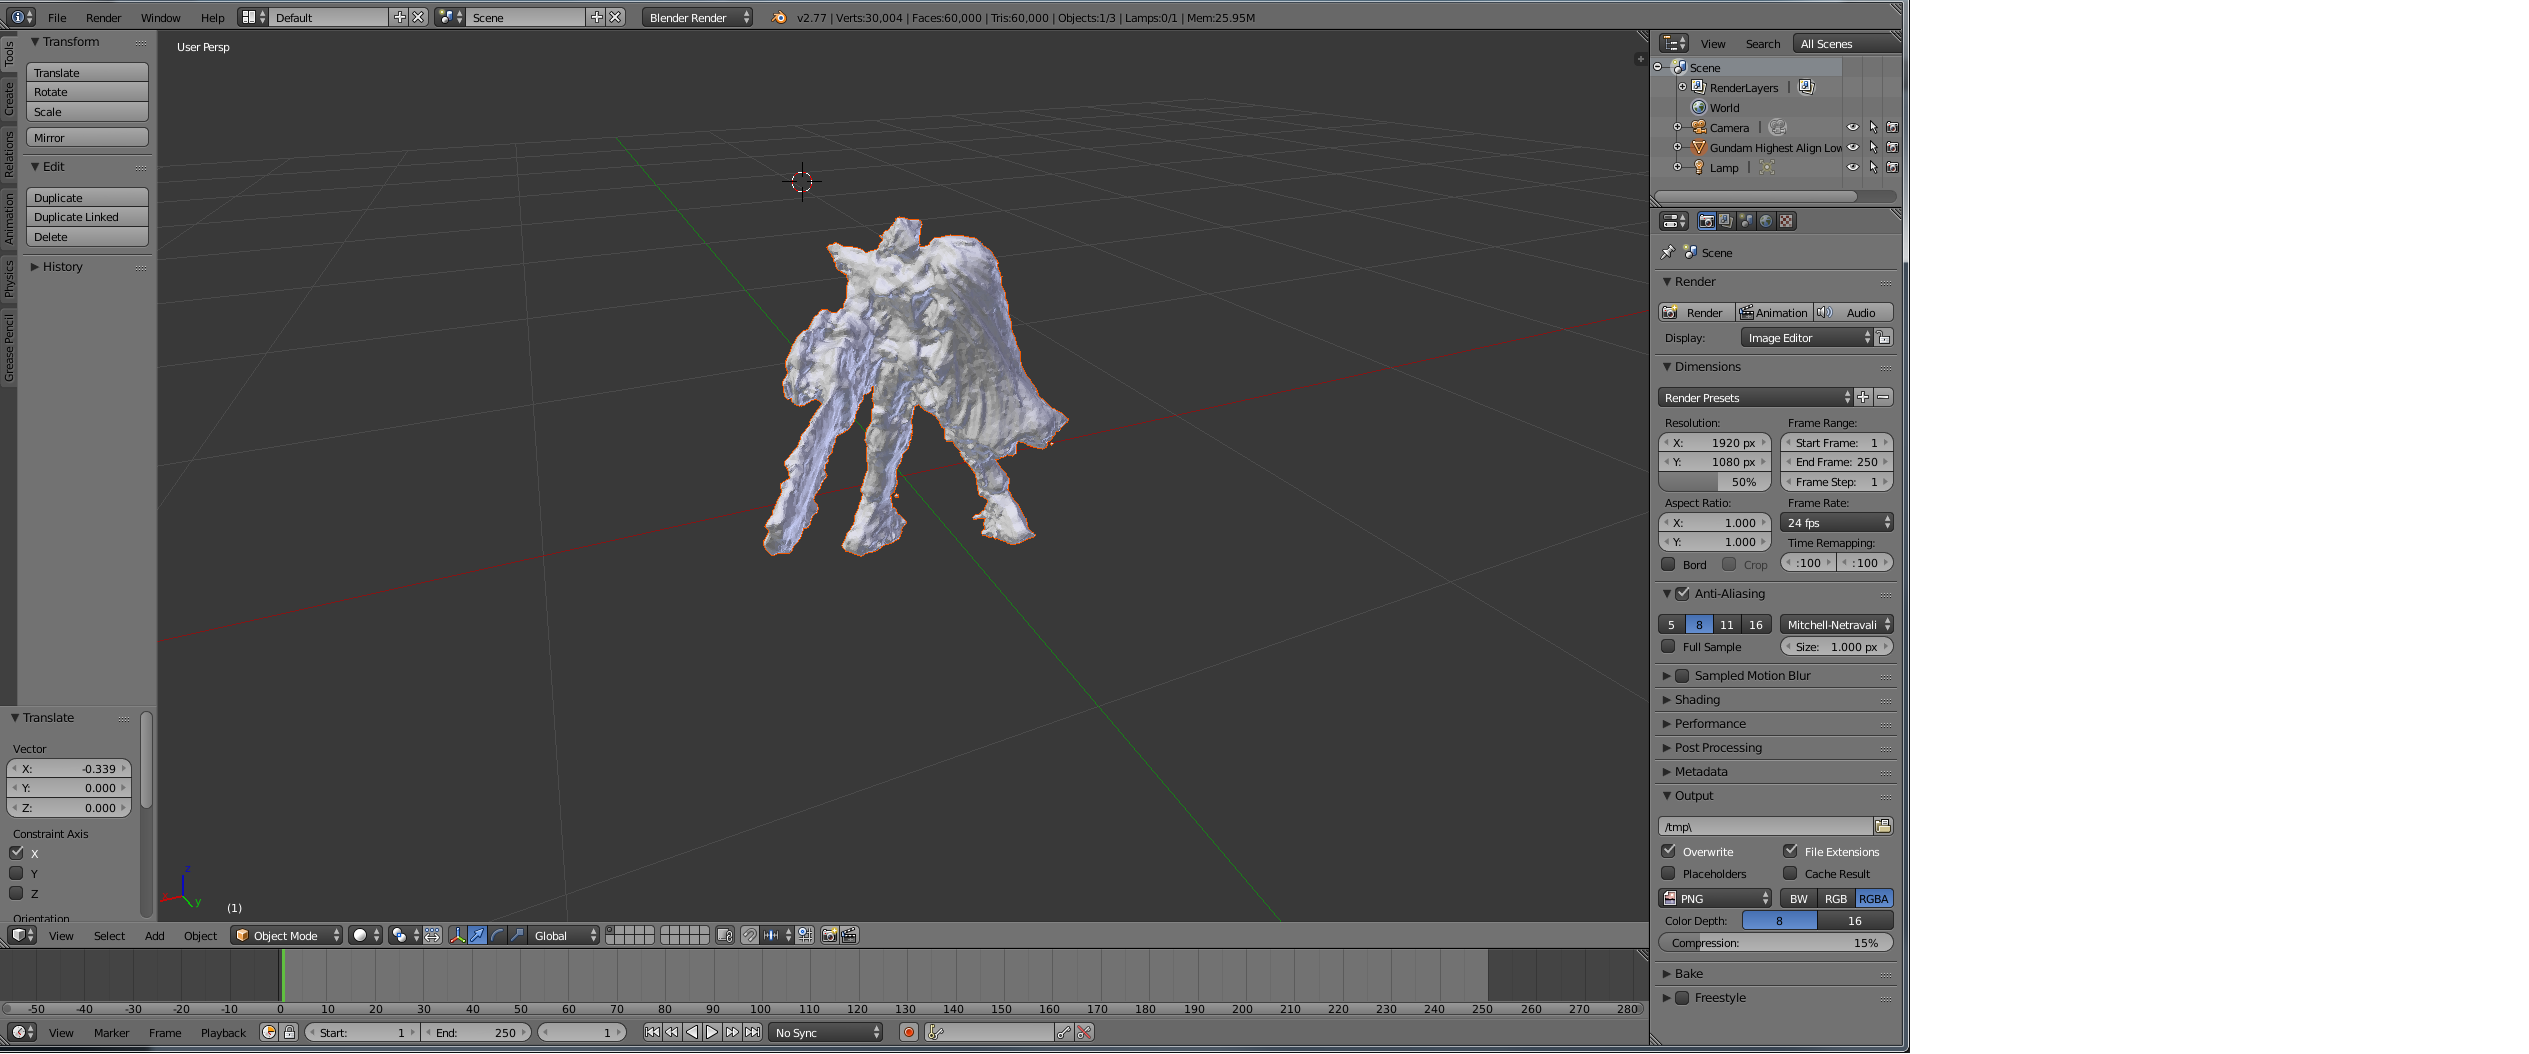
For example, we were able to achieve good results with our Gundam model after manual camera alignment (due to lack of use of tracking markers) and ultra high dense point cloud rendering. However, this was very time consuming and the end model lacked the fine surface detail of the source and the surfaces tended to be very pitted with few smooth planes. We think that this was due to our use of a very shallow depth of field. Our thoughts are Photoscan found the corresponding points in the two images, but in one it was in focus and in the other out of focus, this problem compounded from many angles would likely create a model that has a mix between these two and thus perhaps errors in the depth calculations. In the future we would like to repeat this with a very wide depth of field maintaining focus on all the parts of the model and we expect superior results.

Model from High-Quality Dense Point Cloud (~1,100,000 Vertices)

Model from Low-Quality Dense Point Cloud (~30,000) Vertices

In addition, we refined the point clouds by manually trimming outlying data points, which created a much more accurate mesh.  This, accompanied with all prior techniques, allowed us to create a very nice model quite easily:

Right-Side Angle Back Angle (Holes in the mesh are from lack of photo coverage) Left-Side Angle Front Angle

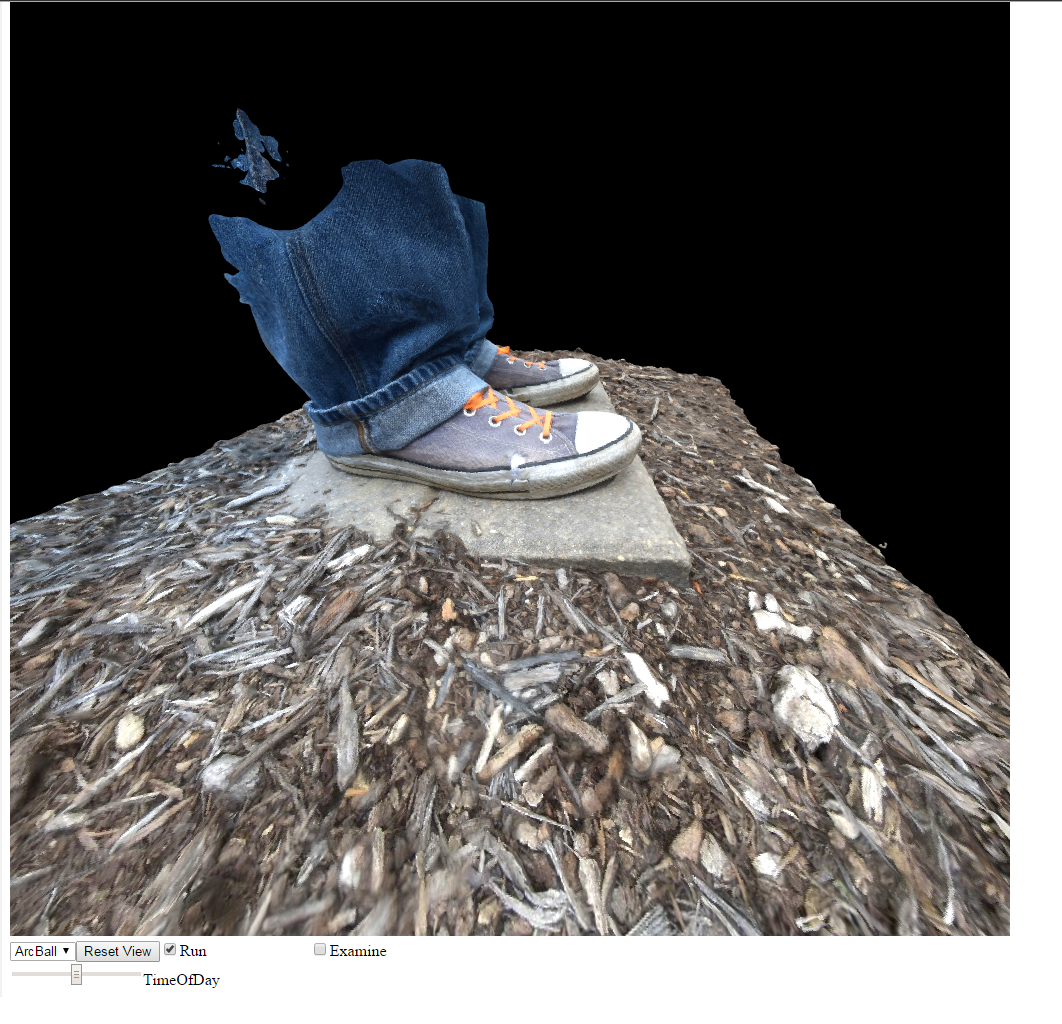
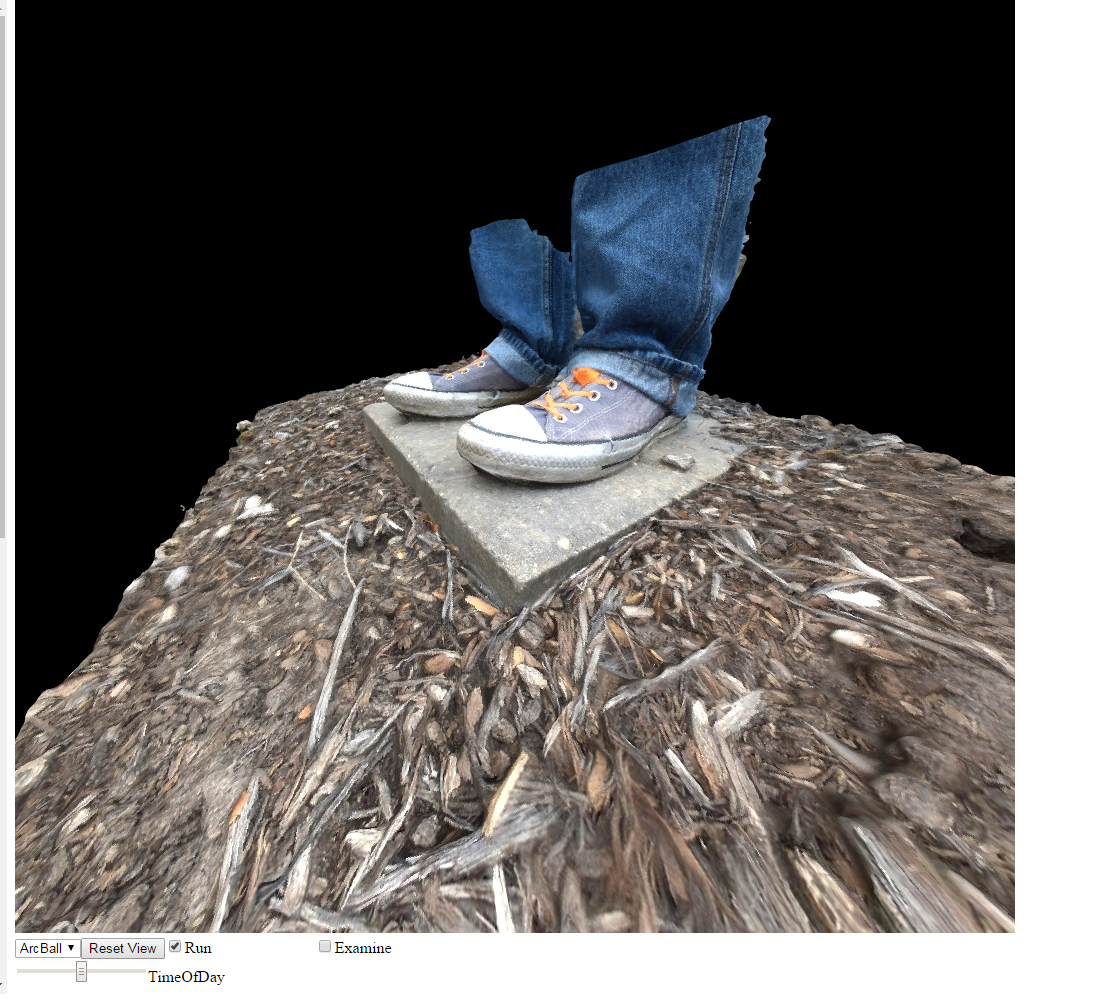
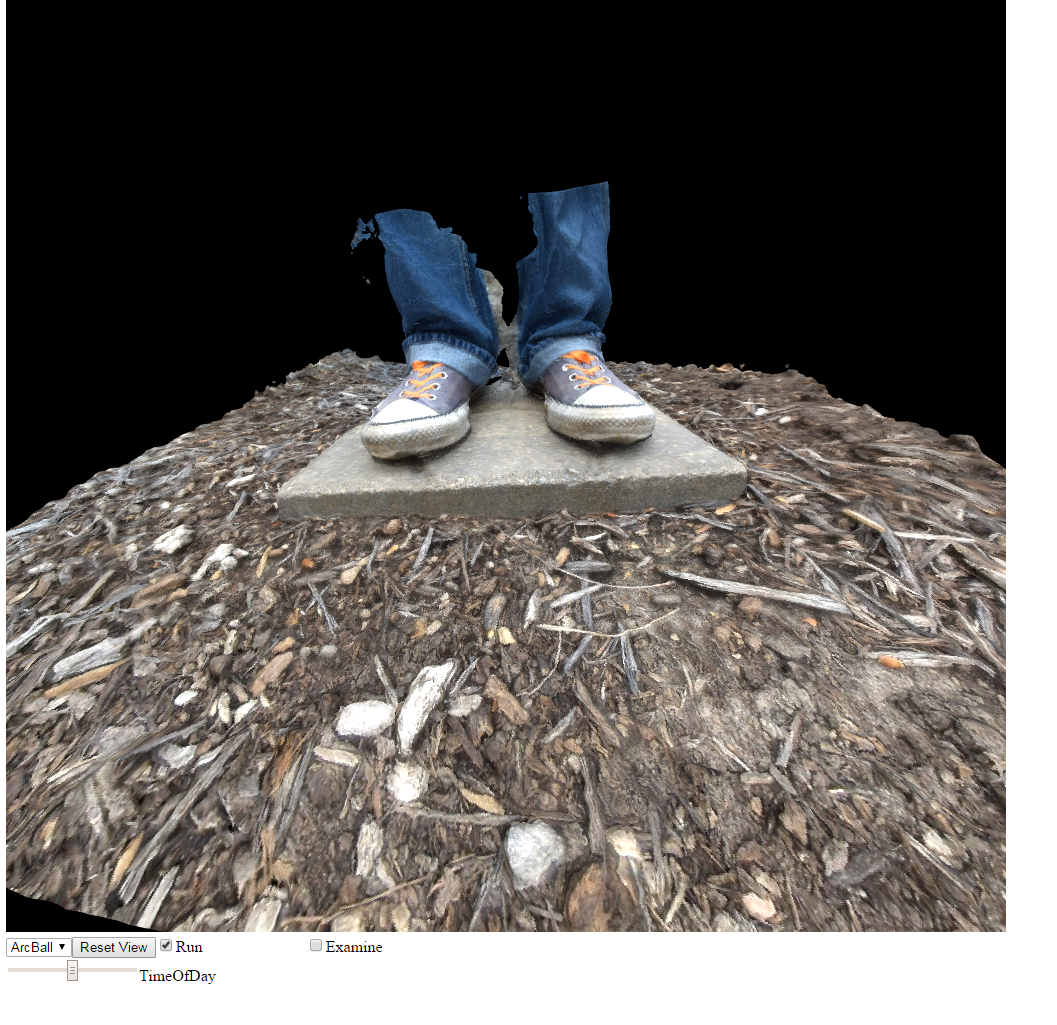
Here the models are exported from Photoscan as .obj files, and are processed into Javascript files and viewed with WebGL.  This just provided an alternative way to view models outside of Photoscan. (We are unsure how to embed HTML files with external Javascript files into WordPress, so that we could view the model from all angles instead of images).

In Conclusion

We’ve had our share of issues, and for the most part, have worked through them. We feel confident in the ability to get decent models, and are looking forward to more experimentation with DoF, markers, and using multiple chunks to obtain high quality on small detailed areas of models, which we will investigate this summer and possibly next fall. We also plan to make models of more imposing objects, such as really small/large structures, and possibly begin looking into making models of dynamic events (starting simple, of course).

We also have ideas of finding “uses” for the models, such as importing them into a game engine or 3D printing them, but we’ll have to see where it goes!

-Andrew and Bryce


Sparse Photo Angles – Bryce and Andrew Update

(For some reason embedding images is not working, but images are visible on clicking)

Texture

4 Positions 3 elevations Good Alignment

No Texture Pudding

4 Positions 3 elevations Good Alignment No Texture

We wanted to look at how the sparseness of the photo angles affected the resulting model. The goal of this was to simulate the possible camera configurations we would have for high speed setup. Given that a 360 model would require many more cameras than we have available we decided to target only one side of the model to maximize overlap. We found that the best results could be obtained via close camera angles and multiple elevations, however these were not sufficient to preserve much detail in the final model.  This is most evident in the base model, once it is textured the models tend to look deceptively better. Dense point clouds are very computationally intensive to generate. For a 3D model with 9060 faces the dense point cloud is over 10,000,000 points. We also found that separation from the background was difficult to maintain with the few angles.

2 position 2 elevations with texture applied

2 position 2 elevations, texture applied

2 position 2 elevation no texture maps

2 position 2 elevations, no texture

With 4 images from the same elevation we were only able to get 56 points of correlation and no surface formation.

Empty Surface, 4 images same elevation

The feasibility of highs speed capture with any significant detail has been called in to question with these experiments. The high resolution of the source images (14MP) as well as the good exposure of the images leads to sub par results in maintaining detail in the model. Thus with the much lower resolution and difficult exposure of high speed capture leads us to suspect that models produced in such a manner would have very limited to no ability to discern detail.

We would like to meet up with Kevin at some point to discuss possible different project goals.


High Speed Modeling – Update 2

-Andrew Chase and Bryce Sprecher

Progress

In the last week, Bryce and I managed to try constructing 3D models with Agisoft Photoscan, to familiarize ourselves with the software.  All in all, we were successful, and managed to find out what works well and what didn’t.  Here’s our results:

(Click photos for a larger view)

Paint_Tree

Outdoor lighting, or any environment with a lot of ambient light works best.  The less shadows/reflection we have in the modeling subject, the better.

Power_box

However, things can still go wrong, such as in this case when we tried to model a simple power box.  However, this was rushed, to see how rigorous we needed to be in our photo collection, and it still turned out alright.  One simple solution to this would be to just mask each image before aligning the photos, and we wouldn’t have background interference with the model.

Texturing seems to work well with Photoscan, as seem by this power pole.

Power_pole

We’ve tried a few indoor models, and found that we need to have a better lighting set up (light boxes, as opposed to generic LED bulbs/halogen lights, to increase diffusion).  This, and find a way to prop up our samples to allow below-horizon shots on the object, which we didn’t do on the controller example. We also tried a figurine model, but we had issues with it.  It was a small object, so it leads us to believe that smaller objects require a more sophisticated set up.  Bryce is very familiar with the camera (and knows a lot about optimal photography) at this point, and is able to adjust ISO sensitivity, shutter speed, and various other setting to optimize our data collection, so we are unsure why smaller objects are still difficult to model.

controller

Next Steps

Our next goal is to investigate better lighting techniques, and see how we can construct a model with limited camera angles.  If we are to model an object over time with only four cameras, for example, we need to see how the model can turn our with such limited perspective.  If anything, we may need to create a “one-sided model”, where it is 3D from one side, but has no mesh construction on the other.

In addition, we plan to look into how to synchronize cameras for simultaneous capture.  There is software/an app for this camera, and we plan to see what limitations there are on it.  If the software cannot handle such a task, we will then look into camera how we can use post-processing to align and extract frames from each camera’s perspective, and create models from that.

High Speed 3D Modeling – First Steps

Hello Bloggers!

This is Andrew Chase and Bryce Sprecher, and we’ve started working in the LEL this semester under the direction of Kevin.  We haven’t make any posts yet because most of our efforts have been focused on deciding exactly what we want to do, and how we are going to approach it.  Now that we’ve had a chance to start, here’s our plan:

High-Speed 3D Modeling Through Agisoft

Agisoft Photoscan is a software program that allows the reconstruction of 3D models through digital images.  We plan on starting with creating simple models of objects, and progressively moving onto taking high-speed videos of some phenomena (fluid dynamics, popping of popcorn, combustion of materials, etc) and constructing models of this process.  From there, we can play back the event in 3D (first by conventional means of 2D display, and hopefully Oculus/CAVE integration) in slow motion to relive the event up close and with detail.

We obtained a Nikon J4 Digital Camera with two different lenses (10-30mm, and 30-100mm), which is capable of capturing:

  • 1080p at 60 frames per second (fps)
  • 720p at 120 fps
  • 768×288 at 400 fps
  • 416×144 at 1200 fps

We’ve tested several different phenomena at different resolutions, and found that the 1200 fps capture would work great at obtaining high-speed imaging of solid objects, without much need for texturing detail.  If detail was needed, the 400 fps still captures high-speed action at very acceptable detail.  Here are some examples:

Dice Roll @ 400 fps

Egg Crack @ 400 fps

(NOTE: I’ve tried for a while to embed the videos, but it doesn’t seem to work on this blog)

With some post-processing, we believe we can further enhance the high-speed effect (reducing playback speed further, adding motion blur/fake frames, etc).  In addition, these were shot in low light environments, and it is apparent that a lot of light will be needed for this kind of capture (High fps = Shutter open for short time on camera = Less photons hitting sensor).

Our next steps involve trying to make some models and see how Agisoft Photoscan handles video input (whether it will handle a group of frames at once as a video, or will we need to do it manually, frame-by-frame).  If everything looks promising, we can look into getting more cameras in order to capture different perspectives of the phenomena to create a model.