Oculus Rift is free on Unity (but fidgity)

Oculus released a new thing that works with the free version of Unity. It provides a camera that can be dropped into any scene to make it Rift-friendly.

However:
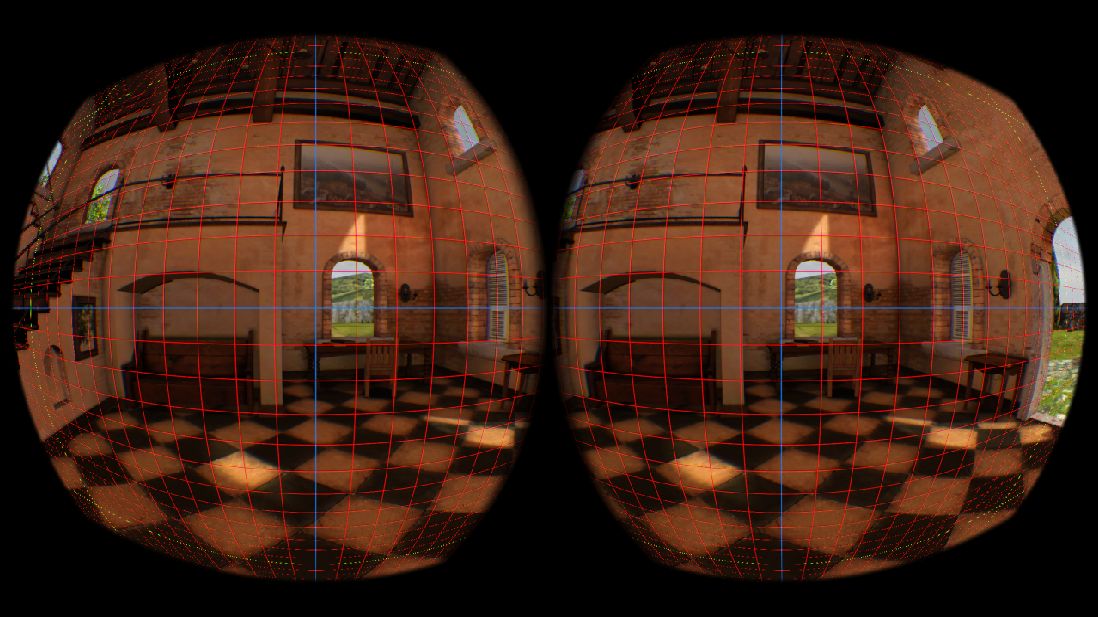
– old apps (including the official Unity demo) flicker like crazy — it looks like every other frame is black (which makes things too dark — taking the Rift off is like stepping out of a dim cave)
– new apps (ones I make myself) have a weird oscillating “double vision” effect, with the distance between the two images increasing with head movement speed (this makes me a little sick if I focus on it)
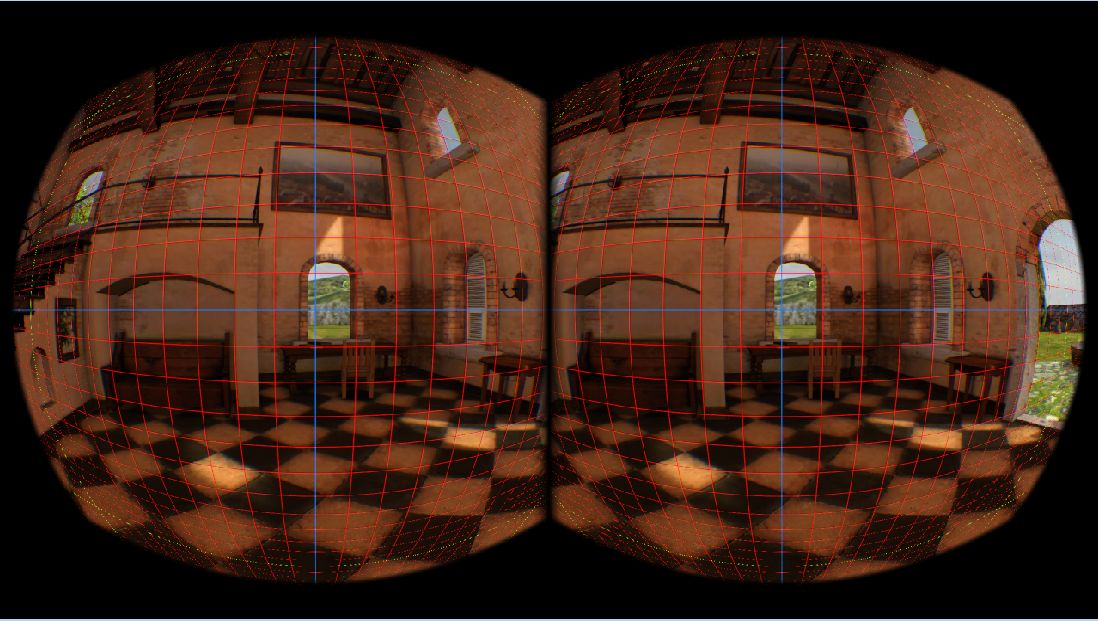
– there’s what looks like a screen-tear seam in the right fourth of the right eye (this is probably minor)
– importing assets from Sketchup has yet to be successful (it looks like you have to do something weird for textures, and I haven’t done it right yet)

The second one is the biggest problem; there are rumors of fixes online (forcing DX11, or turning off timewarp), but neither seemed to work.

I’ve also tried Unreal, which claims it’s building a Rift-capable exe, but on execution it doesn’t seem to notice the Rift.

Both are pretty undocumented, as regards Rift integration.

Shelving them for now; maybe they’ll fix themselves while I do other things.

Going to look at painting pointclouds next, I think.

Working on Research Paper

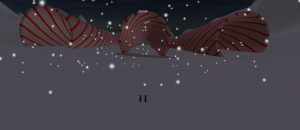
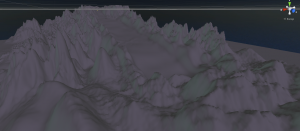
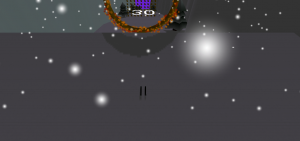
This week I found a few sources for the research paper. One source was particularly relevant since it was a study on the relation between motor skills and a different ski simulator design. I also added a few more tunnels to the holiday demo. I chose not to do the heightmap I mentioned last week as the mountain seemed pretty good after a little bit more smoothing. Also, as a potential solution to the impostor issues, I thought of possibly adding fences to keep the user from getting too close to the impostors and have the impostors draw all the time, that way we would avoid any shader issues.

Here is a screenshot of the tunnels I added:

001

For next week I will work on adding/editing the research paper and possibly adding some statistical analysis to the report. I might look into making bootstrap confidence intervals for each of the observations. Also, I might make some more models/obstacles for the holiday demo.

Obstacles for Holiday Demo

This week I worked on separating the obstacles from the original mountain model and placed them into the terrain. I also worked on smoothing the terrain a bit more. I looked into making the impostors more realistic by changing the shaders, but that did not help the cause. Right now the impostors still have the issue of shadows popping up when the user gets close, dramatic difference in appearance, and the trees/candy canes tilting slightly. If I can get the meshes and impostors to look similar enough, I might just make the trees along the path real meshes and have the rest be impostors, so there can be some collision detection.

Here are some screenshots of the game:

001 002

For next week, I will be looking into generating the terrain via heightmap, since that will make it easier to generate a smoother hill. Also, I will try to find some references for the ski mountain paper and add them into the Latex project. I will keep investigating the impostors as well to try to make them more realistic.

New Terrain for Holiday Demo

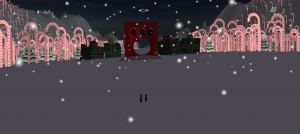
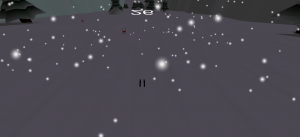
This week I made a new terrain object for the Holiday Demo. The new terrain is one 10000×10000 terrain object. I’m not sure why the terrain suddenly started allowing larger dimensions, but it seems to work so far. I made boundary mountains and the full-scale ski slope directly out of the terrain object. Also I added some tree objects to the terrain (trees and giant candy canes).

Here are some screenshots of the new terrain:

002 003 001

For next week, I will look into getting the tree impostors to look more realistic and adding some jumps and obstacles to the terrain. Right now, the impostors look quite different when they go from impostor to full model. I think it is an issue with the lighting, so I will look into the shaders a bit this upcoming week. Also, I hope to add collision detection to the trees as you can pass through them right now.

IPD and FOV in the Official Oculus Sample

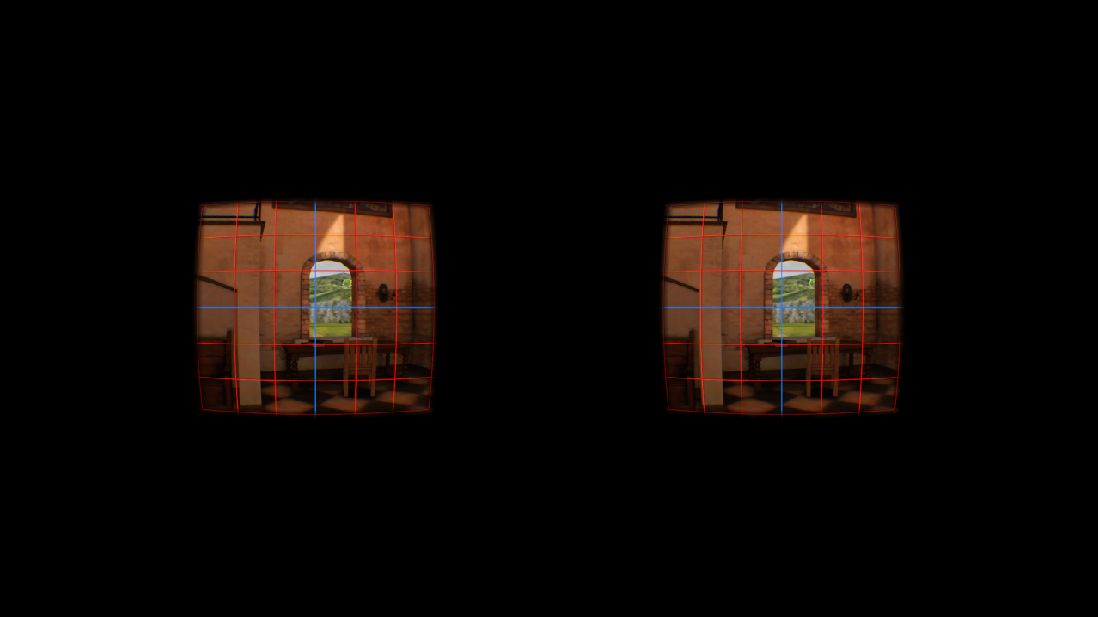
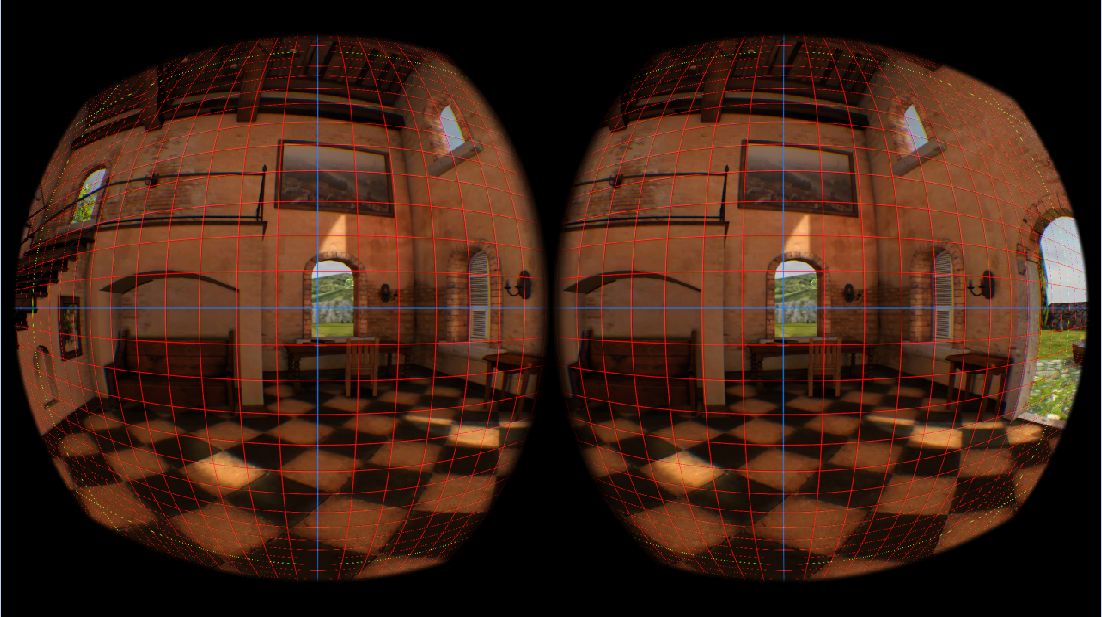
Here’s a some screenshots of OculusWorldDemo, showing a bit of how the post-render, pre-warp shaders interact with FOV and IPD — and the larger system that the functions I’ve been hijacking are meant to be a part of.

(Note: the demo was targeting the DK1)

The defaults:

defaults

With “zero IPD” toggled:

zero IPD

Max FOV at 45.4 degrees (can’t go lower than 20, which is similar):

max FOV 45.4 degrees

Max FOV at 130 degrees (it goes higher, but you see no change):

max FOV 130 degrees


These are just the things easily exposed in the demo’s menu; they don’t do exactly what we’d want to test.

“Zero IPD” is described as:

 // ForceZeroIpd does three things:
 // 1) Sets FOV to maximum symmetrical FOV based on both eyes
 // 2) Sets eye ViewAdjust values to 0.0 (effective IPD == 0)
 // 3) Uses only the Left texture for rendering.

So that’s about what we’d expect to see.

Max FOV is used similarly to the clamping function mentioned in earlier posts, and is an FovPort; it looks here that FovPorts may have more viewport to them, than FOV.

Things that Render a Scene

It’s still not clear exactly how best to build modified FOVs.  We need more complicated scenes; here are a few things we might use to generate them:

Unity

Unity has a nice editor, and we can expect students to be familiar with it.  I don’t think we get source code.

Unity claims they’ll have Rift support for free users soon.  That was in September.

Unity pro already has support, and costs either $75 / month (with a 12 month contract), or $1,500.  That’s per component; if we want the base and android, that’s $150 / month, or $3,000.

For educational licencing, we could contact them as suggested on the official site:

https://store.unity3d.com/education

Or purchase from the official reseller:

http://www.studica.com/unity

They offer all components in a watermarked version for $150 per year, individual components for a one-time $750, or all components for a one-time $1,999; we’d want the main component, and maybe android or ios.

These are all pre-orders for Unity 5.

Studica claims all of their discounts end on October 31st, 2014.

Unreal Engine

With this we get source; it’s unclear how it compares to Unity.  They also have a visual editor, and some weird pegs-and-wires visual programming system that I’m a little curious to see in the wild, how it shapes the way people think about programming.

Free to students via the Github Student Developer Pack.  They’ve given me access for a year; I think there’s some kind of renewal process after.

Free to schools by filling out the form at the bottom of this page.

Non-educational licences are $20 / month; with both educational and non-, they claim 5% of your profits if you launch a commercial product.

Just Load Something and Draw It

Both of those will sometimes be inflexible; even with the full source code of Unreal, even simple modifications mean a lot of learning their system.  Implicit in the act of research is doing things established engines don’t expect.

For quick tests and simple scenes, we might want a really barebones way to load, manipulate, and render models.  For that, I’m looking at Open Asset Import Library.

I haven’t yet had time to look at these in detail; a future post may have some kind of comparison.

Finished Science Fest Demo

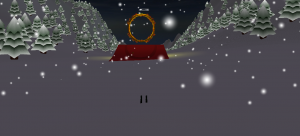
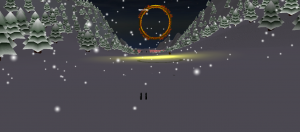
This week I finished the Science Fest demo. I added some more coins/trees, added some point lights and particle systems to the tunnel on the right side, added some point lights to the ring of fire, remade the reset button, and added a skybox to the scene. Also, Markus made some cool changes to the terrain by adding hills and optimizing the trees to allow for more to be rendered at a time.

Here are some screenshots of the Science Fest demo from the version on my laptop:003 001 002

For next week, I will resume working on the holiday ski slope demo. One thing I will look into is converting the larger mountain model into a single terrain object for more effective tree placement and more realistic surfaces. After going through the Science Fest demo, multiple terrain objects cause weird things to happen to the physics calculations, so it needs to be one object for the terrain. This might not be possible given potential maximum dimensions to the terrain objects, but I will investigate this for next week. Also I will make the models for the jumps separate from the terrain so that they can be more dynamically placed.

Science Fest Mountain Demo

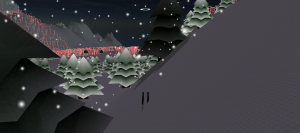
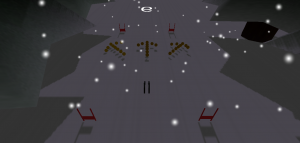
This week I made a new smaller mountain model for the Science Fest demo. I kept a few things from the larger mountain like some of the trees/coins and the main jump. The new layout of the mountain is the main jump through the ring of fire in the middle, a zig-zag path on the left side where the user skis around flags down the hill, and a giant tunnel to ski through on the right side. The middle path should be the easiest as the user just has to go straight the entire time and no obstacles will be in the way.

I am still thinking of stuff to make the tunnel on the right side of the map more interesting. Coins will be added to the inside of the tunnel, but I want to add something else to make it more of a challenge.

Here are some screenshots:

ski3 ski4 ski1 ski2

For next week, I will try to remake the reset function, add more coins throughout the three different runs, place some trees at the bottom of the hill, make the snow fall globally instead of locally, and add a skybox to the scene.

Quick update, and a rift projection simulator

Current plan is to go ahead without the Oculus SDK’s clamping; worst case, we can compare against default Oculus renders.

This means the next step is finding scenes to display — I’m going to take a quick look at Unity and Unreal, while integrating with our in-house code.

Also, there’s a guy (Oliver Kreylos, of UC Davis and Vrui) who made a simulator of sorts for the Rift’s optics.  Interesting for at least two reasons:

1. It might be useful to build something similar ourselves, to ease exploration and explanation.

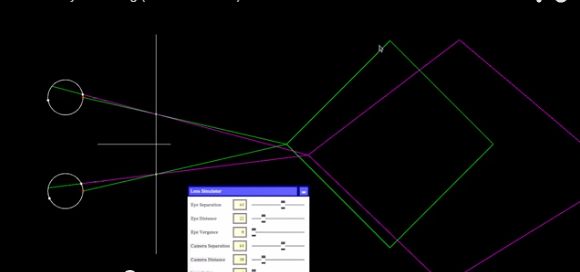
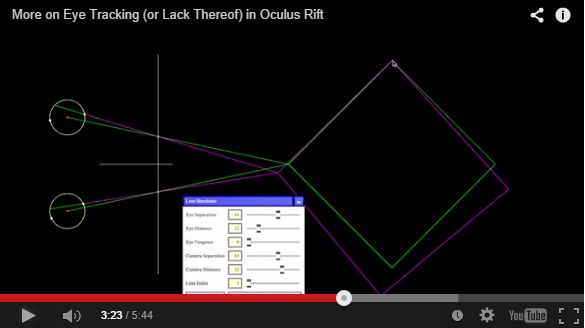
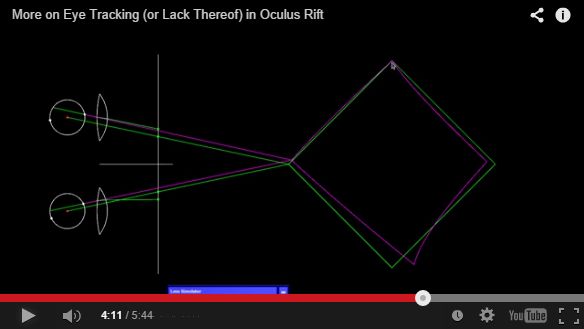
2. He’s really gung-ho about eye tracking, but concedes (to his blog commenters) that placing the virtual camera in the center of the eyeball (rather than an unknown pupil) is an okay approximation.  It results in the point of focus being properly aligned, and the Rift’s lenses help to minimize off-focus distortion.

In the following pictures, the eyes are focused on the top corner of the diamond.  Green is the actual shape and incoming light; purple is the perceived path of light and perceived shape.

Centered at “rest” pupil (and poorly calibrated?):

bad calibration, uncentered


Centered in the eye, but no lenses:

eye centered no lenses


Centered, with lenses:

eye centered yes lenses


His posts and videos here:

http://doc-ok.org/?p=756

http://doc-ok.org/?p=764

First link talks about the Rift in general (20 mins); the second link talks about centering the virtual camera within the eye (5 mins).

Rift: Modifying the Projection / FOV part 2

I’ve found a path by which the Oculus SDK generates the field of view (FOV):

CalculateFovFromHmdInfo calls CalculateFovFromEyePosition, then ClampToPhysicalScreenFov.  (It also clamps eye relief to a max of 0.006 meters, which is thus far not reproduced in my code.)

All from OVR_Stereo.cpp/.h.

CalculateFovFromEyePosition calculates the FOV as four tangents from image center — up, down, left and right.  Each is simply the offset from image center (lens radius + the eye offset from lens center) divided by the eye relief (distance from eye to lens surface).  It also does that weird correction for eye rotation mentioned in an earlier post; the max of the corrected and uncorrected tangents are used.

ClampToPhysicalScreenFov estimates the physical screen FOV from a distortion (via GetPhysicalScreenFov).  It returns the min of an input FOV and the estimated physical FOV.

Last week’s images were made using Calculate, but not Clamp. Clamping makes my FOV match the default, but adds odd distortions outside of certain bounds for eye relief (ER) and offsets from image center (which I’m deriving from interpupillary distance (IPD).  I haven’t yet thought much about why, but here’s some quick observations in the direction of when (all values in meters):

Values for ER less than -0.0018 result in a flipped image (the flipping is expected for negative values, so we would expect this to happen as soon as we dip below 0; the surprise is that it waits so long).

Values of ER greater than 0.019 cause vertical stretch, fairly uniform in magnitude between top and bottom, and modest rate of increase.  It seems fairly gradual with the current stimulus.

Those both hold fairly well for all values of IPD.  However, bounds on IPD are sensitive to ER.

At negative values up to -0.0018, IPD doesn’t cause distortions (tested for values >1 and <-0.7).  It’s clearly entered some kind of weird state with negative ERs; something to keep in mind for future debugging / modeling, but we shouldn’t need negative ER directly.

At ER of 0.0001, IPD distorts outside of range 0.0125 to 0.1145.

At ER of 0.01, IPD distorts outside of range 0.034 to 0.094.  (This ER is the Oculus SDK’s default.)

At ER of 0.019, IPD distorts outisde of range 0.0535 to 0.075.

Large IPD cause the image of both eyes to stretch away from the nose, small values towards.  The distortion is drastic and increases fairly quickly with distance from the “safe” range of IPD values.

These ranges might be a little restrictive for our concerns, but should be workable; another worry is that the distortions may imply the clamping method itself is flawed.

We’ll also need to be aware of when things get clamped when designing experiments that care about specific values for IPD and ER.